Modeling is a procedure to join a series of tools. Among them, the output of a tool is used as input of another tool. The modeling procedure is visualized and simple with automatical data management and analysis.
Geoprocessing Modeler inculdes the following features:
- Model: the model window allows you to add, delete, select, connect, move, and zoom tools.
- Run: you can run a model node or a whole model. During the running procedure, you are allowed to manage tasks.
- Check: Whether there are errors in your model such as isolate node, dead loop, no input data, and so on.
- Template: Export a model as a template. Next time, you can create a visualized model by importing the template.
- Save: you can save your model into the current workspace for further use.
The procedure of modeling is:
- Open model window : Right-click on the Model node in the Workspace Manager and select New Model. Or, click Geoprocessing Modeler in Ribbon and select New.
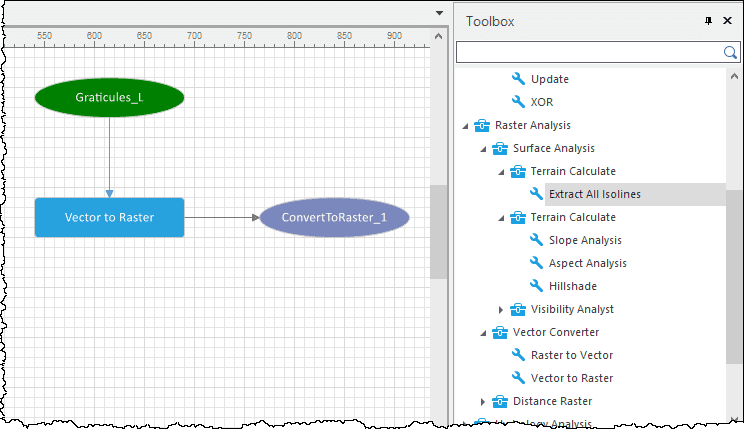
- Add Data Nodes : In the Geoprocessing Modeler tab, select the Data Nodes button to add a data node (the green ellipse in the following picture). Double click on the data node to open the Select Data dialog box where you can specify input data.
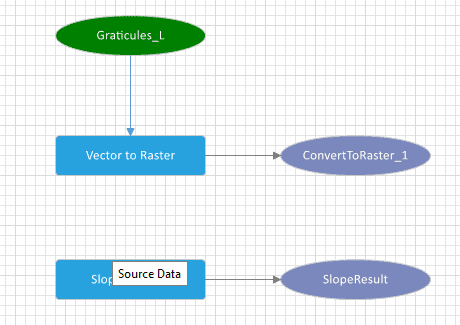
- Add tools : Find the tool you want, and then drag it into the model builder window.
- Join tools : The order of executing tools in a model can be determined by joining them, and the output of the previous tool will be used as the input of the next tool. Click Join in the Geoprocessing Modeler tab, and then hold the left key and drag your mouse from the result node of one tool to the function node of another tool.
- Parameter Settings : Double click on a function node to open the Parameter Settings panel and then you can set parameters relative to the function. Note : to ensure your model can run correctly, all required parameters must be set. Please refer to the specific function-describing page for detail parameters.
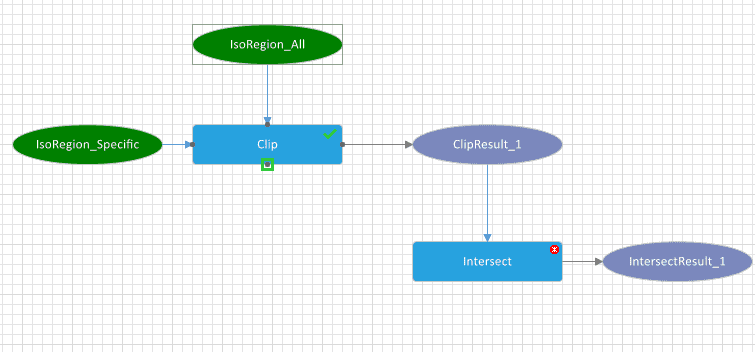
- Check : Whether there are errors like free nodes, endless loops, no input data, and so on in your model. The feature can detect them and give prompts in the output window. Note : If your model is not checked before running it, the system will check it automatically when running it.
- Run : Click Run in the Geoprocessing Modeler tab to run your model. The Task Managemer panel will appear automatically to show the progress and status of every tool. If a tool is finished successfully, the marker √ will appear in the tool, otherwise, the marker x will appear at the top-right corner.


