Build the private service environment for Windows
Configure SuperMap iServer
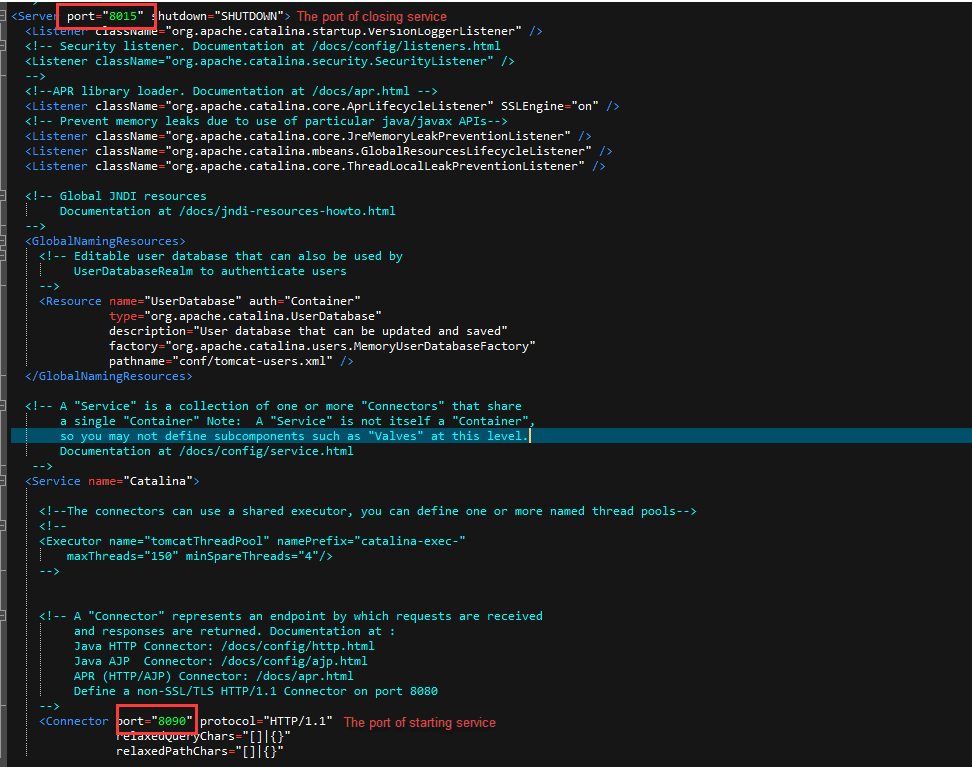
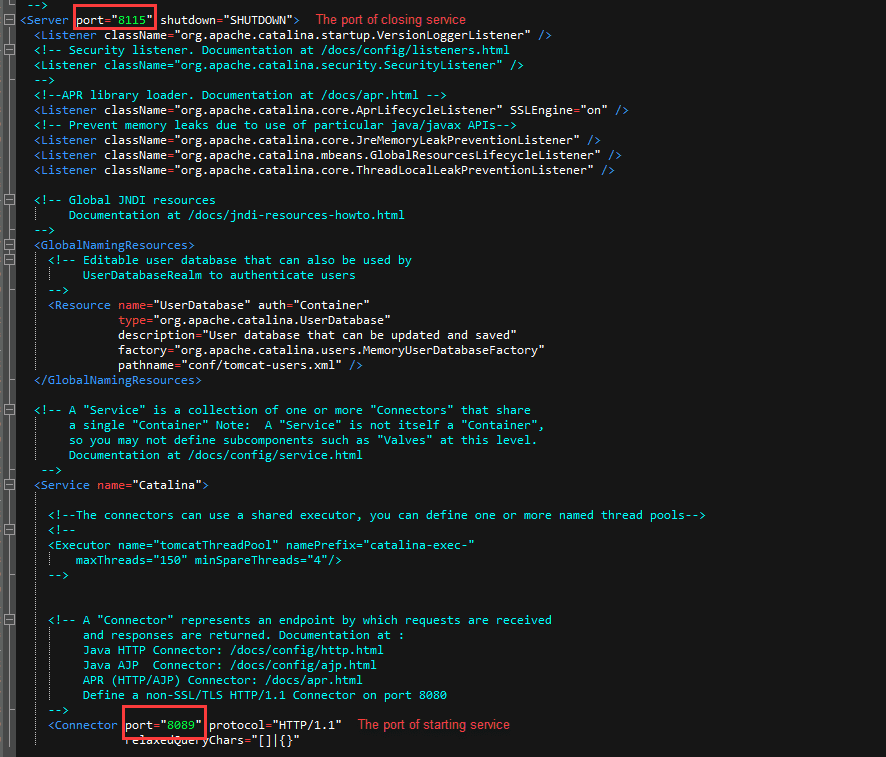
After downloading SuperMap iServer, you are required to modify ports of starting and closing the service to available ports. The configuration file is: supermapiserver1020201185711win64deploy\conf\server.xml.
Start SuperMap iServer service
- Start the service: double-click “start.bat” to start iServer service. The file’s path is: supermapiserver1020201185711win64deploy\bin\start.bat.
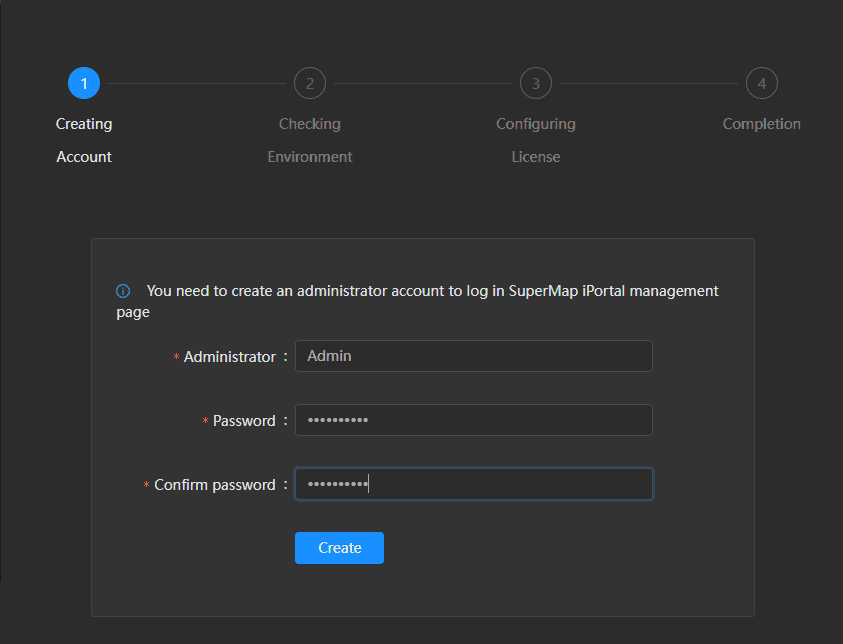
- Create an administrator account: access iServer service on a browser, enter the administrator account, password, confirmed password, and click Create to create an administrator account.

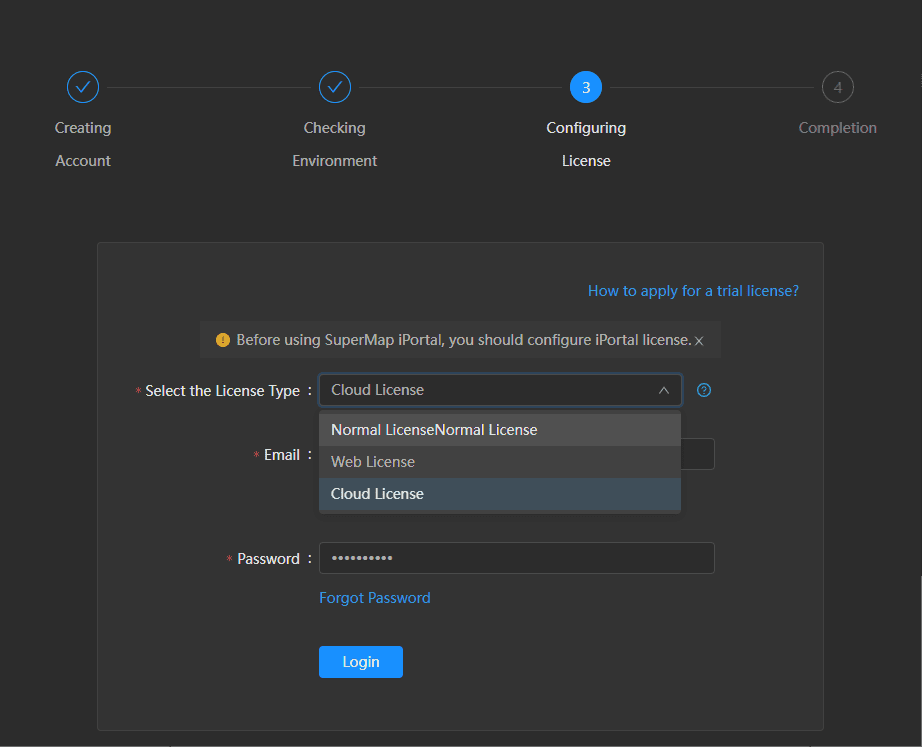
- Configure license: after checking environment, click Next to configure license. And then select the type of your license from the drop-down list.

Configure SuperMap iPortal
- After downloading SuperMap iPortal, you are required to modify ports of starting and closing the service to available ports. The configuration file is: supermap-iportal-10.2.0-win64-zip\conf\server.xml.
Enable SuperMap iPortal service
- Start service: double-click the file start.bat to enable SuperMap iPortal service. The file’s path is: supermapiportal1020221085290win64deploy\bin\start.bat.
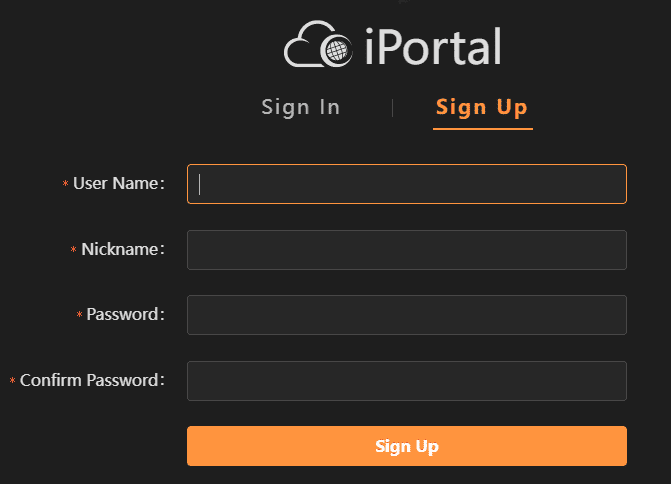
- Create an administrator account: access SuperMap iPortal service on a browser, enter the administrator account, password, confirmed password, and click Create to create an administrator account.
- Configure license: after checking environment, click Next to configure license. And then select the type of your license from the drop-down list.
Configure SuperMap iServer services associated with SuperMap iPortal
- Click Management Page link on the home page of SuperMap iPortal to head into the manager page.
- Click Server Management, select Add Server, and click Add.
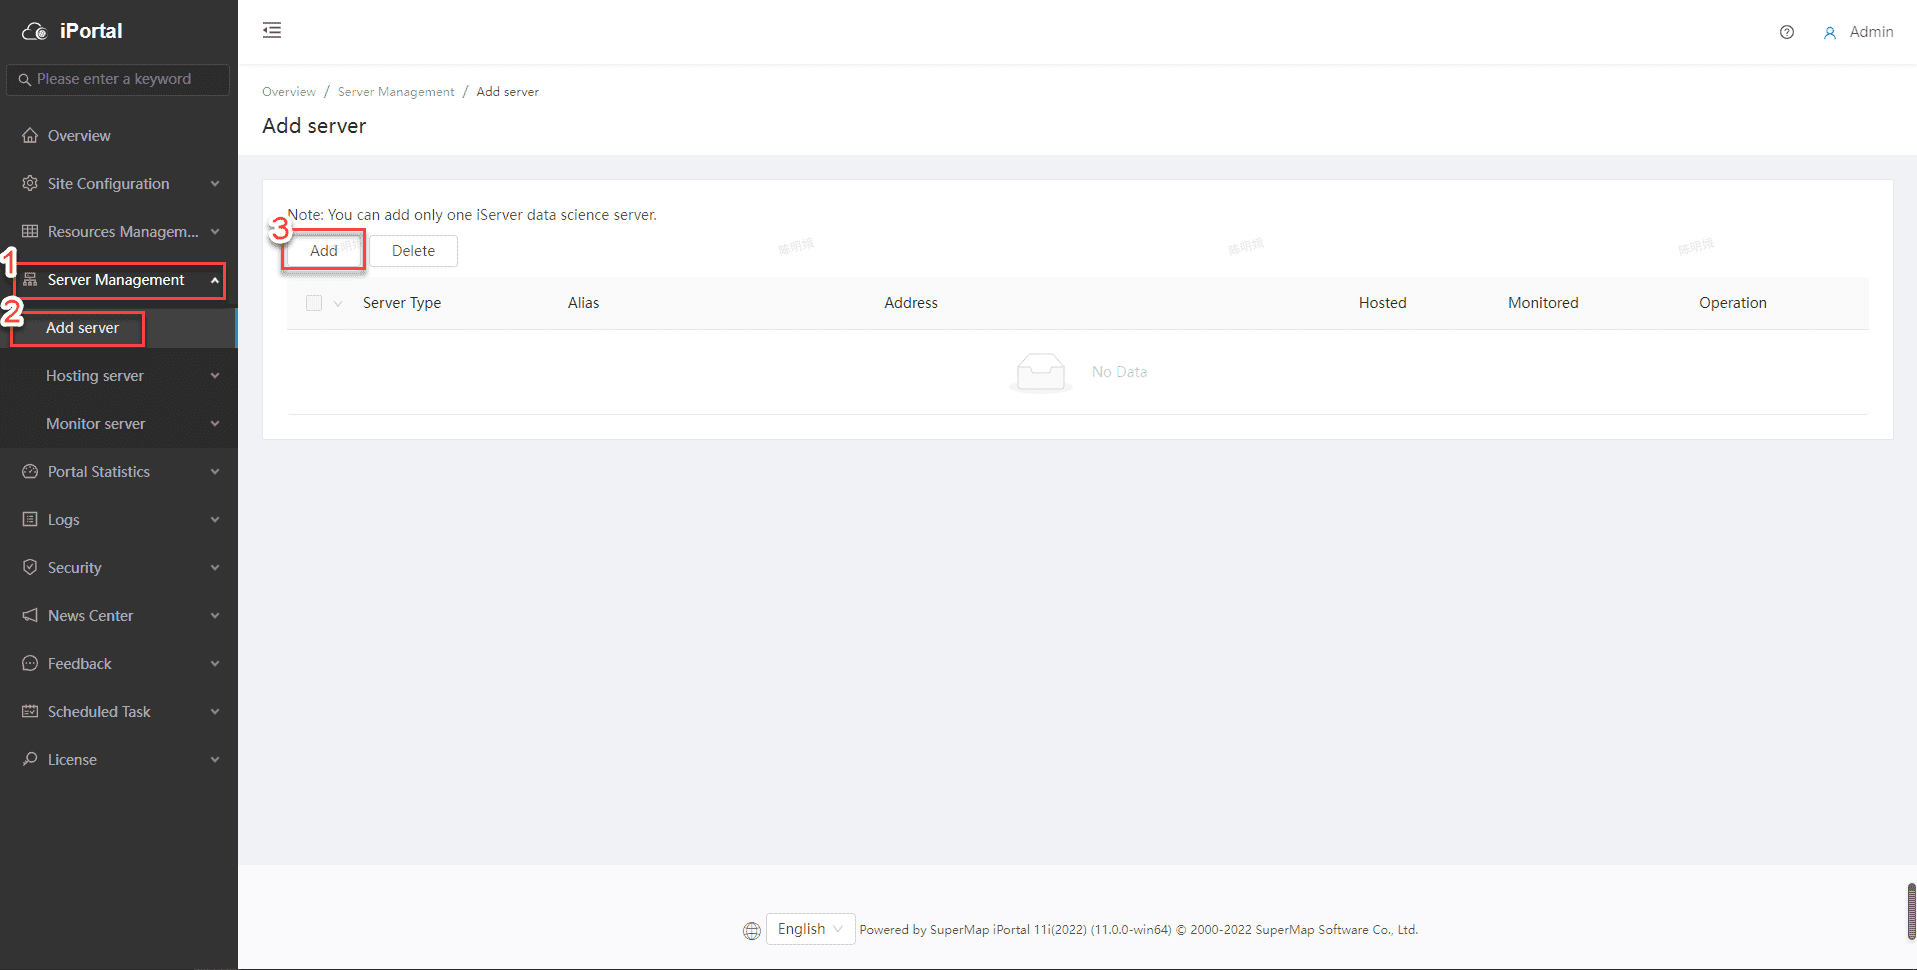
- In the popup page, set Server Type to iServer, check Whether to be a host server, enter iServer address, server alias, manager account, and password. After all, click OK.

- Successfully added services.

- Register SuperMap iPortal account on a browser.
File services
- Copy and paste the file FileSever.jar to your local directory.
- In the terminal use the command “cd” to enter the directory of the file “FileServer.jar”.
- Execute java -jar FileServer.jar to start the file service.
- Note: please make sure there is at least one available java environment. (The version of java environment should be later than JRE1.8).
Deploy message services for Windows
Download and install erlang
- Download and install: the installation package “otpwin6424.1.7.exe” has been provided in the tool package. You also can download from the website: https://www.erlang.org/downloads.
- Configure the environment variables:
After the installation, add the path of the package in the environment variable PATH like “D:\erlang\erl-24.1.4\bin”.
Add the environment variable erlang_home: D:\erlang\erl-24.1.4.
Download and install RabbitMQ
- Download and install: the installation package “rabbitmq-server-3.9.8.exe” has been provided in the tool package. You also can download from the website: https://github.com/rabbitmq/rabbitmq-server/releases/download/v3.9.8/rabbitmq-server-3.9.8.exe.
- Configure environment variable: After the installation, add the path of the package in the environment variable PATH like “D:\rabbitmq\rabbitmq_server-3.9.8\sbin”.
Use RabbitMQ
- Start service: in the Start menu click RabbitMQ Service start to enable service.
- Stop service: in the Start menu click RabbitMQ Service stop to stop service.
- Note: If you can’t access the service after the service start successfully, you can access the folder of sbin in the terminal like: D:\rabbitmq\rabbitmqserver-3.9.8\sbin. Execute the command in the folder : ./rabbitmq-plugins enable rabbitmqmanagement. And the re-start the service. If the port has been occupied, you can run “RabbitMQ Service stop” in the Start menu and restart it again. For more information, please refer to: https://www.cnblogs.com/nongzihong/p/11578255.html.
Log in RabbitMQ service
- Enter url http://localhost:15672 in a browser, and use the username “guest” and its password to log in.
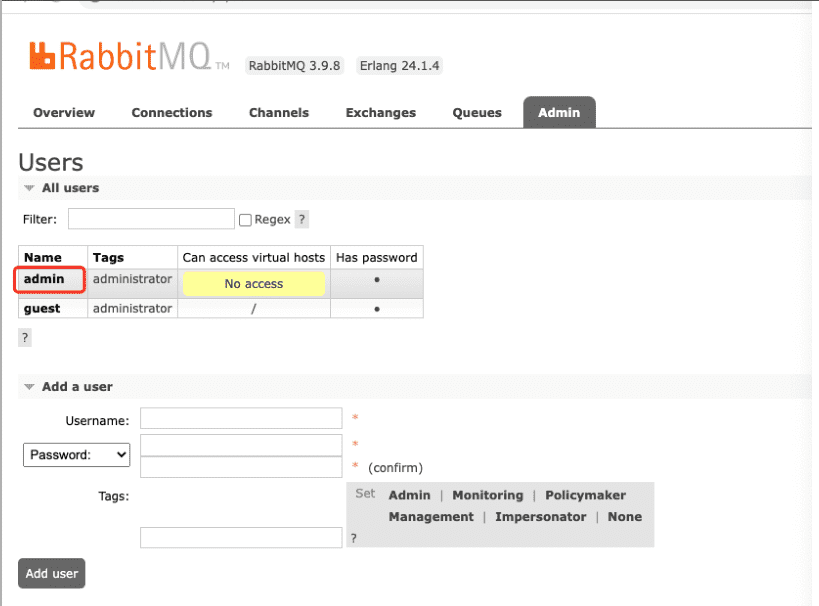
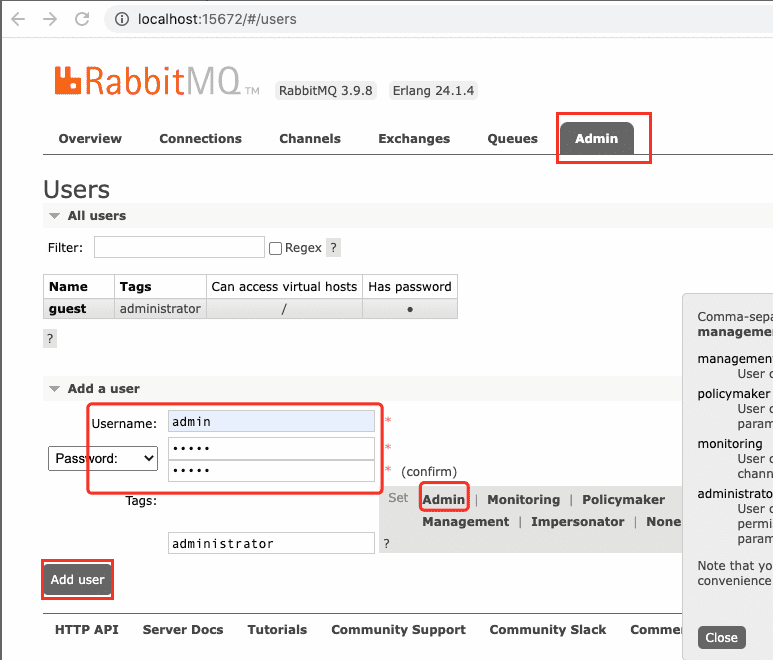
Create an Admin account
- When creating an admin account, set the right to admin.
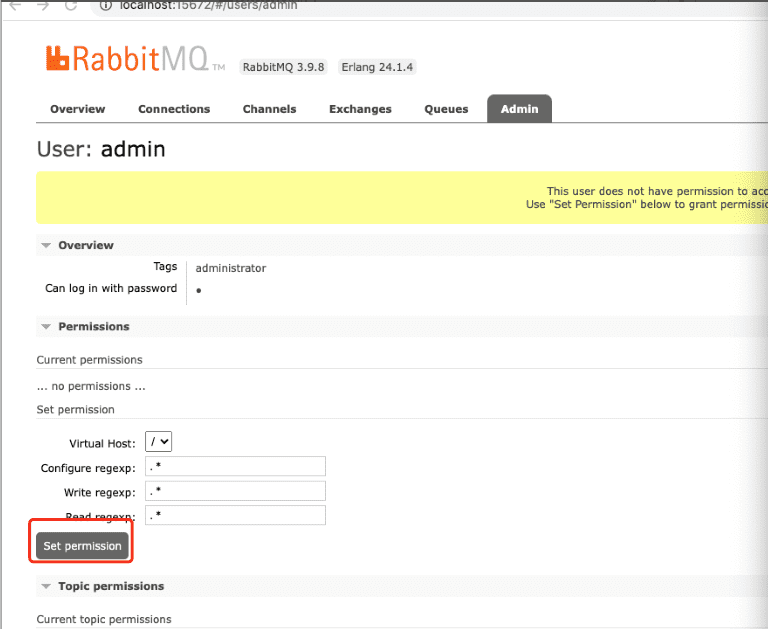
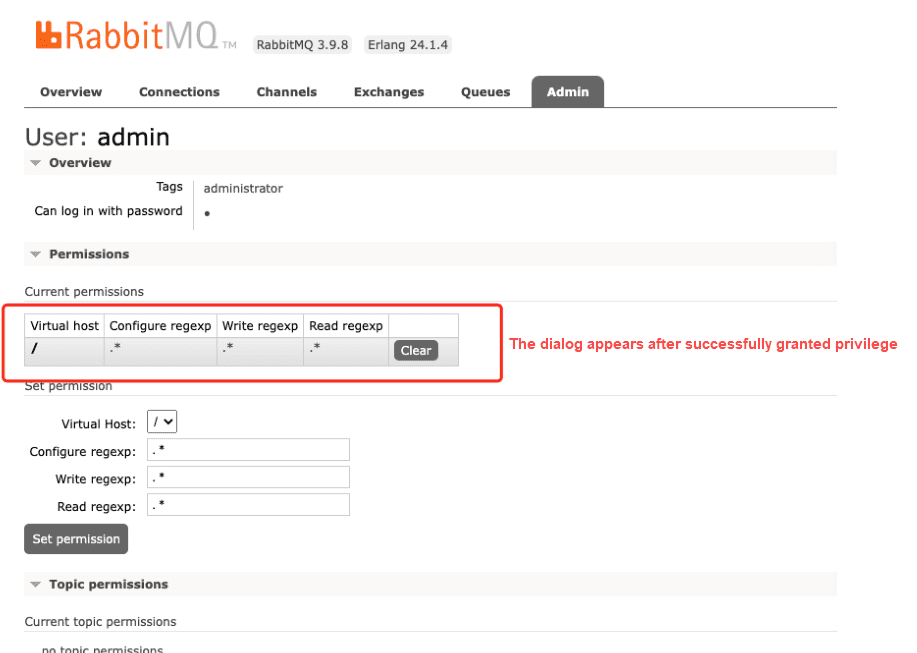
Grant an Admin account
- Click admin to access the account, slider down, and click Set permission to grant the privilege.