


Fixed-point video registration provides two calibration methods: The first uses reference maps for control point selection, while the second involves inputting camera parameters. This guide demonstrates the complete calibration registration workflow using a fixed rotating video as an example.
Registration via Reference Map
Step 1: Connect Video
Note: The Advance Settings button reopens the Add Video Data dialog. For other video dataset connection methods, see Create New Video Dataset.
- Right-click the datasource and select New Dataset to open the dialog. Choose Video in Type to activate the Add Video Data dialog. Click Add Local Video to import video files.
- After closing the Add Video Data dialog, the New Dataset dialog auto-populates the dataset name using the video filename. Custom naming is available.
- Configure the coordinate system as Projected Coordinate System (recommended Mercator projection) in the New Dataset dialog.
- Click OK to complete video connection.
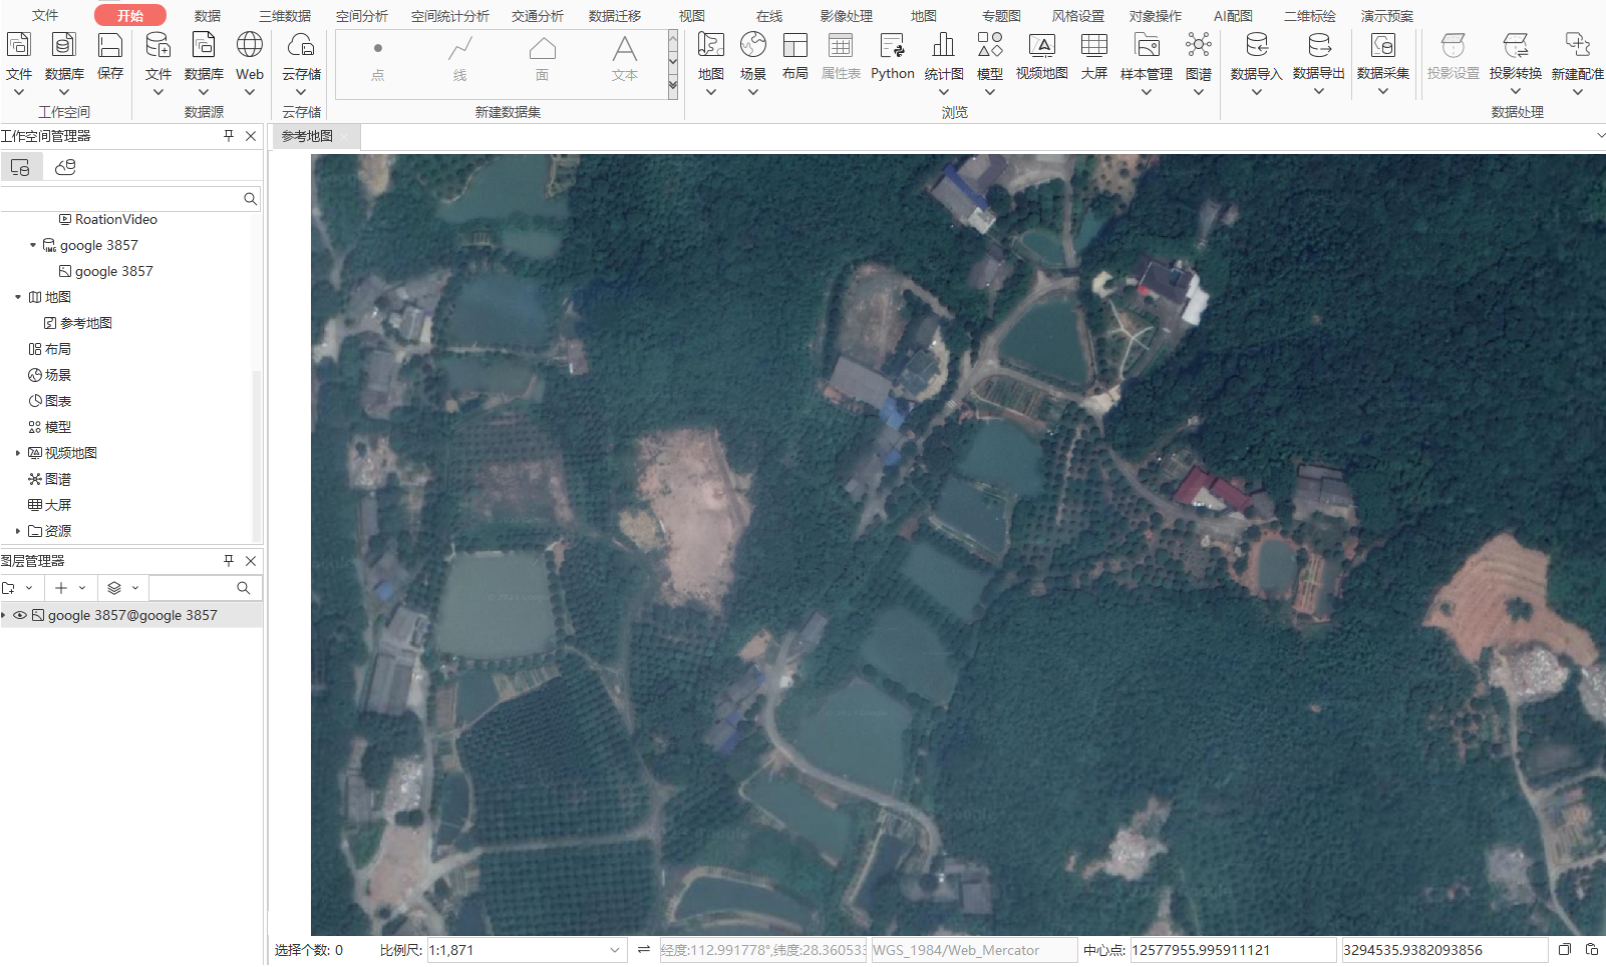
Step 2: Obtain Reference Map
Ensure the reference map shares the same coordinate system with the video dataset.
- Use web datasources: Navigate to Start tab → Datasource group → Web dropdown → Tianditu. In the Open Web Datasource dialog, select Global Image Map Service (Mercator), then add the img dataset to map. Locate the filming area and save the map.
- Use local imagery: Add existing image data near the filming location to map and save. This example uses local imagery as reference.
Step 3: Create Registration Window
- Open video dataset in video map. Click Video Maps tab → Video Registration group → Registration Mode (or Video Registration tab → Display Mode group → Registration Mode) to open the Reference Map dialog.
- Click Add and select the saved map as reference.
- Confirm selections in both dialogs to establish the registration window.
- Adjust rotation angle (e.g., 260°) to align reference map with video orientation.
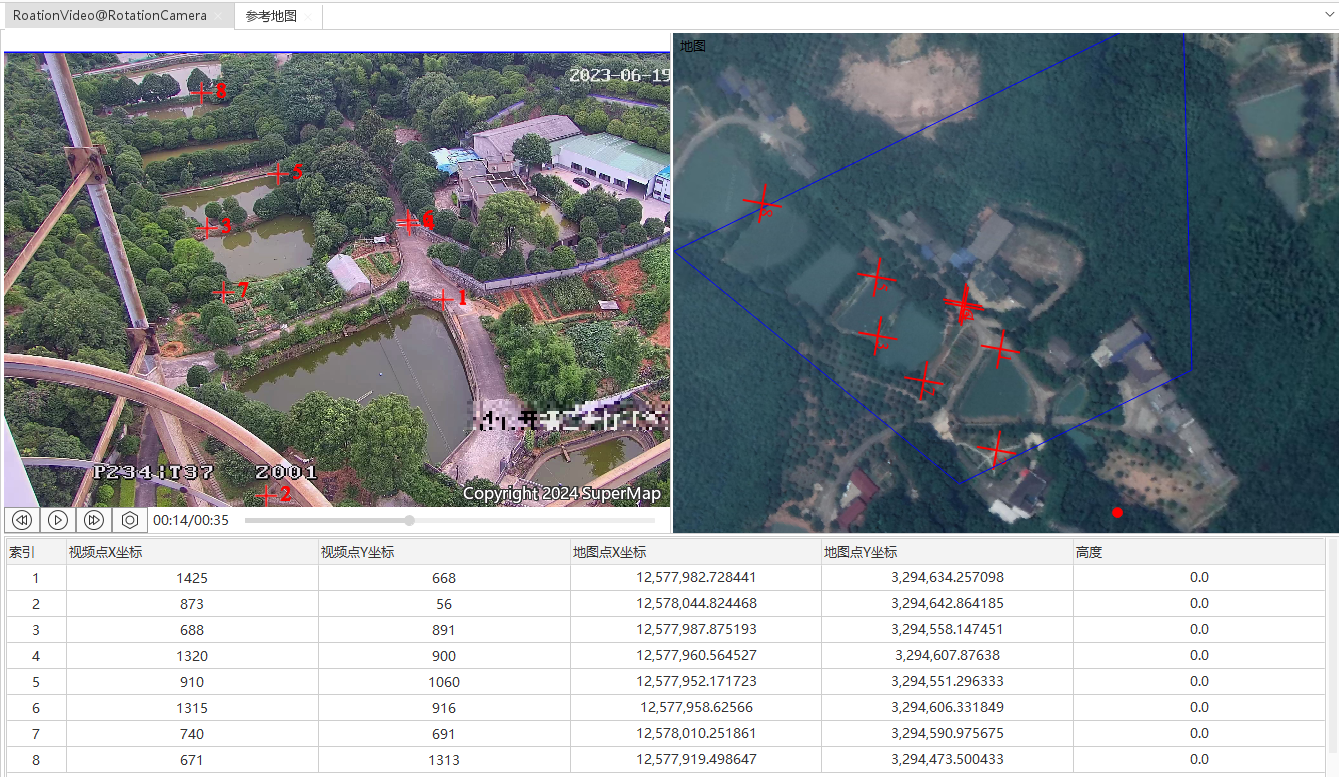
Step 4: Mark Control Points
For rotating videos, spatialization can be performed at single or multiple angles.
- Single-angle spatialization (e.g., horizontal 234°, vertical 37°):
- Navigate to target angle using video controls. Right-click video layer → Properties → Video Layer Properties Panel. Add new video parameters via Add button, then delete default parameters at 0s.
- Click Video Registration tab → Calibration Registration group → Staking Points to mark corresponding control points on both maps:
- Distribute points evenly across frame. More points improve accuracy. Input elevation values if available.
-
Multi-angle spatialization:
- Add video parameters at different angles through Video Layer Properties Panel and mark control points separately.
- Input PTZ values (visible at video's bottom-right) for each angle in PTZ Position.
- Input approximate camera position and elevation range before registration.
Step 5: Input Known Camera Parameters
Improve accuracy by inputting known parameters before registration:
- Click Video Registration tab → Calibrated Registration group → Registration Parameters. Input XY coordinates and Z range.
- Set iteration count and sample size (default 1000/200 usually suffices).
- Check Height Involved in Computation if elevation data exists (unchecked in this example).
Step 6: Perform Registration
Click Video Registration tab → Calibrated Registration group → Perform Registration to complete single-angle calibration.
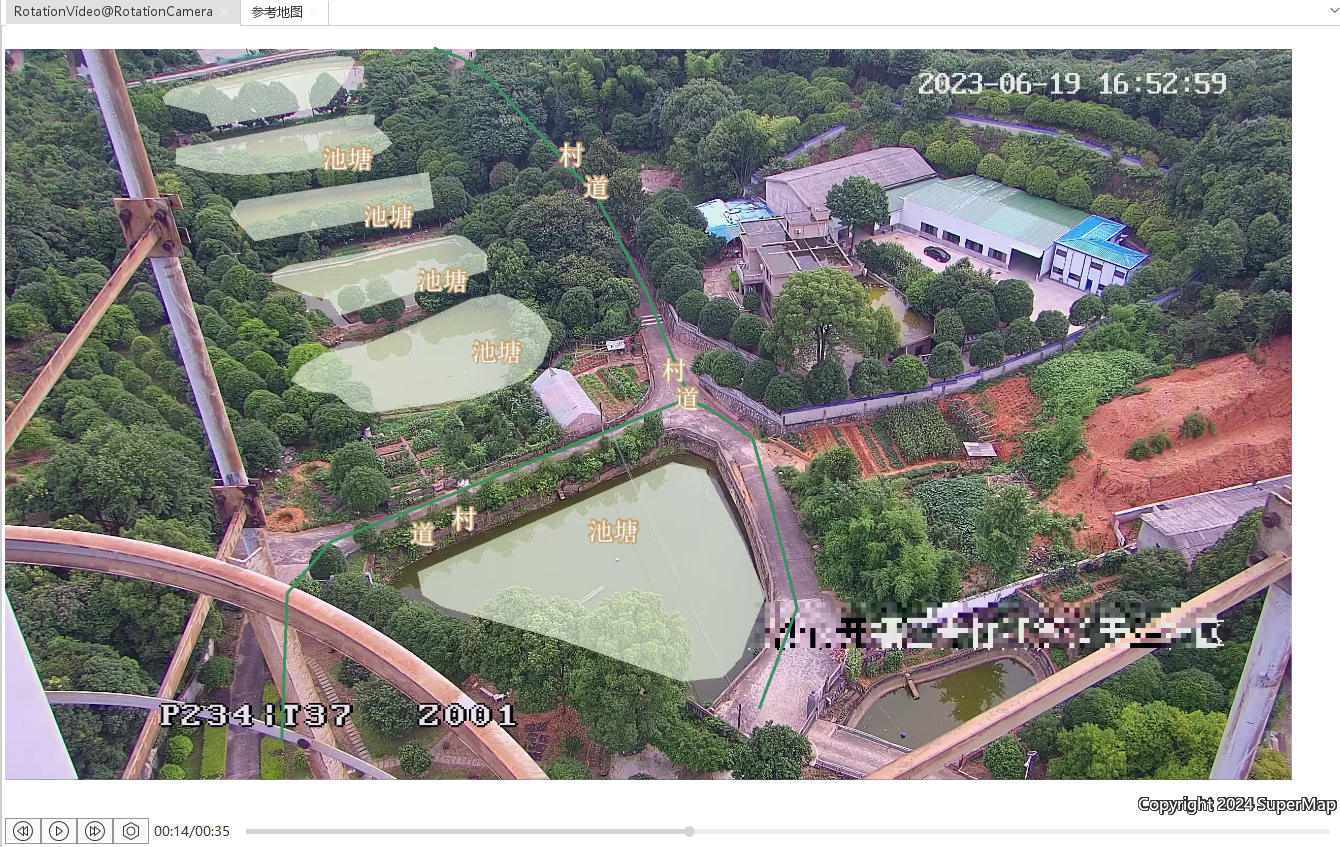
Step 7: Review Results
Check total/average errors in Output Window. Switch to Browse Mode and overlay vector data for visual verification.
Step 8: Optimize Accuracy
Post-registration generates Source/Result point datasets for each angle. Compare datasets to identify outliers:
- Add both datasets to map to visualize displacement discrepancies.
- Check Error field in Result dataset properties.
- Modify problematic control points and re-run registration.
Registration via Camera Parameters
Directly input known camera parameters for registration.
Step 1: Connect Video
Follow same procedure as Reference Map Registration Step 1.
Step 2: Set Camera Parameters
In Video Layer Properties Panel, manually input Camera Intrinsic Parameters and Extrinsic Parameters for each angle. See Camera Parameters Guide.
Step 3: Save Parameters
Click Video Registration tab → Camera Parameter Registration group → Save Parameters to finalize calibration.
Related Topics
Camera Parameter Registration Example
SuperMap UAV Survey Video Registration