


Case Description
Use the data in Subway.smwu workspace under SampleData\ExerciseData\QuickMakingMapTutorial to create a new map.
The data used in this case is located in SuperMap sample data SampleData\ExerciseData\QuickMakingMapTutorial. You need to download a separate installation package. For details, see Get the sample data package.
Open Data
- Open the iDesktopX application.
- Click Start -> Workspace -> File button.
- In the Open Workspace dialog box, navigate to the SampleData\ExerciseData\QuickMakingMapTutorial directory and select Subway.smwu.
New Map
There are two ways to create a new map:
- Method 1: Under the Subway datasource node, hold down Ctrl/Shift to select all datasets under this datasource, then in the context menu select Add to New Map to complete the creation of a new map.
- Method 2: In the Map node context menu, select New Map, then in the Select dialog box, use Ctrl/Shift to batch select the four datasets: BaseMap, Subway, Substation, TransferStation from the Subway datasource, click OK to complete the creation of a new map.
 Tips:
Tips:- In Method 1, pay attention to the display order of layers in the map. To avoid layer occlusion, the display order of different types of layers from top to bottom is generally: Text --> Point --> Line --> Region.
- In Method 2, datasets will be automatically sorted in the display order of Text --> Point --> Line --> Region.
When the coordinate systems of datasets added to the same map are inconsistent, a coordinate system prompts window will pop up, prompting "The current map window data coordinate system is inconsistent. Whether to open dynamic projection?". Then select Yes. For details about dynamic projection, see the Enable Dynamic Projection document.
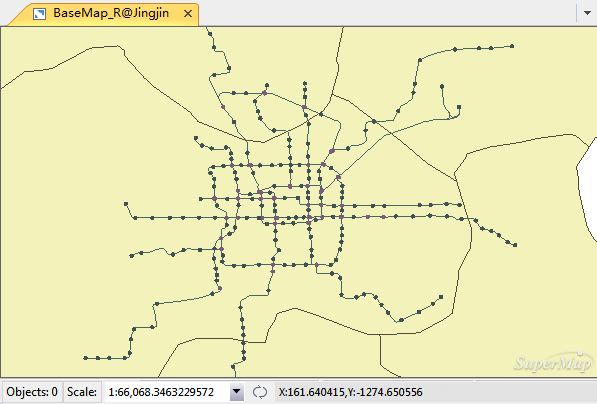
After completing the above operations, the new map is shown below:
Related Topics