To print maps, you need to create layouts. A layout consists of one or more maps along with supporting elements such as titles, north arrows, legends, scale bars, etc.
This documentation demonstrates how to create a layout for the Chengdu Subway Line Map. The detailed steps are as follows:
New Layout
- Right-click Layouts in Workspace Manager and select New Layout to create a blank layout. Choose layout template when prompted - select blank layout in this case.
- In Layouts tab -> Page Setup group, configure page orientation, size and margins according to output requirements. For this example: set orientation to "Landscape", size to "A4", margins to "Normal". The Layout Settings group allows configuring horizontal/vertical page counts, useful for large-scale maps or extensive coverage areas.
Insert Map
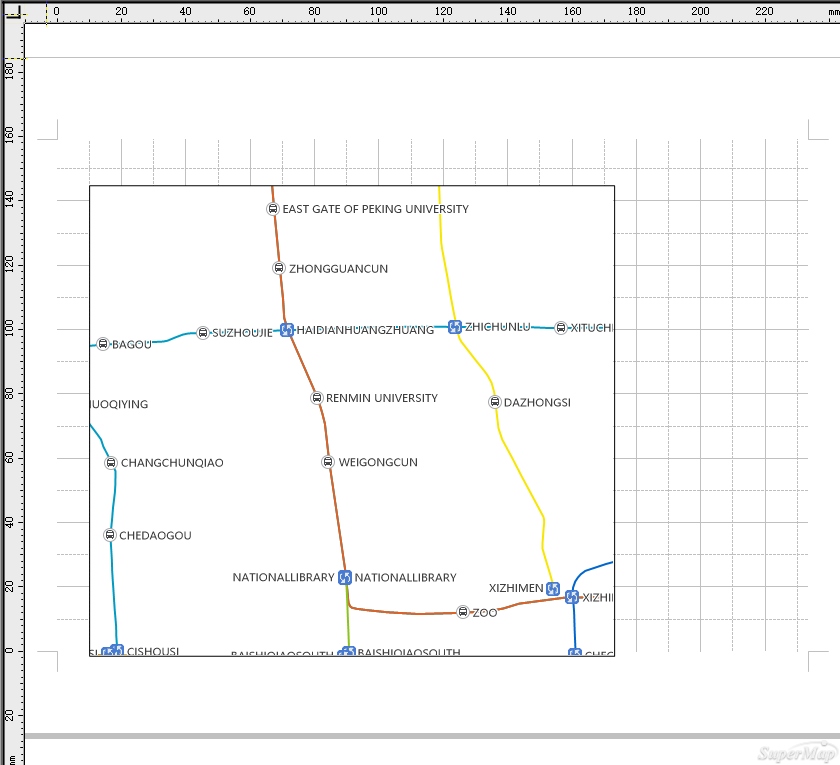
- Click Features tab -> Feature Drawing group -> Maps button. Select Rectangle from dropdown, then draw rectangle on layout page. After drawing, the Select Fill Map dialog appears - choose target map from workspace. Here we select Chengdu Subway Line Map.
- Right-click layout map and select Lock Map to enable zoom/pan operations. Click Lock Map again after adjustments.

Insert Text
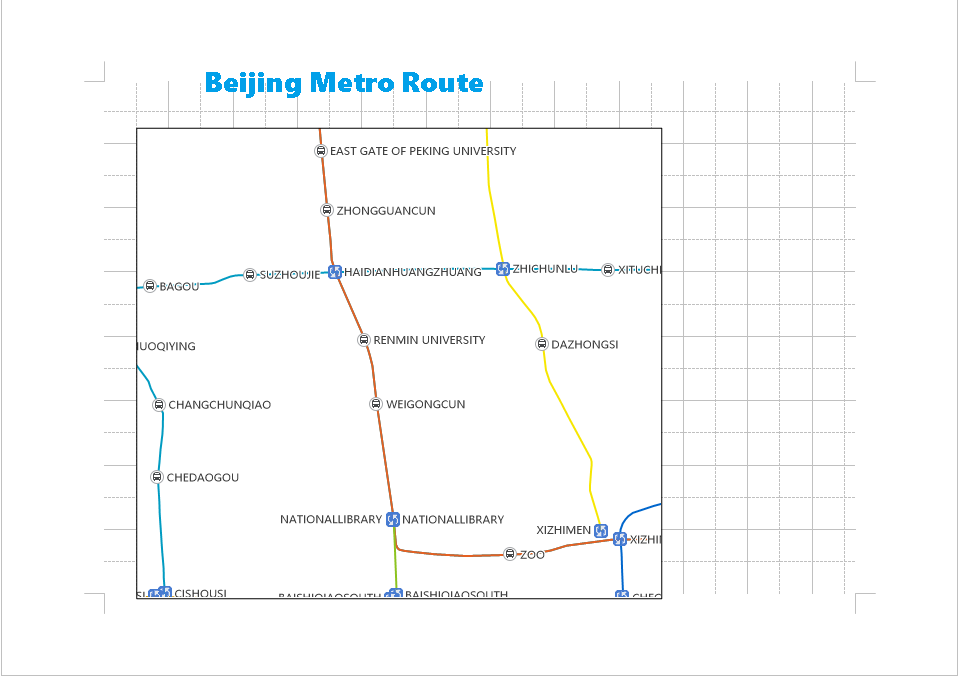
- Click Features tab -> Feature Drawing group -> Text button. Click layout page to input text, right-click to finish.
- Adjust text position via mouse drag or keyboard arrows.
- Right-click text and select Properties. In the right Properties panel -> Text section, configure font, size, height, color, etc. The styling result is shown below:

Insert Legend
Legends, scale bars, and north arrows are map-bound elements. Select layout map first before inserting.
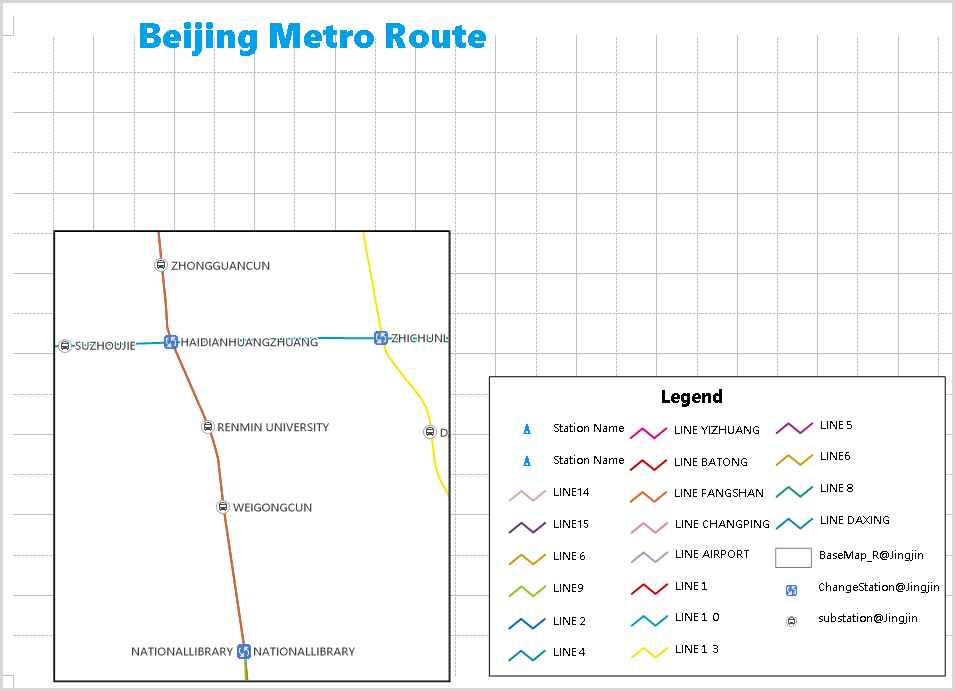
- Click Features tab -> Feature Drawing group -> Legend button. Draw legend area on layout.
- In Select Layer dialog, choose target thematic layer - select "Subway@Subway#1". Right-click legend and select Split Layout Elements to modify individual legend components.
- Select modified elements, right-click and choose Combine Layout Elements to regroup. The adjusted legend section is shown below:

Insert Other Decorative Elements
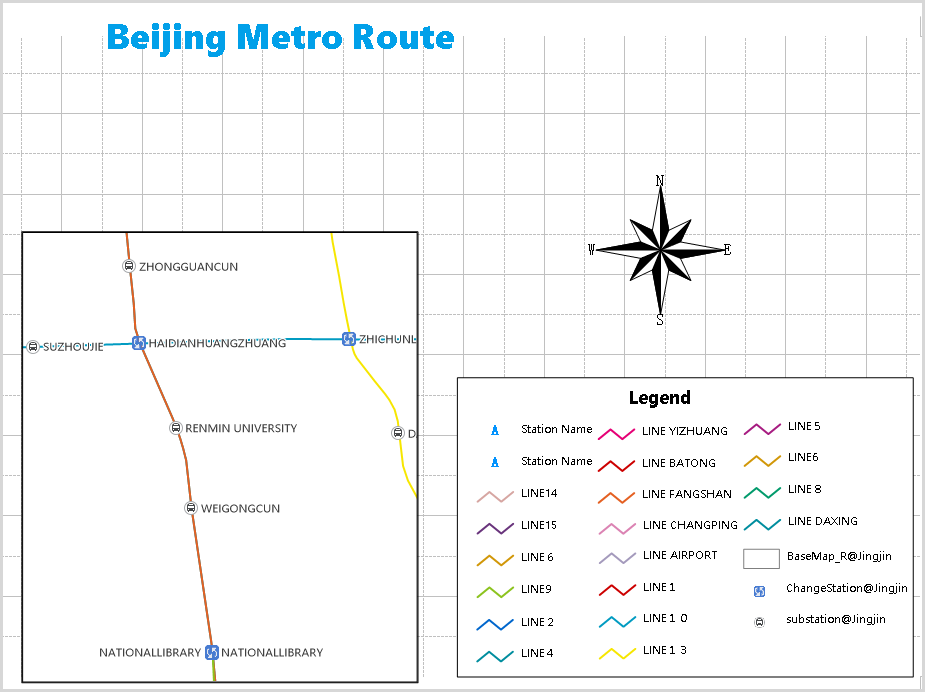
Other decorative elements like scale bars, north arrows, images, and tables can be added as needed. Editing methods are similar to Insert Text and Insert Map operations described earlier.
Below shows a preliminary layout example:

Layout Output
Completed layouts can be exported as images or PDFs. Direct printing is currently unsupported.
Right-click layout and select Export as Image... or Export to PDF.... Alternatively, use buttons in Layouts tab -> Output group.
Related Topics
Layout Typesetting and Printing


