After the listener is configured, the local Net service name configuration is also required.
Run Net Configuration Assistant: Find Oracle's configuration and migration tool in the Start menu: Net Configuration Assistant. Double-click to run the configuration tool. In the Oracle Net Configuration Assistant Welcome window, select Local Net Service Name Configuration as shown in the following figure, and then click Next to enter the Service Name Configuration interface.
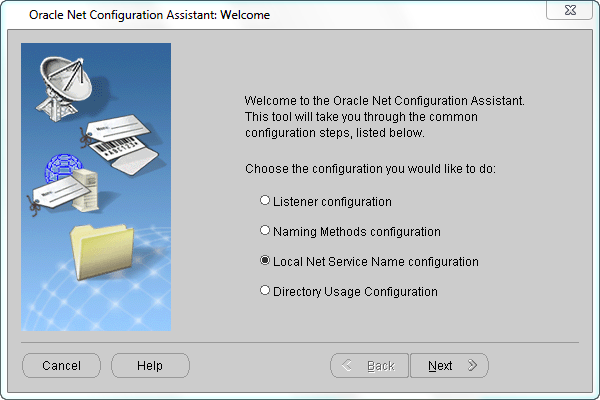 |
| Figure: Oracle Net Configuration Assistant Welcome Local Net Service Name Configuration |
- Add Net Service Name
Select Add to add a new service. Then click the Next button to proceed to step 2.
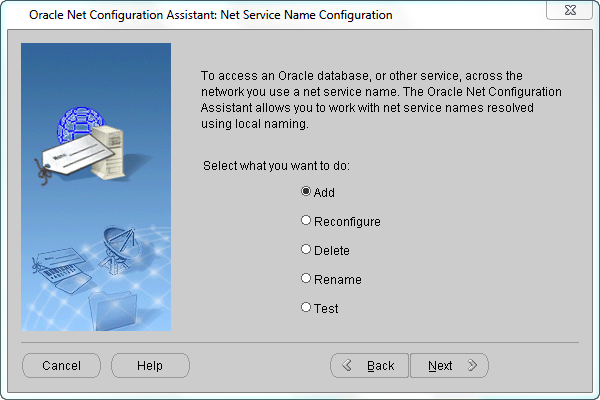
Figure: Adding a Net Service Name - Server naming Enter a name to identify the database service
in the Service Name dialog box, and then click the Next button to proceed to step 3.
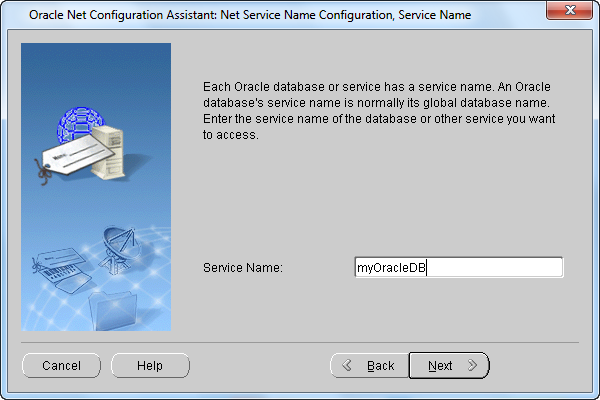
Figure: Enter the service name - Select the protocol
Select the protocol that applies to the database you will be accessing, and then click Next to proceed to step 4.
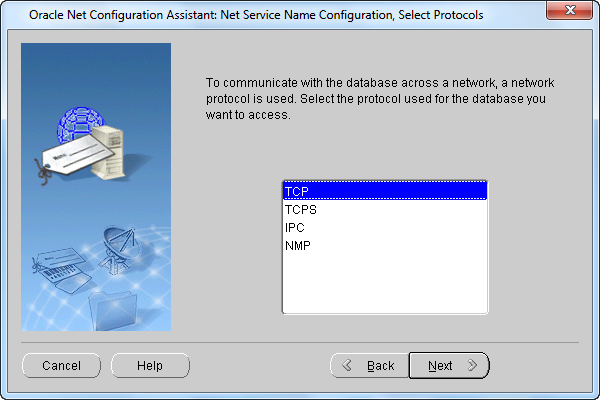
Figure: Select Protocol - TCP/IP protocol
TCP/IP identifies the protocol address of the listener by the port number, which must be the same as the port number of the listener. Hostname is the hostname of the machine where the listener is located. Click the Next button to proceed to step 5.
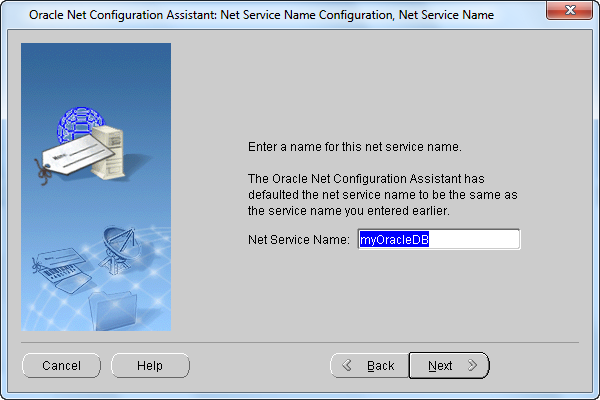
Figure: TCP/IP Protocol - Connection Test Verify that you can connect to the Oracle database
by performing a Connection Test. If no test is required, select "No, do not test"; if test is required, select "Yes, test", as shown in the following figure. Then click Next to proceed to step 6.
.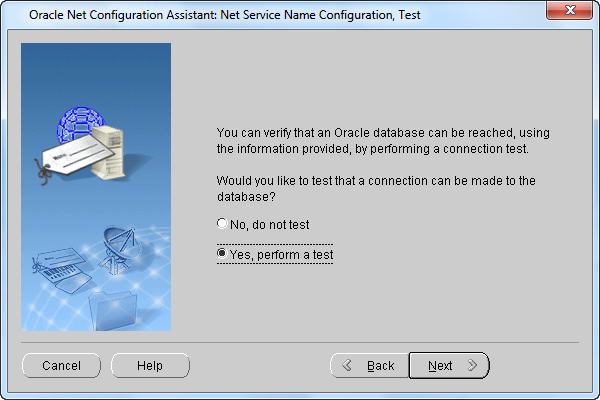
Figure: Whether to perform Database Connection Test - Establish a connection
In this step, the net service name information is tested. During the test, Oracle Net Configuration Assistant attempts to contact the remote database service, establishes a connection, and then ends the contact. If the message "User name/password is invalid, login is rejected, and the test is unsuccessful" appears, click the "Change Login" button, and enter the password you set in the pop-up "Change Login" dialog box. Click the "OK" button to connect succeeded and prompt that the test is successful.
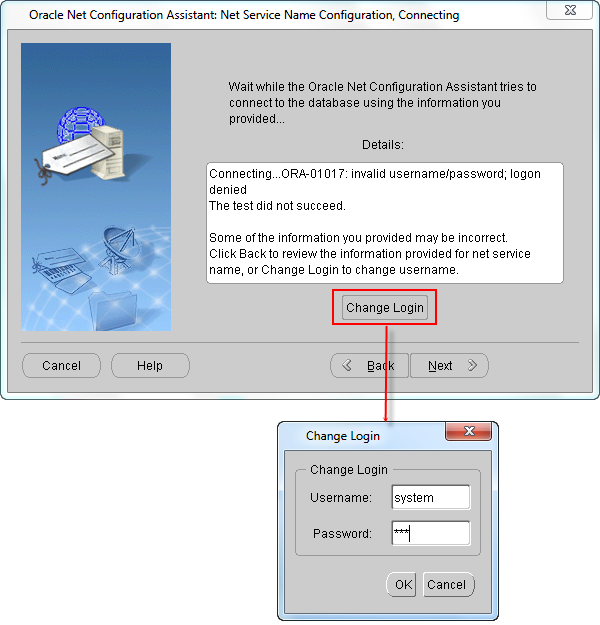
Figure: Establish Connection failed and change Login Info
After the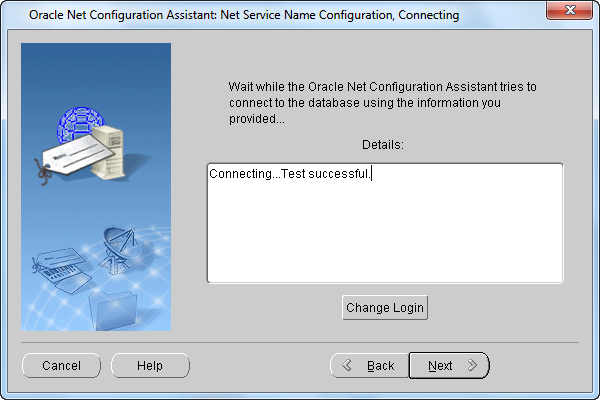
Figure: Test successful test is successful, click the "Next" button to proceed to step 7.
- Net service name
In the Net Service Name dialog box, enter the service name, which defaults to the service name you entered previously, and then click Next to proceed to step 8.
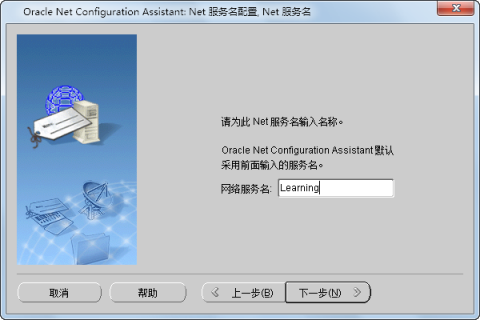
Figure: Net Service Name - Do you want to configure another Net service name
If another Net service name needs to be configured, select Yes; otherwise, select No, as shown in the following figure. Then click Next to complete the Net service name configuration.
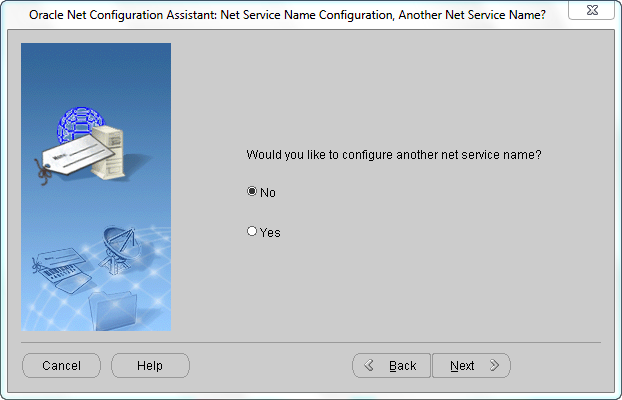
Figure: Whether to configure another Net service name 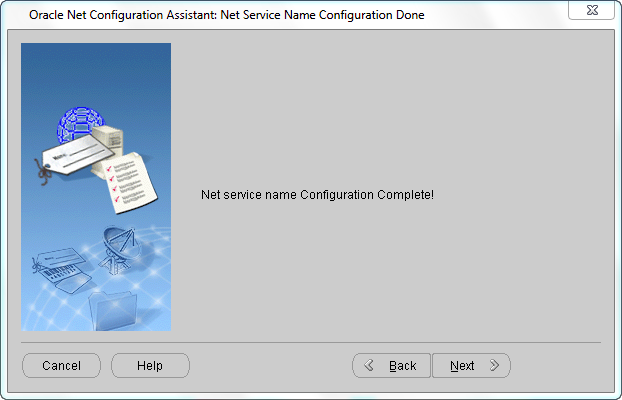
Figure: Net Service Name Configuration Complete
 Related topics


