


The online services support accessing data from both the SuperMap Online public cloud and iPortal private cloud. After configuring the SuperMap Online and iPortal addresses in the application, you can directly access data from the cloud services and share/upload local data.
SuperMap Online
The address of SuperMap Online is: https://www.supermapol.com/, which is predefined in the Services option under File. If the computer can access the SuperMap Online address, you can access Online resources in the online data panel, as shown in the following figure:
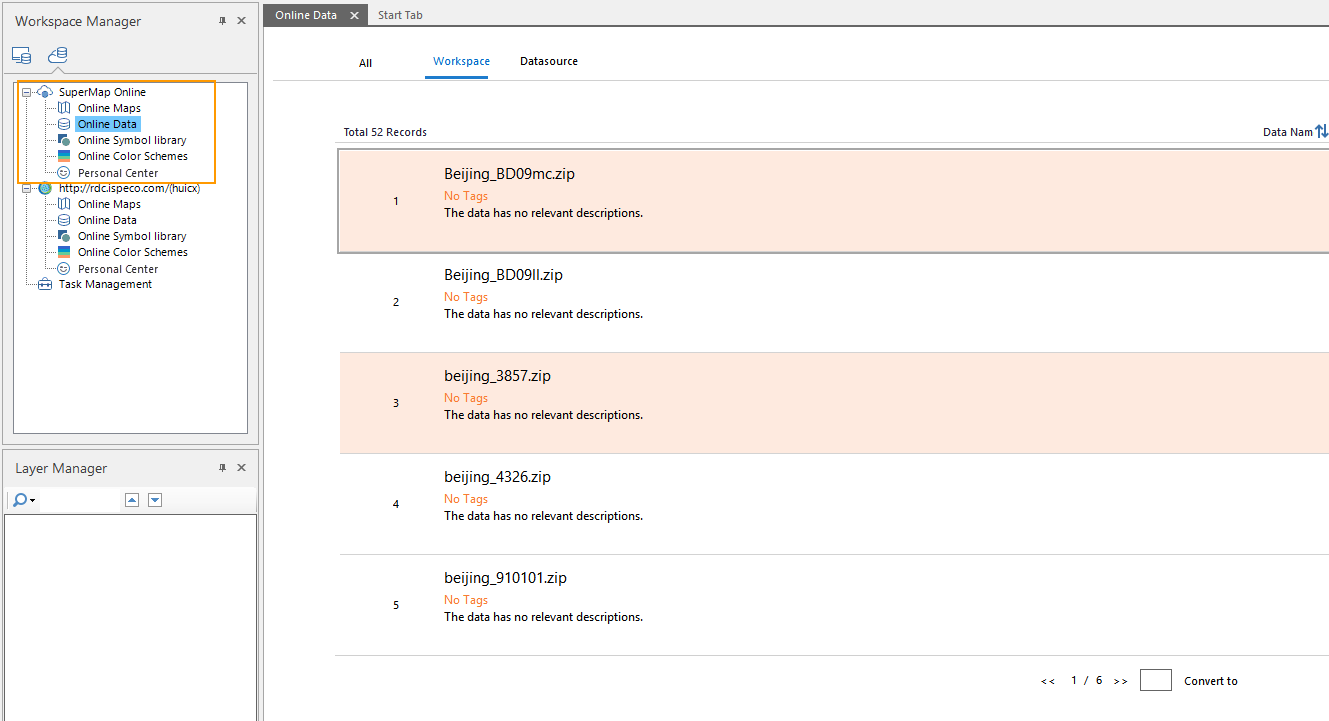 |
Login: In the Account group of the Online tab, click the "Login" button. Enter your registered SuperMap account and password in the pop-up account login panel to log in. After logging in, you can share data and download data not publicly shared.
Register: If you do not have a registered SuperMap account, you can click "register" in the dialog box. In the pop-up browser page, register via email or mobile phone. Within one hour of registering via email, log into your registered email, open the email from SuperMap Cloud Portal with the subject "Account Activation", and click the "Activate Account" button in the email body or click the verification link to complete activation.
iPortal
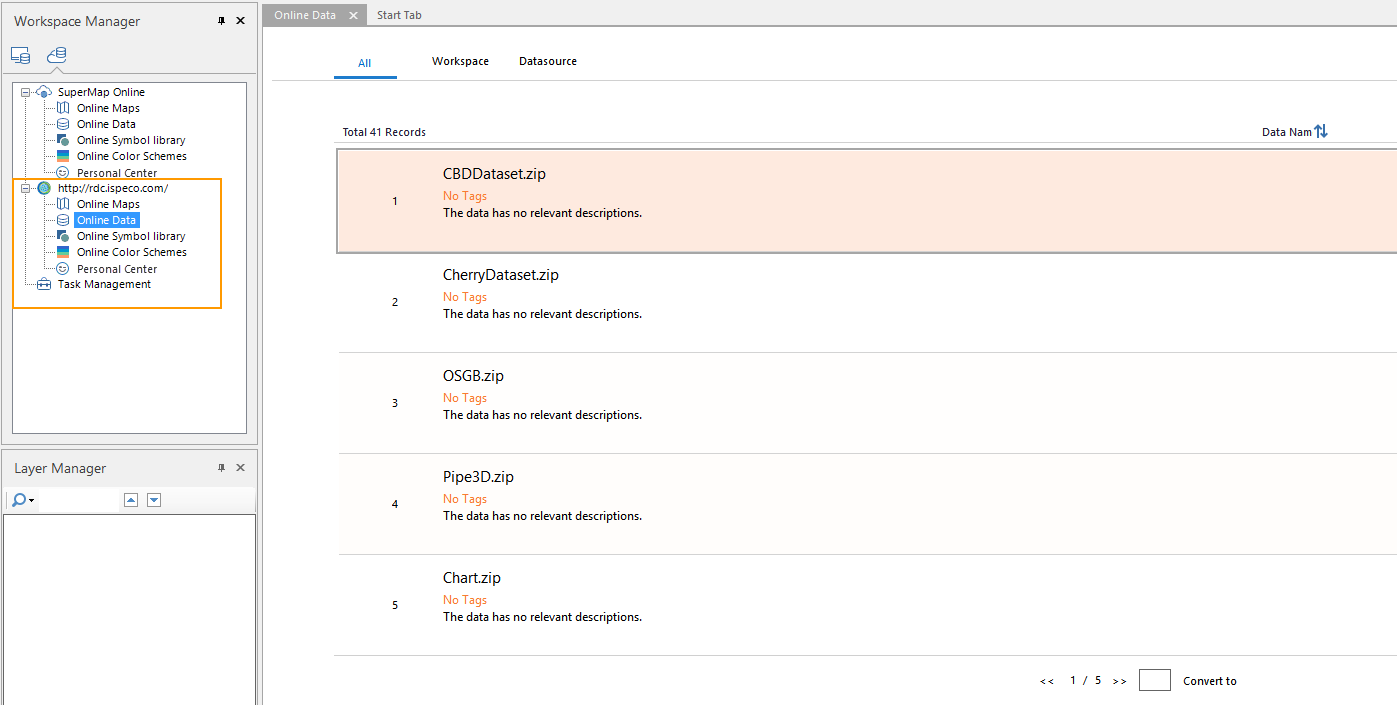
In the Services panel under the File tab, you can add and manage your iPortal addresses. You can add multiple iPortal addresses, but the desktop can only display data from one iPortal address at a time. The management of iPortal server addresses is as follows:
 |
- Click the File menu button, select the Services option in the panel to open the cloud service settings panel.
- In the SuperMap iPortal toolbar, click the Add Service button. In the pop-up Add iPortal dialog, enter the configured iPortal server address.
- Add: After entering the iPortal address, you can choose the addition method. One is Only Add, which adds the current address to the iPortal address list; the other is Login And Add, which adds the address to the list and logs into the iPortal account.
- Set Active Portal: Select an address from the iPortal address list, click the Set Active Portal button in the toolbar, or right-click and select the Set Active Portal option. Then, you can view the data and resources from the current iPortal server address in the online workspace.
- Login: Click the "Login" button in the toolbar, or choose Login And Add when adding an iPortal address. Enter the iPortal account and password in the pop-up login panel to download private data from iPortal and share local data.
- Register: If you do not have an iPortal account, click the Register button in the above figure. Enter the registration information in the pop-up page and click "Register" at the bottom of the page to submit. After successful review by the administrator, the registration is complete, and you can log in with the registered account.
- Modify connection information: If the iPortal address changes, click the "Modify connection information" button in the toolbar. In the pop-up Modify iPortal dialog, re-enter the iPortal address.
Related Topics