


The Checkpoint Management feature is available in the context menu of checkpoint_planar accuracy/checkpoint_edge matching accuracy/checkpoint_fine planar accuracy nodes under the Image panel. It includes functions such as Previous, Next, Edit, Delete, Ascending, Descending, Regenerate Inspection Report, and Classified Display. This document mainly introduces Edit, Set Status Value, and Classified Display features.
Edit
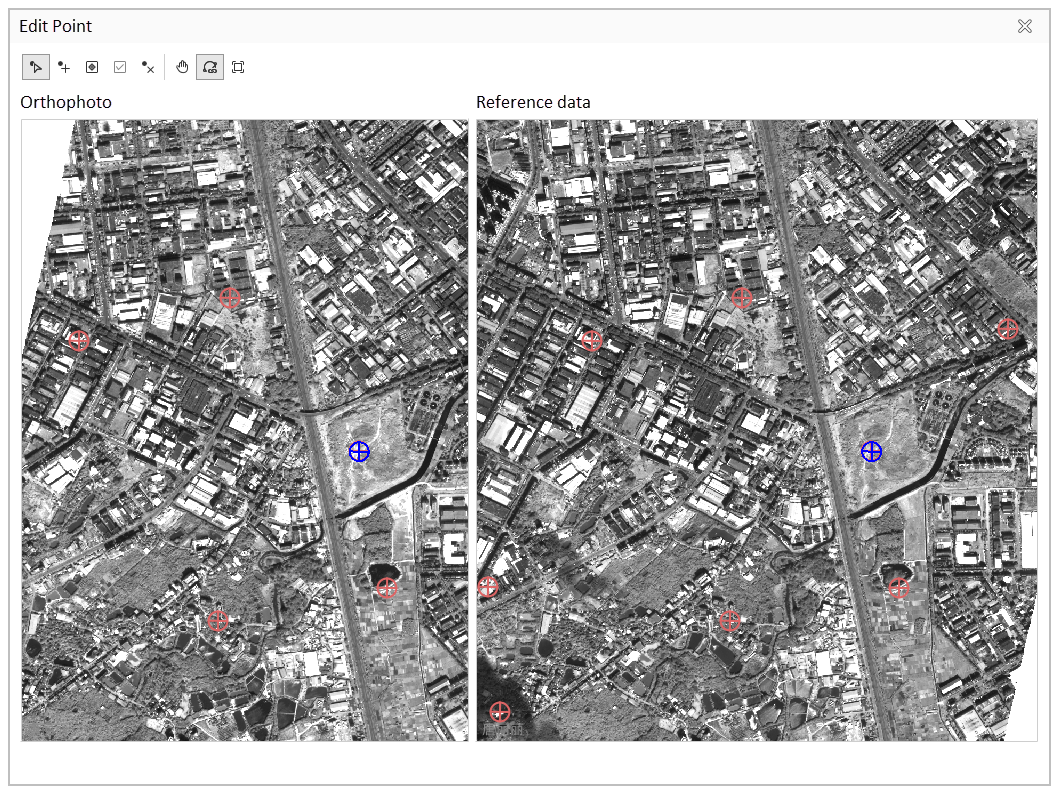
Select a row in the attribute table and click the Edit button on the toolbar to open the Edit Point dialog. Use the toolbar buttons to modify point positions, providing five editing options: Select, Add, Edit, Confirm Point, and Delete. After adjusting the point location, click Confirm Point to complete editing. Navigation options including Pan, Linked Views, and Full View are also available.
Regenerate Inspection Report
After editing checkpoints, click Regenerate Inspection Report to update error accuracy for checkpoints and inspection surfaces.
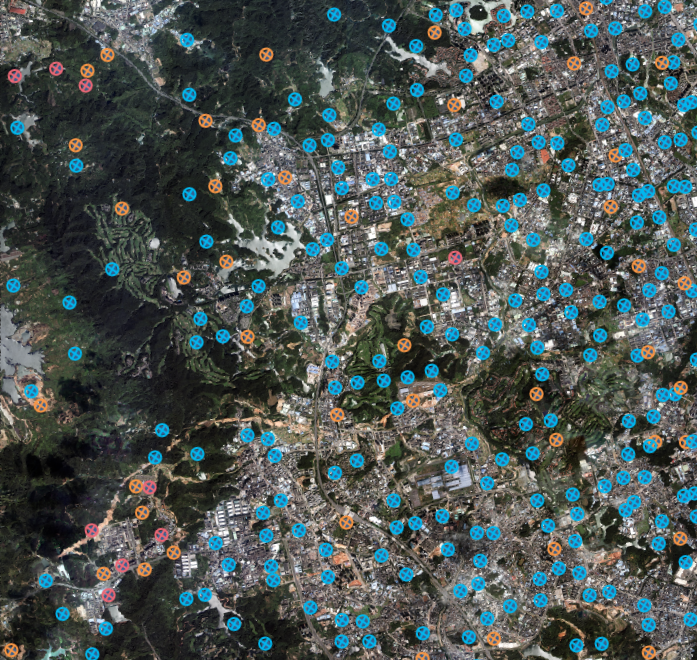
Classified Display
When control points participate in adjustment, update error results for classified display. Click the settings button on the right to open the Display by Error Classification dialog for configuring display effects.
- Error: Select error sources from Image RMSE in X, Image RMSE in Y, or Overall RMSE (default).
- Number of Classes: Set classification levels (default 3, options 2-5).
- Classification Settings: Display marker styles, threshold values, and classification intervals for different levels (only threshold values are editable).
Related Topics