Object Based S3M Tile Dynamic Mapping Material
This page provides a method for dynamically mapping materials to specific objects in S3M tiles to fine-tune model materials.
This method requires that the model objects and materials stored in S3M tiles have finer granularity, such as BIM data or fine urban fine models, so that different objects in the same model can be selected to replace materials, such as floors, walls, window frames, glass, etc. in buildings.
Material replacement operation
The specific operation steps are as follows:
- Generate the original 3D model as S3M tile data with SuperMap iDesktop/iDesktopX version 11i (2023) and above. For tile generation steps, please refer to SuperMap iDesktop/iDesktopX Help Document
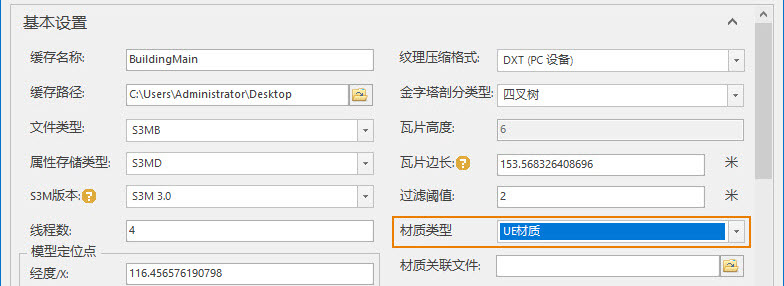
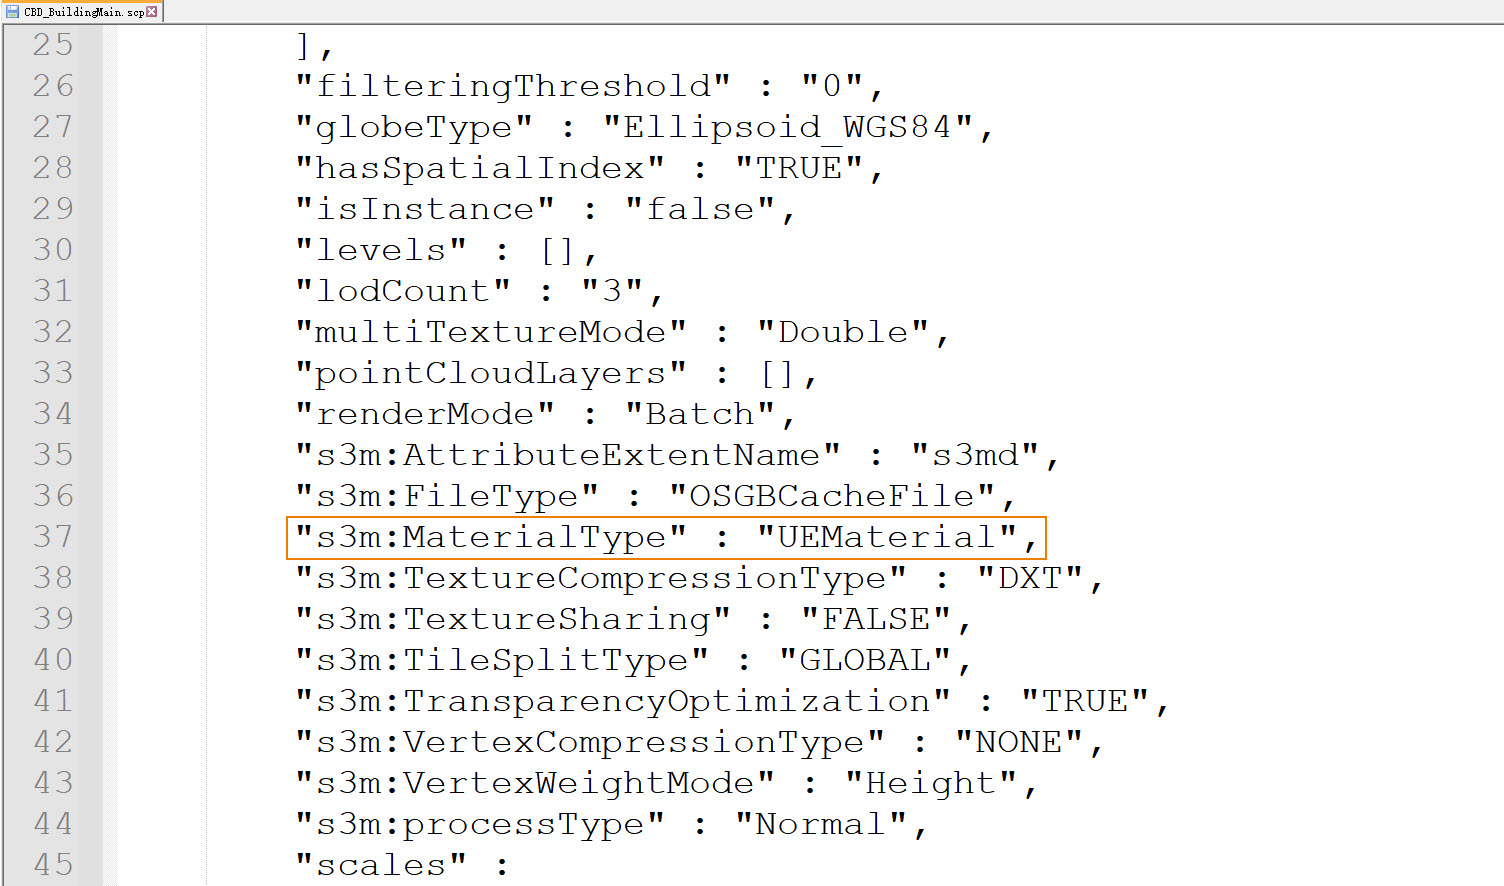
- Among them, when setting tile generation parameters, you need to select the material type as UE material. After the tile is successfully generated, there will be a tag s3m:MaterialType: UEMaterial in the data configuration file (*.scp).
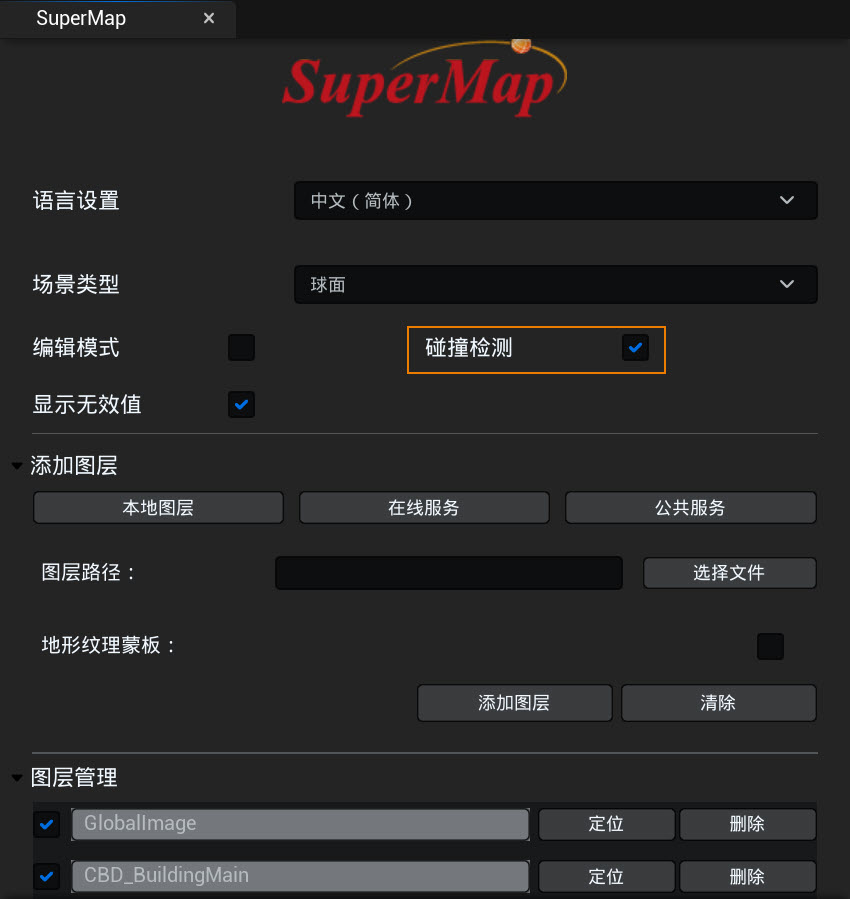
- Load the generated tile data in Unreal Engine via the SuperMap editor control. Among them, if loading data in spherical scene, collision detection needs to be checked.
- After running the scene, material replacement of model objects is realized through material replacement function of data beautification page.
- Left-click any model object in the scene to display the object's original material name in the Material Substitution Settings panel.
- Select the appropriate material or material instance from the Unreal Engine library and drag it onto the Material Replacement Shader in the Material Replacement Settings panel.
- If desired, you can set the scaling of the material texture by adjusting the UV tile value after selecting a specific object.
- Follow steps 5-7 above to replace materials for other objects. After completing the operation, click the Save button to save the material replacement information to the project\Content\SceneInfos\level\SceneInfos.json file to ensure that the beautification effect can be directly displayed after running the scene again.
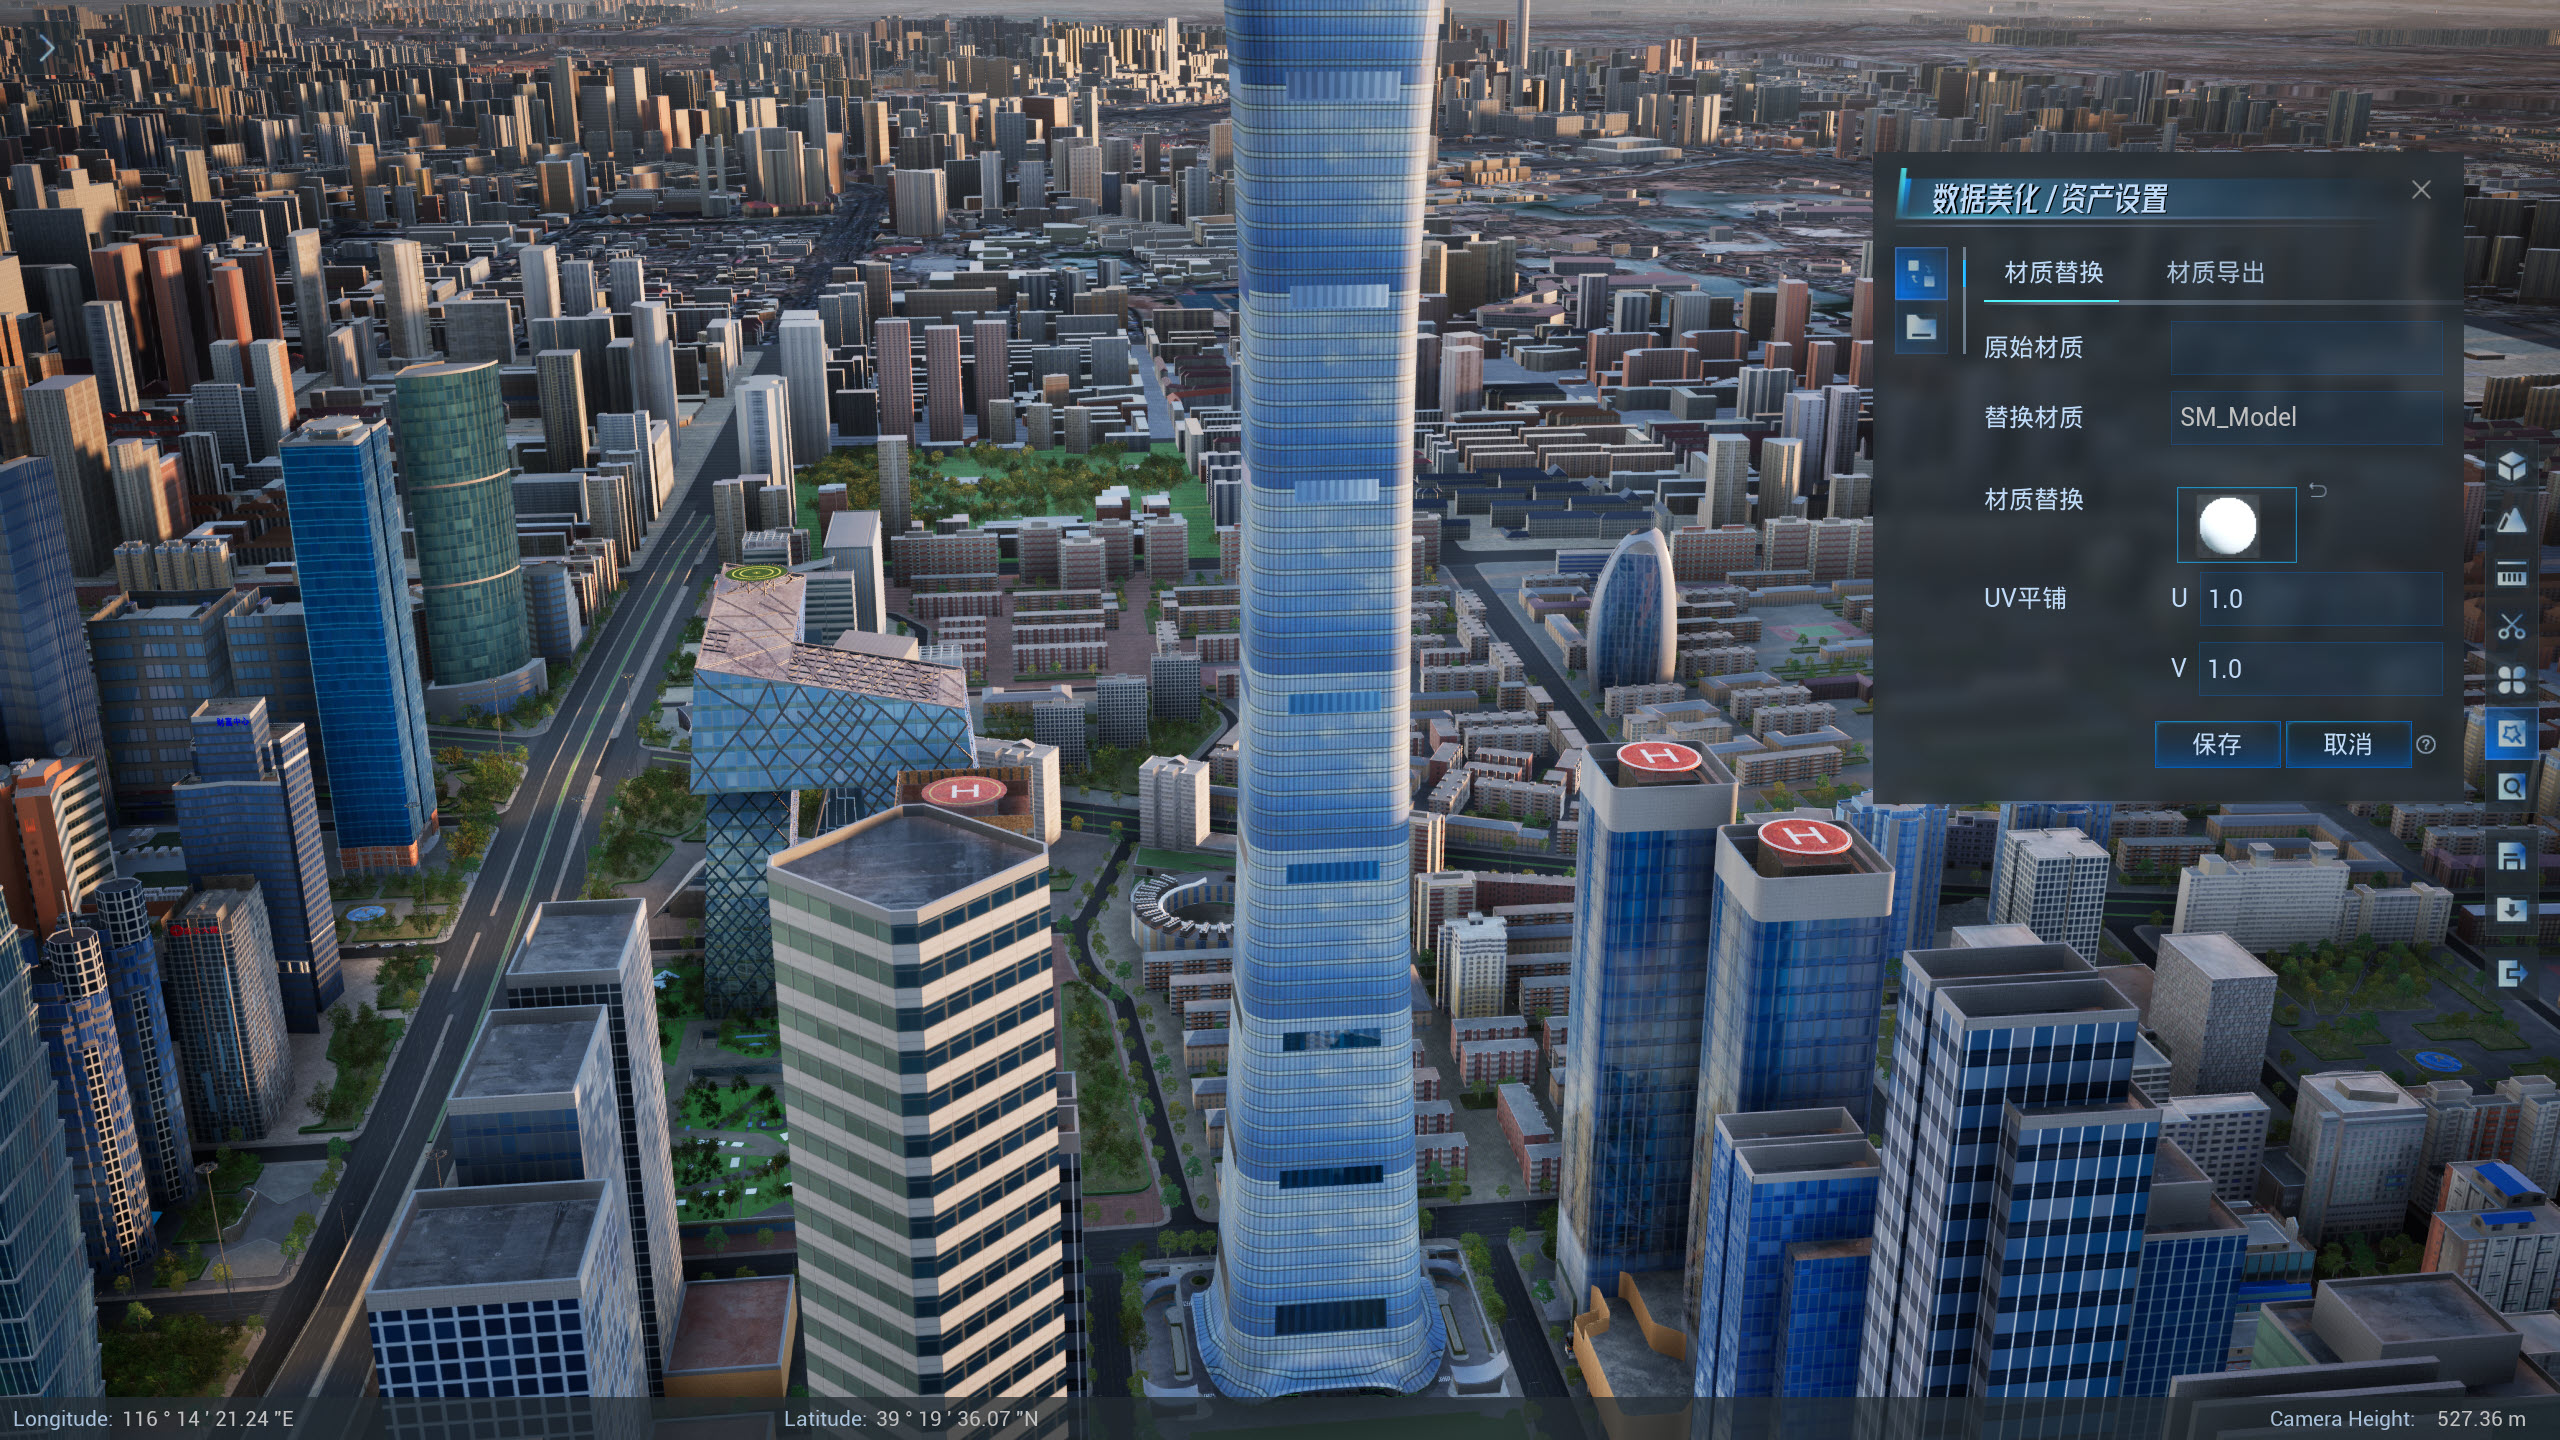
The effect of model object material replacement is shown in the following figure:
 |
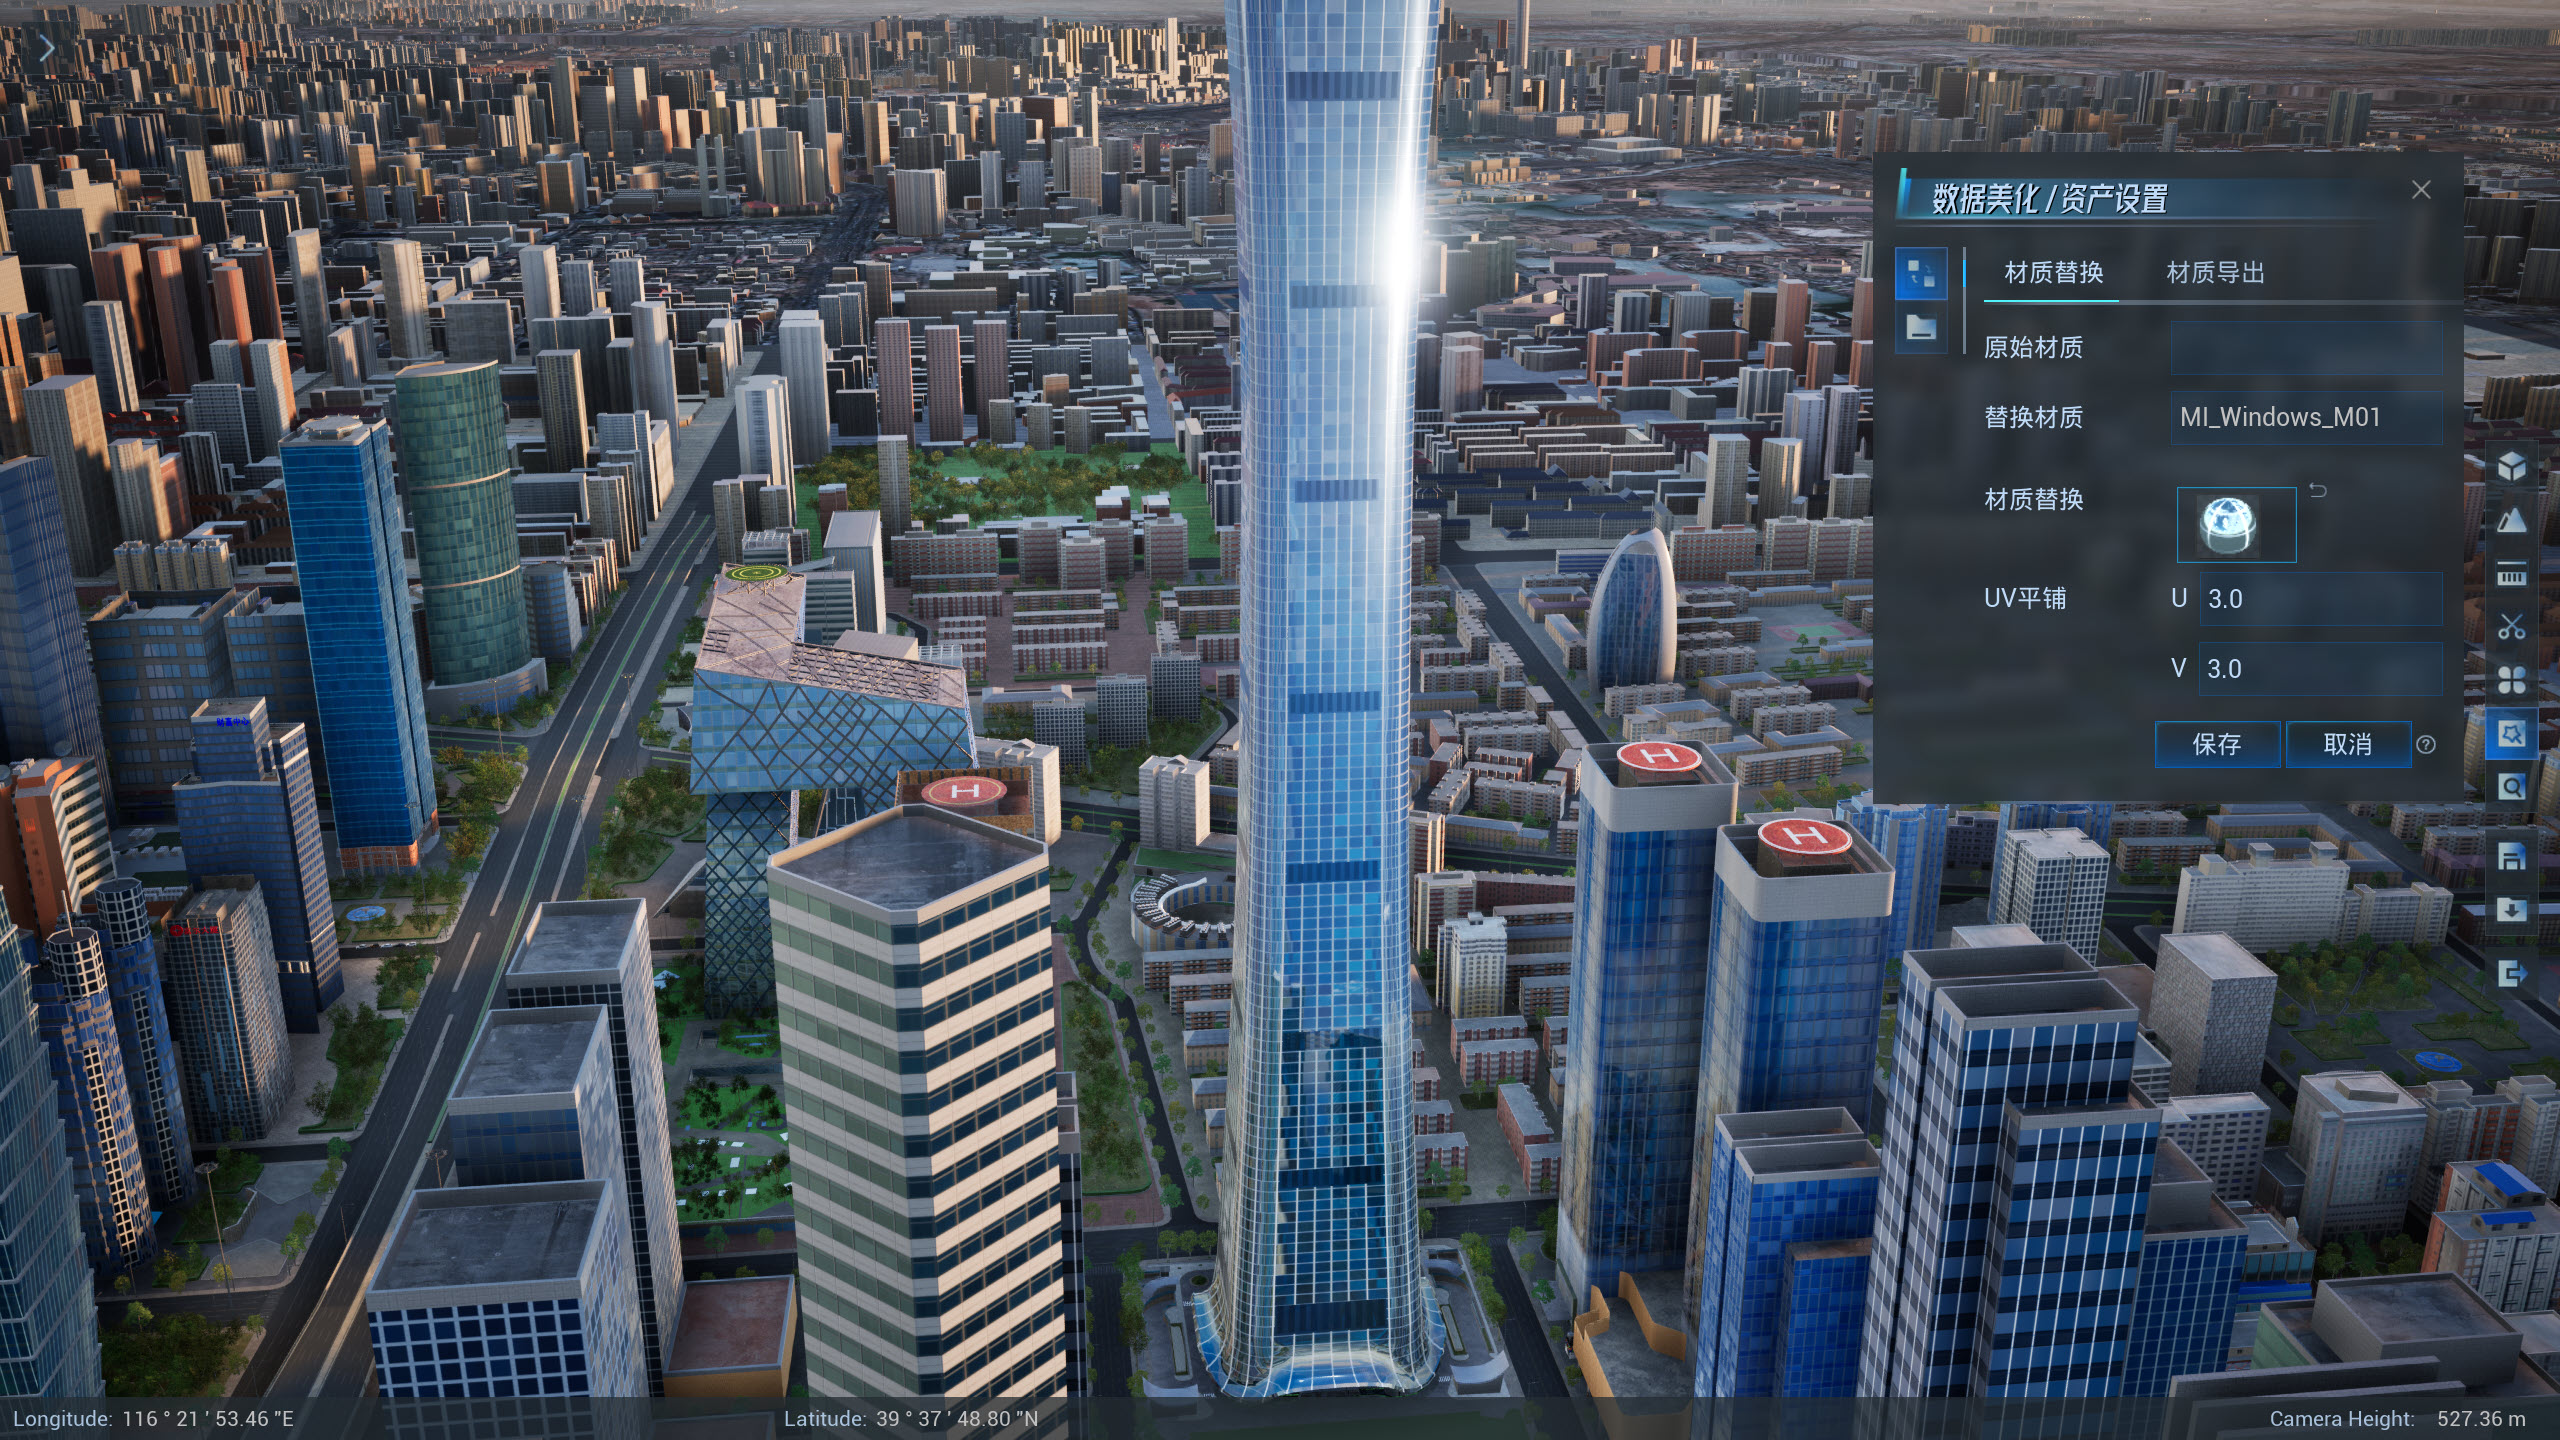 |
| Original model effect | Beautified model effect |
 attention
Material replacement effect applied to Web3D engine
Here's how to apply the above material substitution effects to Web3D engines such as SuperMap iClient3D for WebGL. The specific operation steps are as follows:
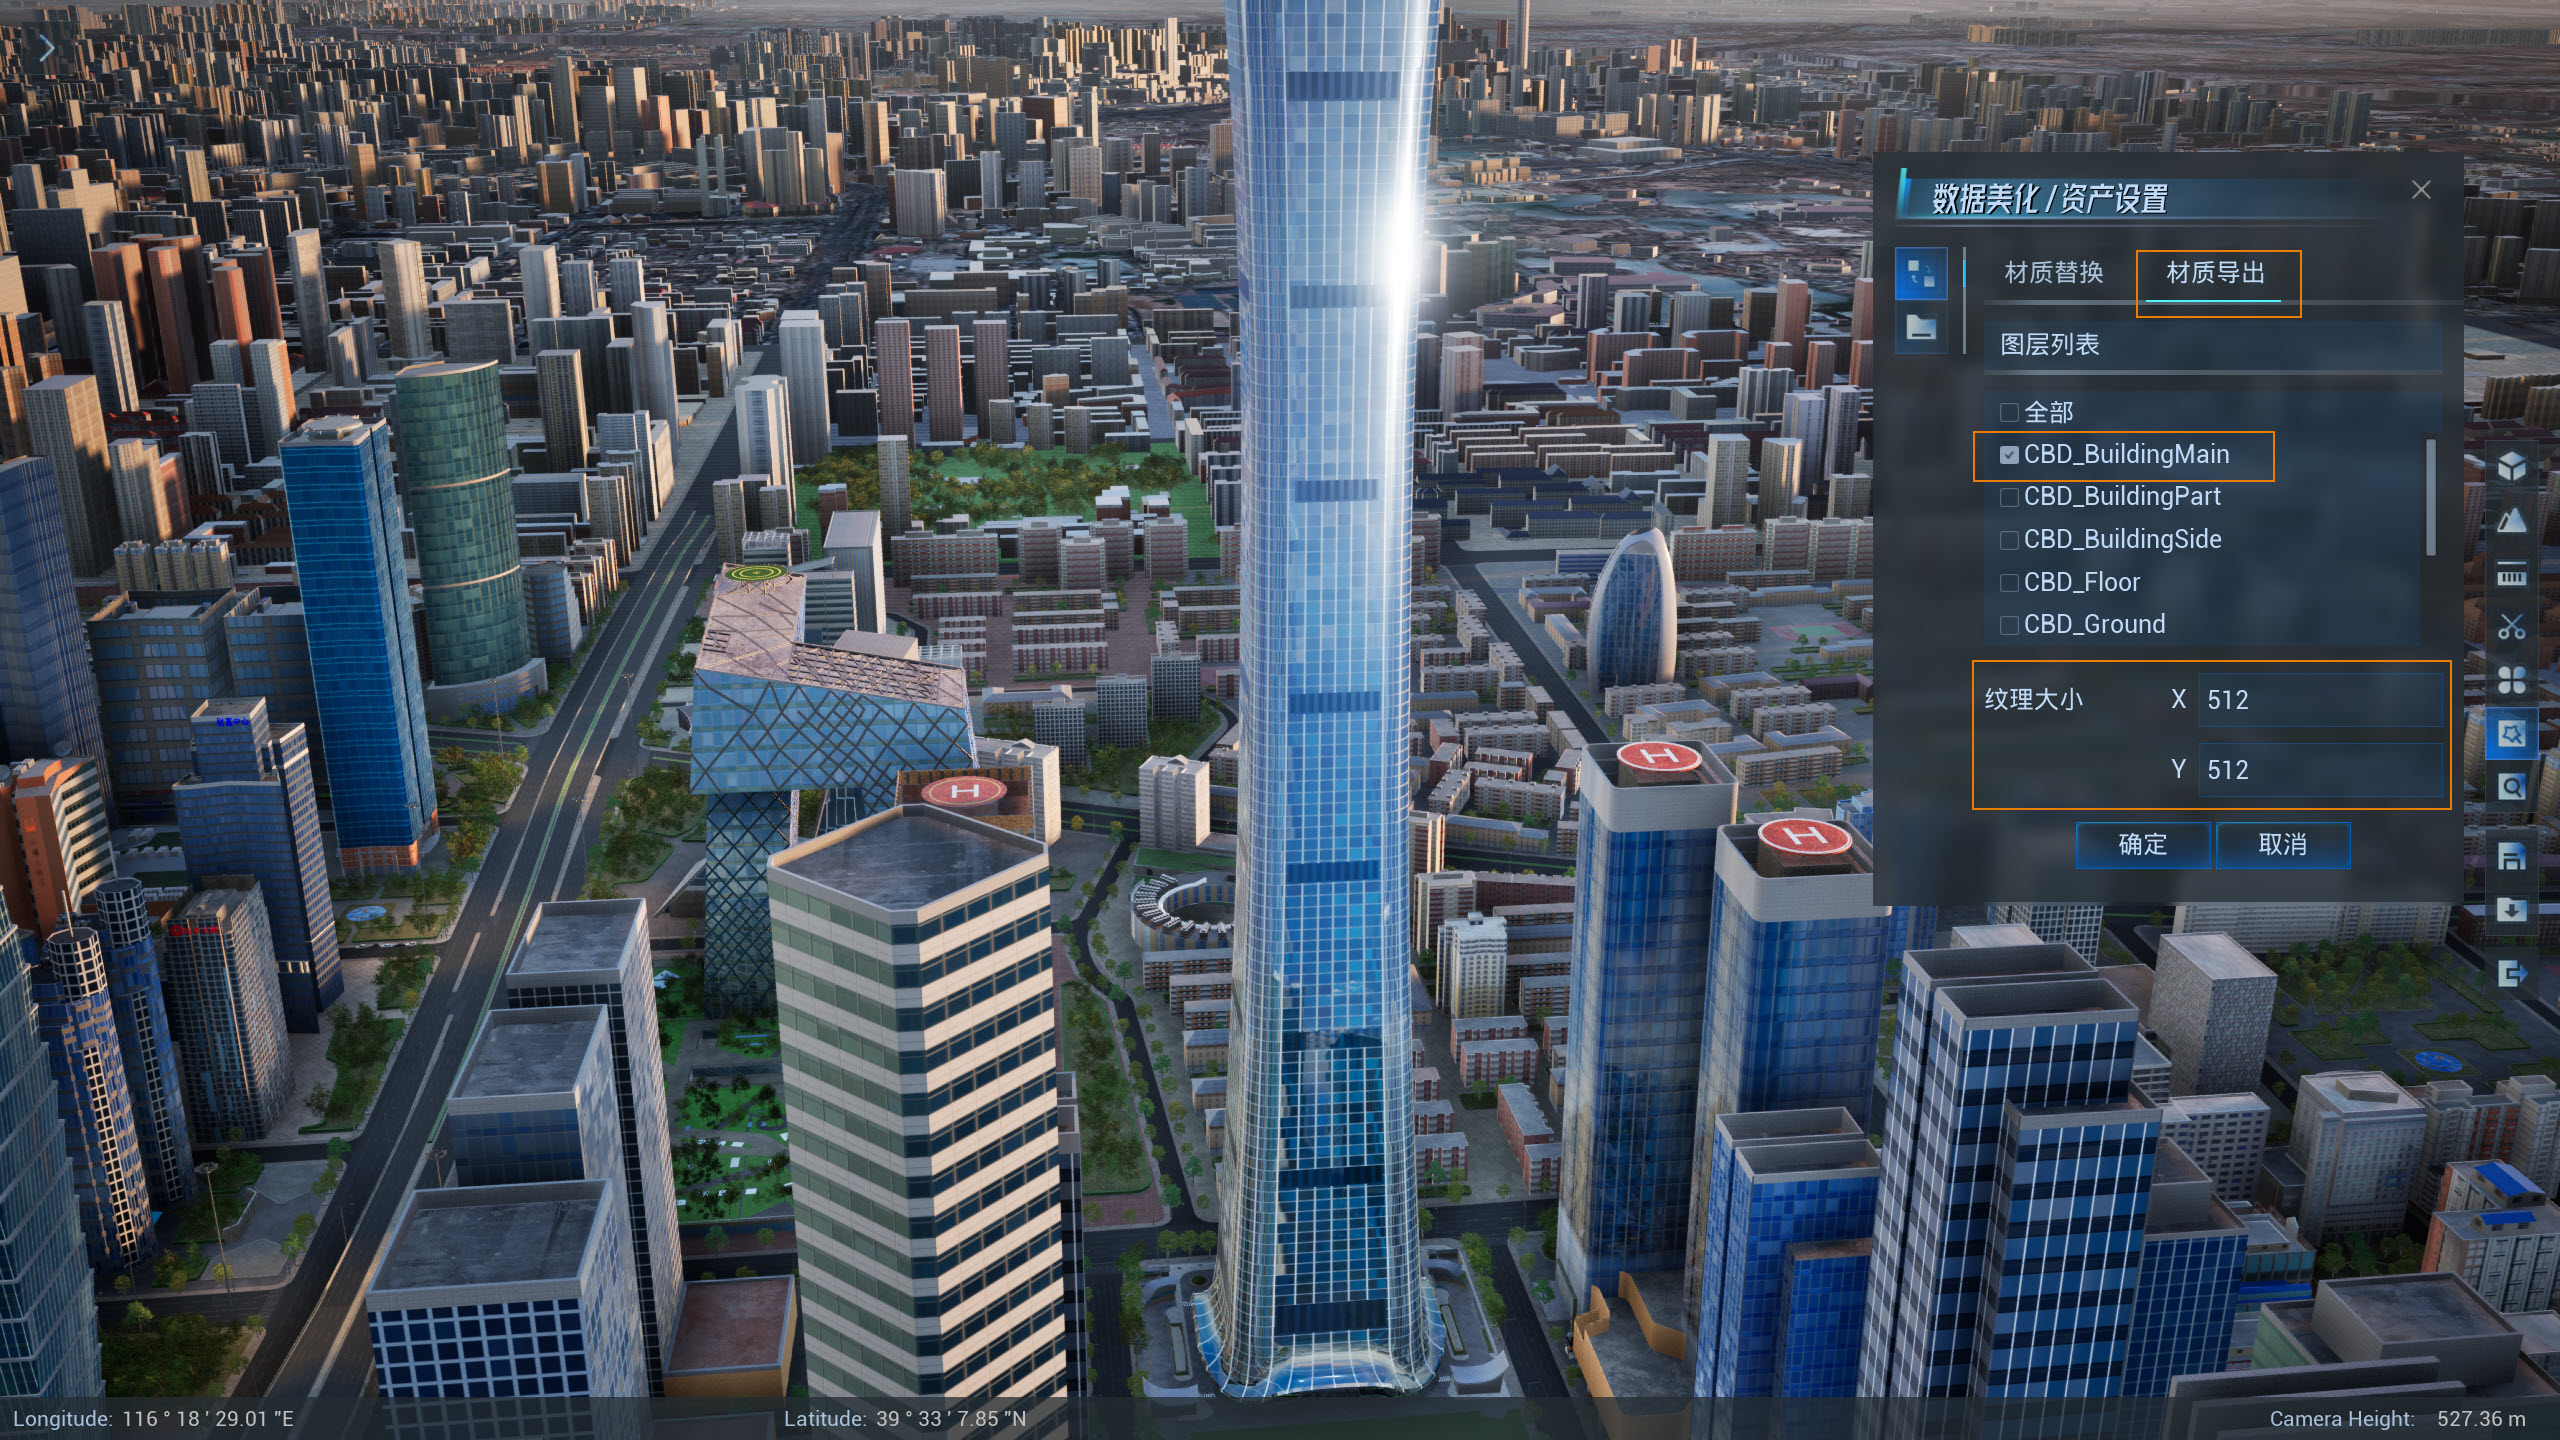
- After the previous part is set, click OK button to export the material content. The final result is as follows:
- A record will be added to the *.scp file of the model data: associateMaterialurl: ./ MaterialPackages/LayerInfo.json"}。
- *.scp file sibling directory, new MaterialPackages folder, including LayerInfo.json file and exported materials. For information about exported materials, see Bulk Export Materials .
- Add the S3M tile data for the model to SuperMap iDesktop/iDesktopX and save to a workspace.
- Use SuperMap iServer to publish the above workspace as a 3D service.
- By opening the scene with SuperMap_iClient3D 11i(2023)_for_WebGL(V11.1.0) and above, you can load the 3D service published above to see the beautified effect.
- In order to improve data display performance without replacing materials, the S3M tile data of the model can be regenerated into tile data through the reslicing function of SuperMap iDesktop/iDesktopX, and the external materials will be written into the data.
