


Feature Description
The 3D Registration feature supports performing registration on a single model dataset.
Feature Entry
- Start tab -> Data Processing -> New Registration -> 3D Registration.
Steps
Create New 3D Registration
- Registration Layer: Select the model dataset requiring 3D registration
- Datasource: Select the target model dataset's datasource from the dropdown.
- Dataset: Select the target model dataset from the dropdown.
- Reference Layer: Select reference data
- Dataset: Check the dataset radio button, then select reference dataset and its datasource from dropdowns.
- Tile Layer: Check the tile layer radio button, browse and select reference tile data through the folder browser.
- After data selection, click OK to complete setup and enter the 3D registration window:
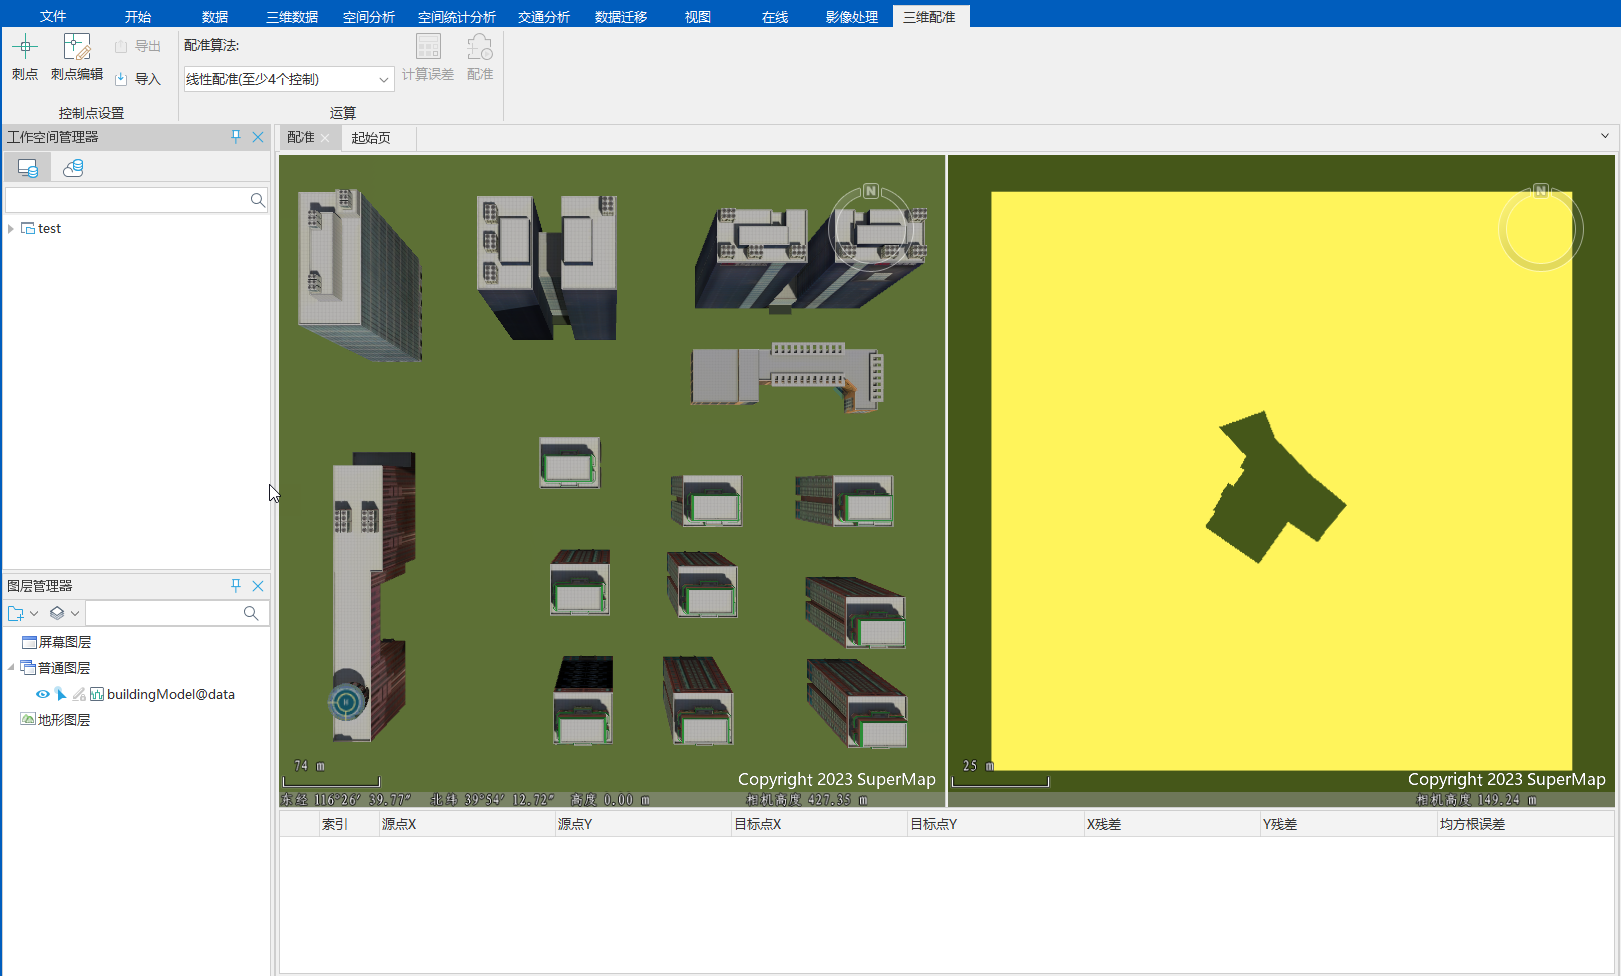
Adding Control Points
Add registration control points at feature positions on the registration layer, while identifying corresponding points on the reference layer. This process establishes spatial links between datasets through identifiable control points visible in both registration and reference data.
Supports manual staking and control point import:
- Manual Staking
- Click Staking Points in the Control Point Settings group under 3D Registration tab.
- Left-click registration layer features to add source points (X/Y coordinates auto-populated in list).
- Left-click corresponding reference layer features to add target points.
- Repeat steps to add multiple control points.
- Import Control Points
- Click Import in Control Point Settings group, configure parameters:
- Registration Points: Select registration point dataset.
- Reference Points: Select reference point dataset.
- Click OK to import control points into scene.
- Repeat to import multiple point sets.
- Click Import in Control Point Settings group, configure parameters:
Calculate Error
Computes positional errors between control points using selected algorithm. Lower errors indicate better registration accuracy.
- Select algorithm from Operation group (4 options: Linear/Quadratic Polynomial/Rectangular/Offset Registration). Minimum control point requirements vary. See Registration Algorithms.
- Click Calculate Error to display residuals (X/Y/RMSE) in control point list. Details in Registration Errors.

Perform Registration
The Register button in Operation group becomes active when control points meet algorithm requirements.
- Click Register to open Registration Result Setting: dialog.
- Configure output datasource and dataset parameters.
- Click OK to execute registration.
Import/Export Registration Files
Registration files (*.drfu) store algorithm parameters and control point coordinates (source/target X/Y values).
To import existing control points:
- Click Import in Registration Info group under 3D Registration tab.
- Select *.drfu file in dialog.
- Click OK to load control points.
Export current control points via Export button in same group for reuse.