


SuperMap provides Big Data online analysis capabilities for efficiently and stably processing large-volume data with numerous object counts. The Big Data online analysis relies on iServer services and the Spark computing platform, supporting analysis of distributed storage data including HDFS, iServer DataStore, and UDBx. It also offers functionalities for Big Data management, analysis, cartography, and mapping. The online analysis features include: simple density analysis, kernel density analysis, vector clip analysis, single query, grid region aggregation analysis, polygon aggregation analysis, and range summarization analysis.
Big Data Online Analysis Service Configuration
Before using Big Data online analysis features, ensure available analysis environments and data by configuring iServer services and data. The configuration steps for iServer services on Windows are as follows:
Notes:
|
- Obtain the iServer package and start the iServer service (Download URL: http://support.supermap.com.cn/DownloadCenter/ProductPlatform.aspx);
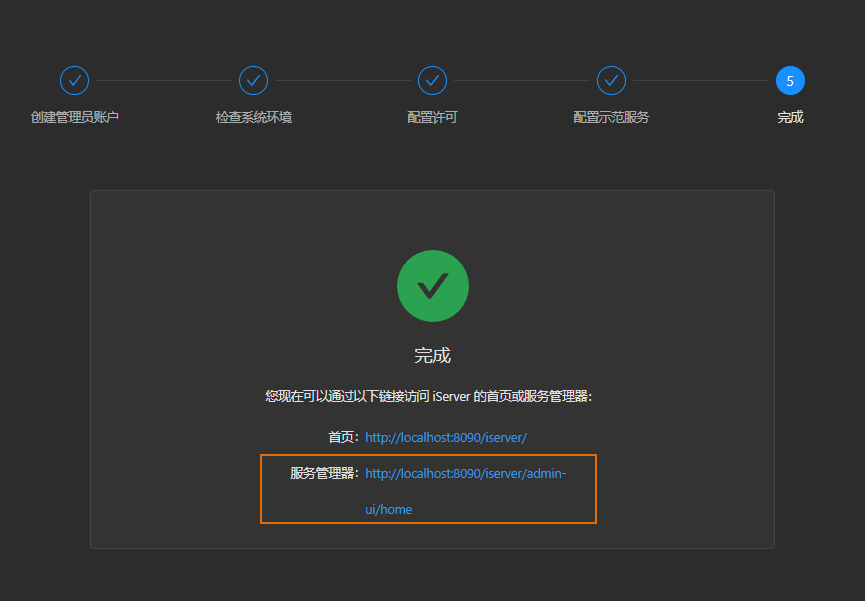
- Access http://localhost:8090/iserver/ in a browser, then complete these steps sequentially: Create administrator account, Check system environment, Configure license, Configure sample services. Click the Service Manager address in the Done step.
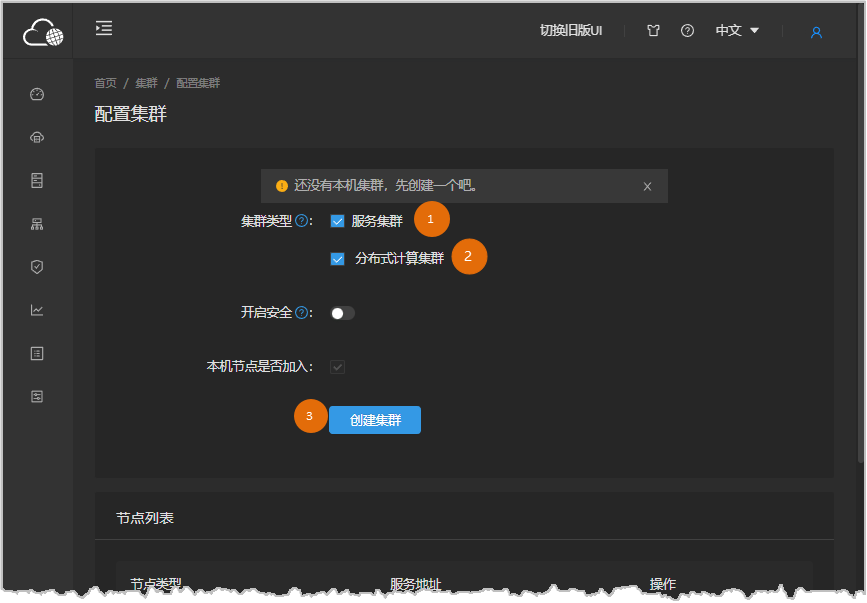
- Select Configure Cluster under the Cluster group in the left navigation pane;
- Check both Service Cluster and Distributed Computing Cluster checkboxes, then click the Create Cluster button to complete cluster creation.
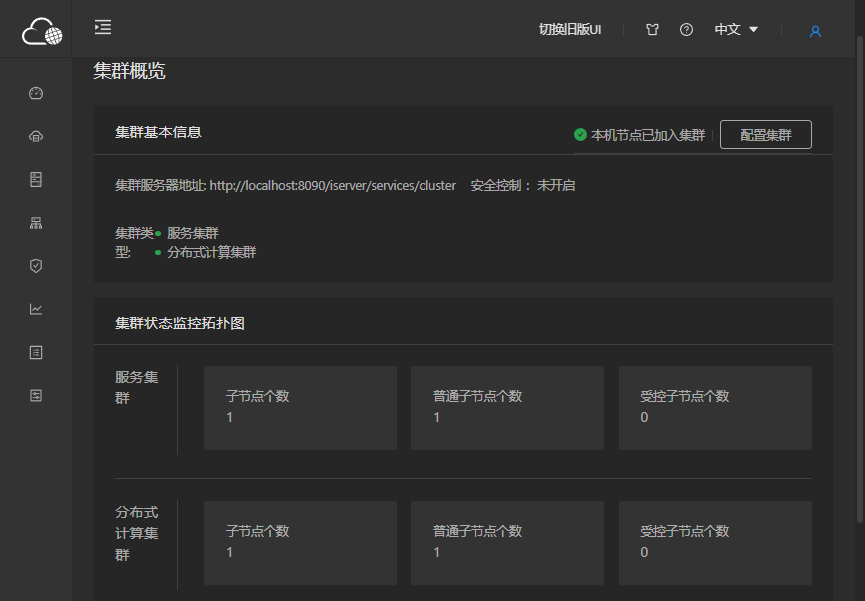
- The system will redirect to the Cluster Overview page displaying the newly created cluster information, as shown below:
- Switch to the Distributed Analysis option in the left navigation pane, check the Enable Distributed Analysis Service checkbox, and select Local Distributed Computing Cluster in the Select Distributed Computing Cluster step.
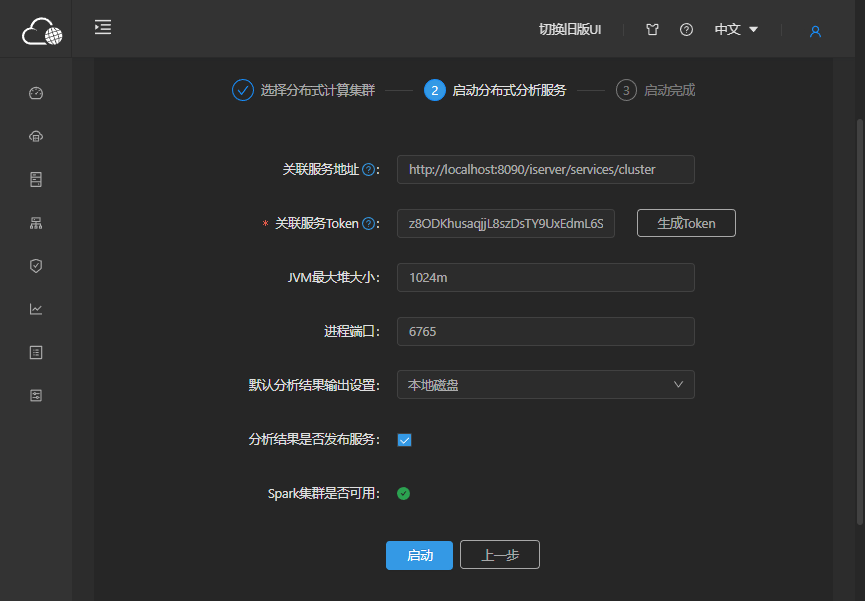
- In the Start Distributed Analysis Service step, click the Generate Token button next to the Associate Service Token parameter. On the token generation page, enter the iServer administrator credentials, select client identification type (recommended Client IP with local IP address input), then click Generate Token;
- Paste the generated token into the Associate Service Token input box, then click the Start button below to complete environment configuration.
Related Topics