


The scene supports loading various types of data including: terrain data, image data, vector point/line/polygon data, model data, BIM data, oblique photography 3D model data, and point cloud data.
This tutorial demonstrates how to add terrain data to a spherical scene. We will use the data source located at SampleData/ExerciseData/RasterAnalysis/BejingTerrain.udbx.
Refer to Obtain Sample Data Package for acquiring the sample data package.
Loading Data
- Click the Start tab -> Datasource group -> File button to open the BeijingTerrain.udbx data source from the directory folder.
- Drag the BeijingTerrain dataset under the data source to the newly created spherical scene window; Or select Add to Current Scene from the context menu of the BeijingTerrain dataset to add it to the opened new global scene.
- Since BeijingTerrain can be loaded as either terrain data or image data, a dialog will prompt you to select the loading type. For optimal terrain visualization, select both options: Load dataset "BeijingTerrain" as terrain and Load dataset "BeijingTerrain" as image.
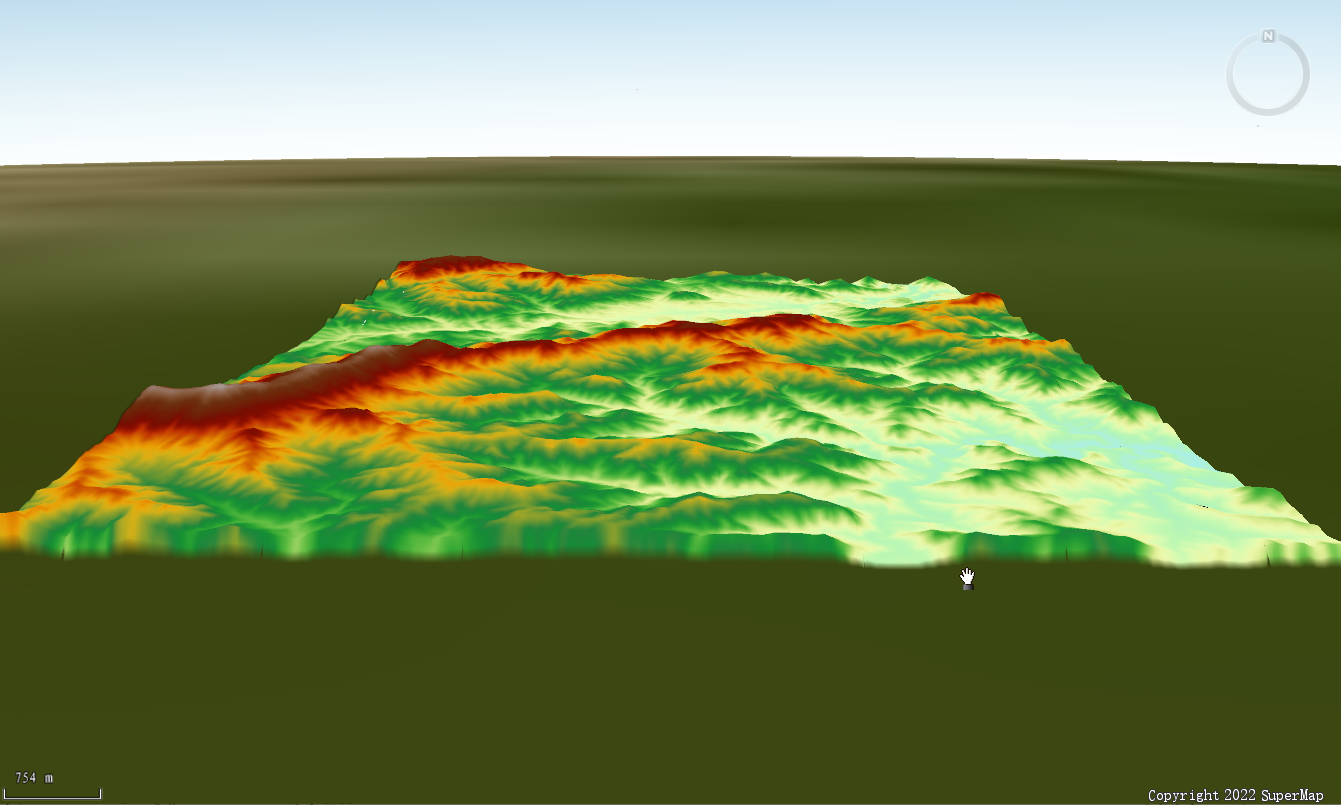
- In Layer Manager, click Zoom to Layer or Jump to Layer from the context menu of BeijingTerrain@BeijingTerrain in either Normal Layer or Terrain Layer. Rotate the view using the mouse to see the data display effects as shown below.
Navigating the Scene
- In Layer Manager, double-click the layer node corresponding to the loaded image tile data under the Common node. The scene will automatically zoom and fly to the geographic range of the image tile data.
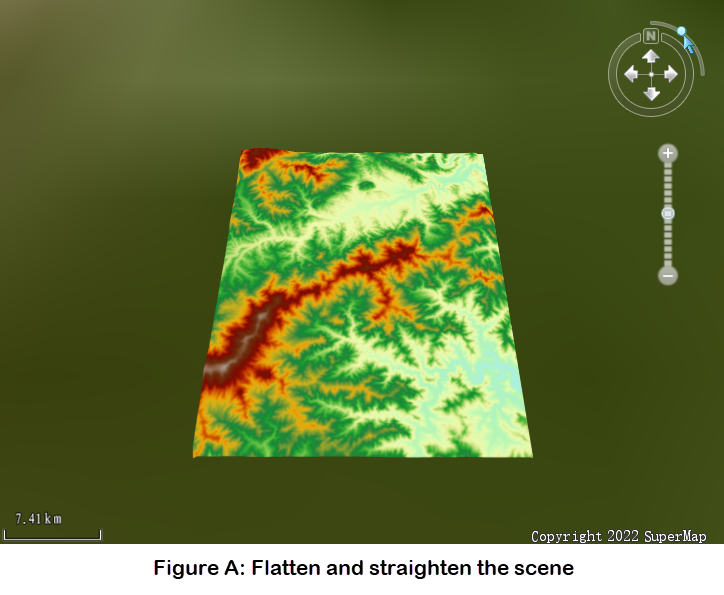
- As shown in Figure A below, left-click and hold the circular button on the compass, then drag it along the quarter-arc trajectory to tilt or elevate the scene view.
Alternatively, hold the middle mouse button and drag vertically to achieve the same tilt adjustment.
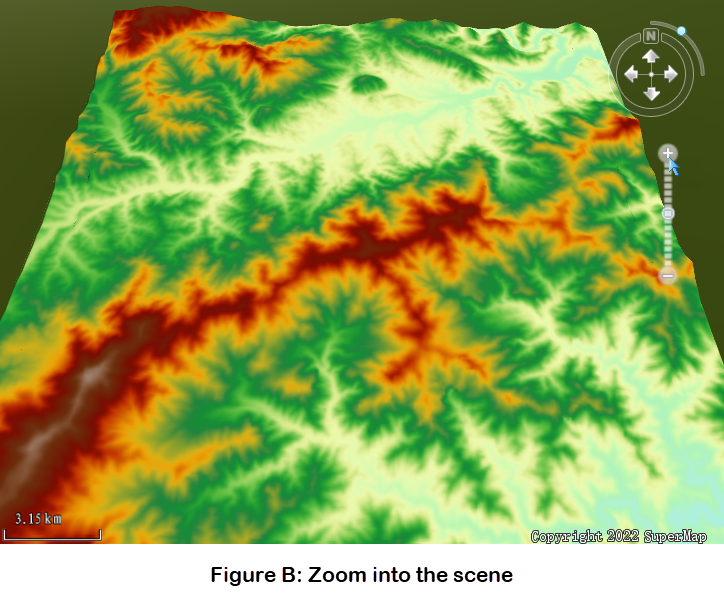
- As shown in Figure B below, left-click the zoom-in button on the compass to enlarge the scene.
Alternatively, scroll the middle mouse wheel to zoom in/out.
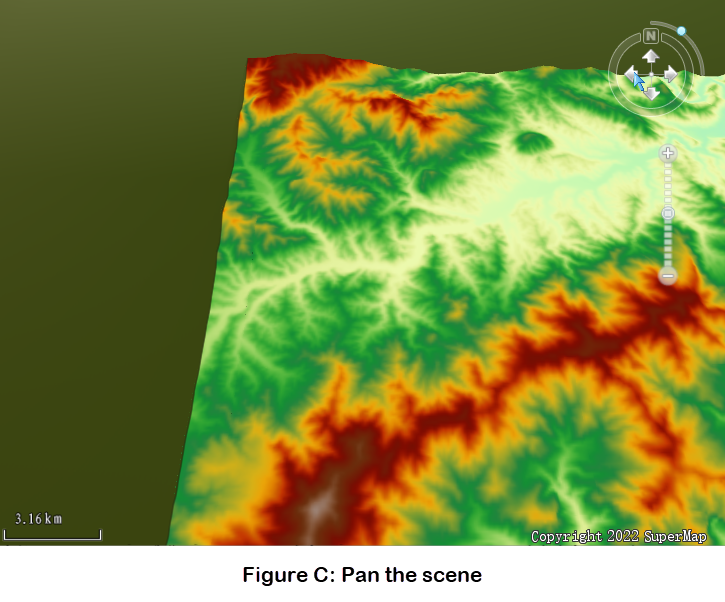
- As shown in Figure C below, use the arrow keys on the compass to pan the scene.
Alternatively, hold the left mouse button and drag to pan the view.
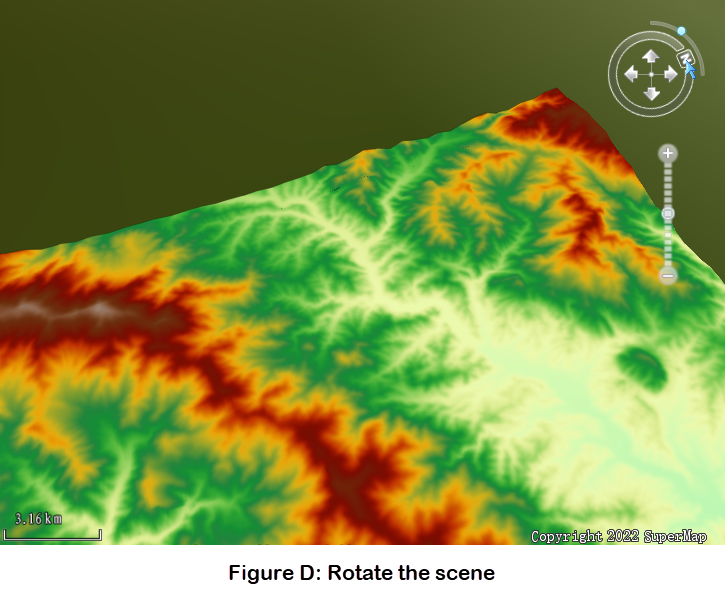
- As shown in Figure D below, left-click and hold the "N"-labeled button on the compass, then drag along the arc to adjust the north orientation and rotate the viewing angle.
Alternatively, hold the middle mouse button and drag horizontally to rotate the scene.
Related Topics