


Through the Symbol Style Settings area in Fill Symbol Selector, you can style fill symbols, including fill style for filled areas and line style for boundaries.
 |
| Symbol Style Settings area |
Line Style for Boundary of Filled Area
Setting the line style for boundaries of filled areas follows the same method as setting line styles for linear objects. In the Symbol Style Settings area, click the button next to "Line Style" to open Line Symbol Selector. Configure the line style and click "OK" to apply it to the boundary.
For line style configuration in Line Symbol Selector, see: Line Type Marker Style.
Fill Styles for Filled Areas
Fill style settings for filled areas fall into two categories:
- Non-gradient Fill: When gradient fill is disabled, any fill symbol from the list can be used. All settings in Symbol Style Settings will apply to the selected fill symbol.
- Gradient Fill: When enabled, color gradients replace fill symbols from the list as the fill style.
The following sections explain fill style configuration and functionality of Symbol Style Settings items.
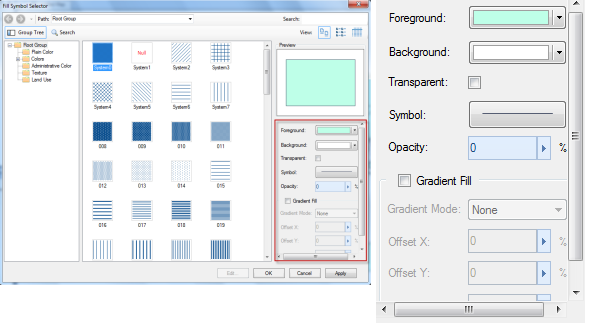
1. Non-gradient Fill
When the Gradient Fill checkbox is unchecked, or checked with gradient mode set to "No Gradient", fill symbols from the list can be used. First select a fill symbol, then apply settings in Symbol Style Settings.
 |
- Setting Fill Symbol Colors:
Fill symbols consist of foreground color (geometry elements) and background color (canvas color). Use the "Foreground Color" button to set geometry color, and "Background" button (when Transparent BG is unchecked) for canvas color.
The "Transparent BG" checkbox makes the background transparent, disabling background color settings.

- Setting Fill Symbol Transparency:
Use the "Transparency" slider (0-100) to adjust opacity. 0 = fully opaque, 100 = fully transparent. Direct input or slider adjustment available.
2. Gradient Fill
When Gradient Fill is enabled with non-"No Gradient" mode, color gradients replace fill symbols. Gradients transition between Start Color and End Color.
- Setting Gradient Colors:
Use "Foreground Color" for gradient start color and "Background" for end color (disabled when Transparent BG is checked).
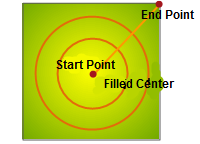
- Setting Gradient Types:
Choose from four gradient modes in the dropdown:

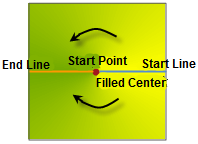
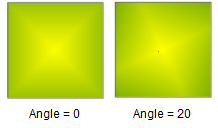
Square
Color transitions from center outward in square pattern
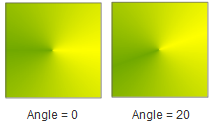
Conical
Circular gradient around center point with 180° separation
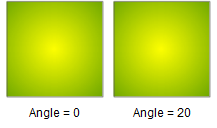
Radial
Concentric circular color transitions
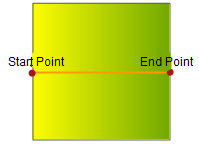
Linear
Straight line color transition
- Setting Gradient Parameters:
Offset X/Y: Adjust gradient center position relative to filled area (percentage). Direct input or slider adjustment available.
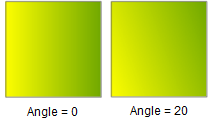
Angle: Affects gradient direction for Linear, Square and Conical modes. Shown below at 20° vs 0°:
- Setting Fill Transparency:
Same transparency control as non-gradient fills (0-100 scale).