



User Guide
Scene Swipe function sets a swipe area for specified layers to achieve a comparison view of the same area at different times or above and below ground. The scene swipe function has certain requirements for data layering. To display a good scene swipe effect, it is recommended to refine the data layering. After setting the swipe for data, it is recommended to use it with the flight function for a better scene browsing experience.
The swipe function supports pipeline datasets, S3M tile data, model datasets, CAD datasets, absolute height mode line/polygon datasets, and instance layers; it does not support point datasets, terrain-following mode line/polygon datasets, terrain data, imagery, etc.
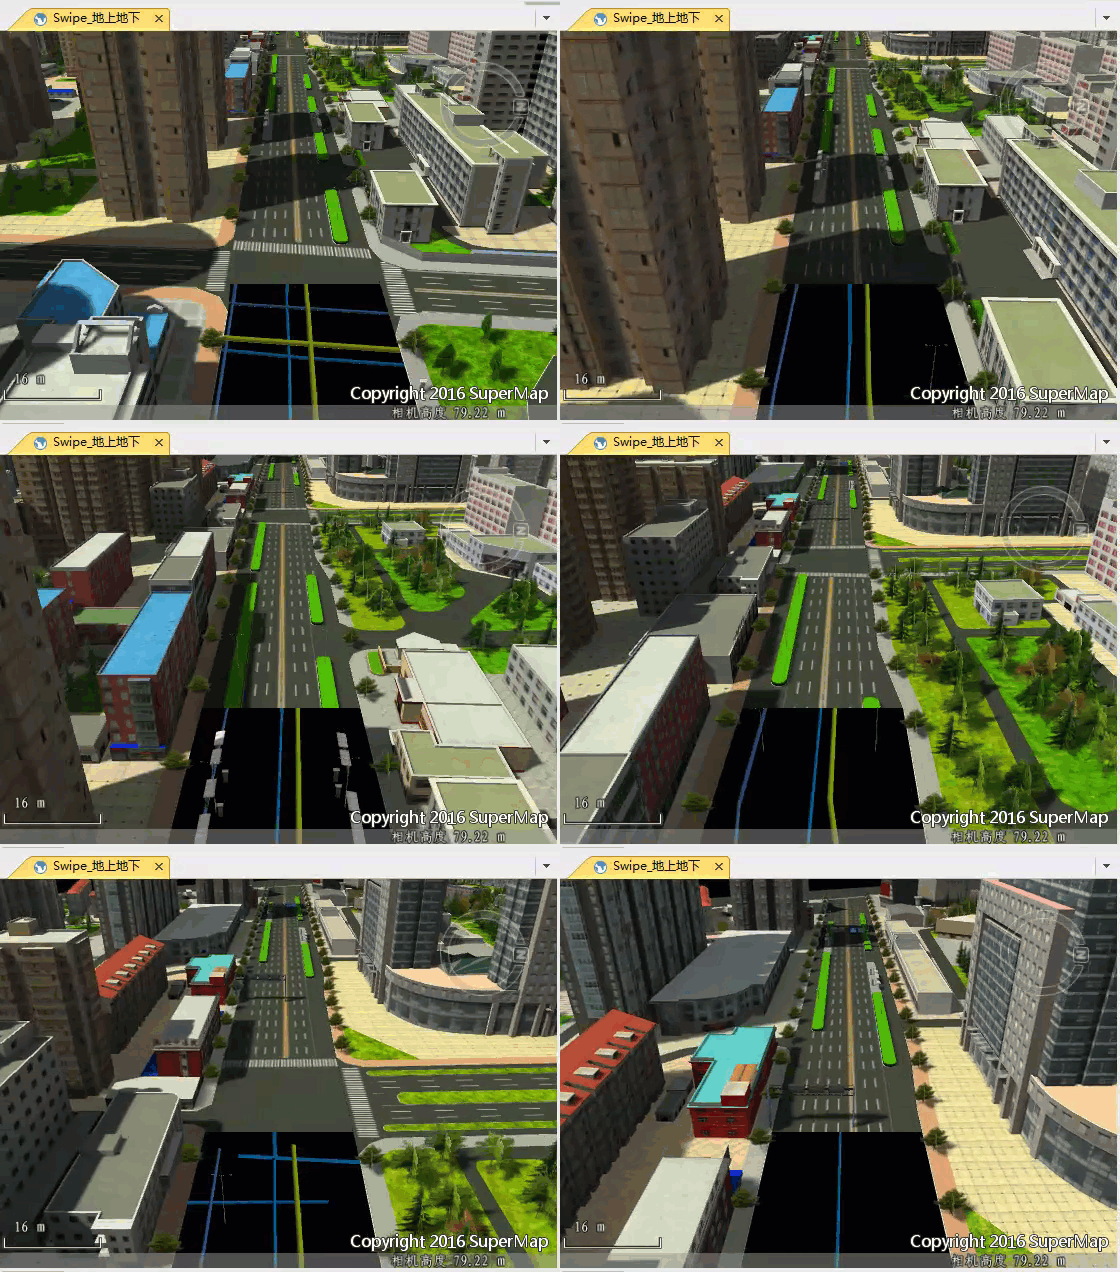
For example, when browsing both the above-ground scene and the corresponding underground pipelines, you can set a swipe on the road layer, turn on the underground view, and set the underground transparency to achieve the desired effect, as shown in the figure below.
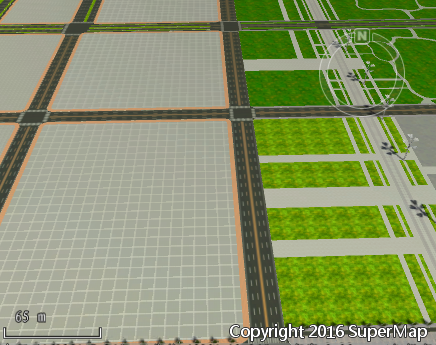
Using the swipe effect, you can view the changes in the same area over different time periods. As shown in the figure below, add both the newer and older model data to the scene, set a horizontal swipe area for the newer model data, and when browsing horizontally in the scene, you can see the changes in the displayed area.
 |
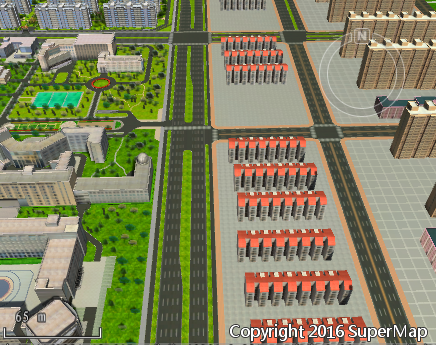 |
| Figure: Scene Swipe - Comparison Effect at Different Periods | |
Entry Point
- Scene tab -> Browse group -> Scene Swipe
Steps
- After opening or configuring the scene, click Scene tab -> Browse group -> Scene Swipe. The "Scene Swipe" settings panel will appear on the right side of the software.
- Enable Swipe: Set whether the scene enables the swipe effect. When disabled, the set layer swell will be temporarily hidden; re-enabling will restore the display.
- Swipe Layers: Lists all layers in the current scene that can participate in the swipe. Check to apply the swipe effect to that layer; default is all unselected.
- Swipe Area Settings: Only available after checking the target layer. Click or enter a value to adjust the position of the horizontal and vertical dividing lines, thereby defining the swipe range. The dividing line position is defined as a percentage of the current scene window: the top-left corner is [0,0], and the bottom-right corner is [100,100]. For example, setting the horizontal range to [0,40] means the left 0% to 40% of the window is the normal area, and the right 40% to 100% is the swipe area.
- Show Horizontal Line/Show Vertical Line: When checked, the corresponding dividing line or separator bar will be displayed in the scene. Default is not displayed.

Related Topics