The Underground group on the Scene tab provides the Underground Mode display. In the 3D SceneTurn on the underground mode, you can browse and manipulate the scene below the surface of the earth.
Open/Turn off underground mode.
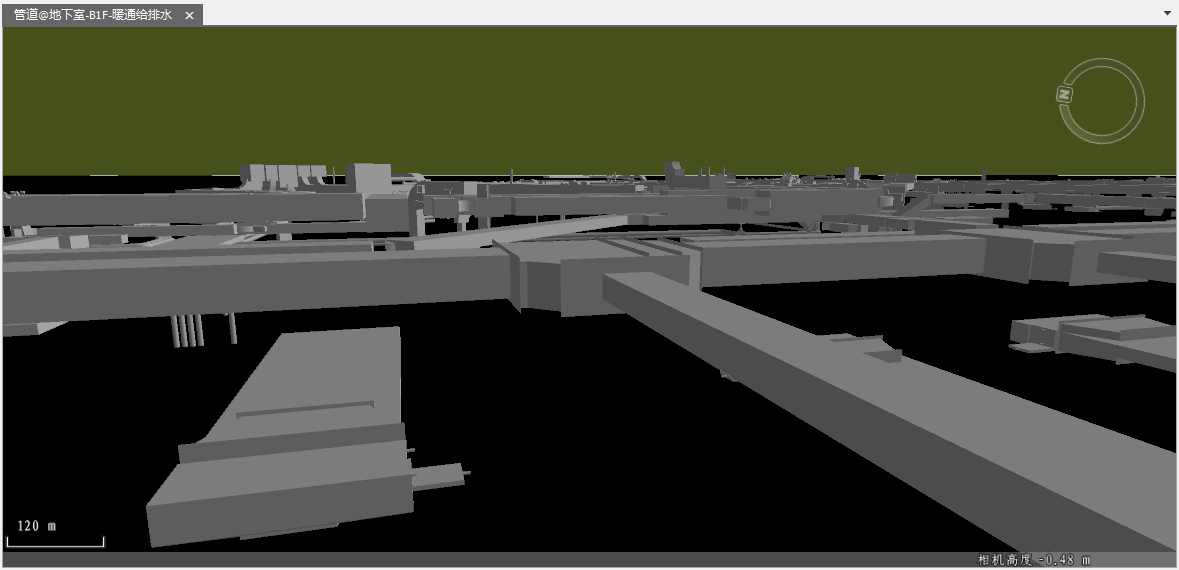
Turn on the underground mode to make the underground scene on the 3D sphere visible, otherwise it is not visible. In addition, Underground Mode is only effective when underground data is loaded. Open underground mode model, the example effect is as follows:
 |
| Figure: Example showing Underground Mode |
Visible depth
Visible Depth controls the Visible Bounds for subsurface data:.
Visible depth can only be set if Turn on the underground mode. The default value is 1000, which means that data from the Earth's surface to 1000 meters underground will be displayed in the current scene.
Underground color
Turn on the underground mode to set the display color of the underground scene. Click the button on the right of Underground Color to set the color in the pop-up color panel.
Transparency
Transparency can only be set with Turn on the underground mode. Click the button to pop up the Transparency Settings slider in the Scene. Users can use the slider to adjust the transparency of the surface, and the transparency effect will be displayed on the map in real time. The value of transparency is an integer between 0 and 100. The higher the value of Transparent Surface, the more transparent the surface is. 100 means completely transparent, and 0 means completely opaque.
Excavation
Excavate subsurface data provides Polygon Excavation and Close Model Excavation.
Close Model Excavation
It is used to dig in the earth surface in the scene and dig out the selected closed model. The operation steps are as follows:
- Before using the Close Model Excavation feature, make sure that a closed model exists in the scene.
- Turn on the Close Model Excavation function. On the Scene tab, in the Underground group, click the Drop-down Button to the right of the On/Off tab, and select On to enable the Close Model Excavation function. Close Model Excavation is turned off by default.
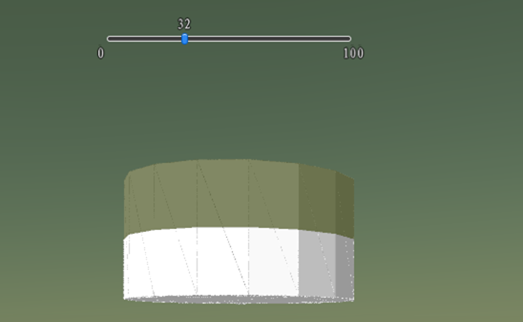
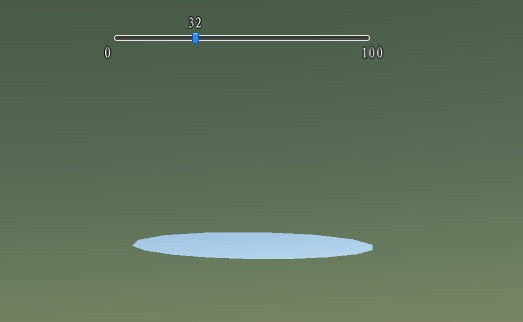
- Select the closed model to be excavated, click the Excavation Drop-down Button, and select Close Model Excavation from the pop-up drop-down menu to display the excavation results in real time. The comparison chart before and after the excavation of the closed model example is as follows:
- Repeat steps 1 through 3 if you need to continue with Close Model Excavation.
- Click the "Clear"
 button to clear the results of all cut areas in the current Scene. Meanwhile, when the camera height is a positive value, the underground effect within the scope of the "Close Model Excavation" "area is invisible.
 |  |
| Figure: Effect before Close Model Excavation. | Figure: Effect after Close Model Excavation. |
 Precautions
- Excavation in the scene can only be measured on the Earth Surface. Excavation is invalid in other areas of the Scene outside the Earth.
- When excavating, the excavation area value is calculated in the same way as the Area Measure, that is, the Surface Area to be displayed.


