Erase
Feature Description
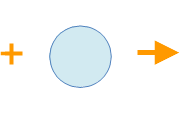
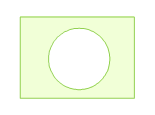
The erase function is used to remove the part of the target object that overlaps with the erasing object.
 |
 |
 |
| Target Object | Erasing Object | Operation Result |
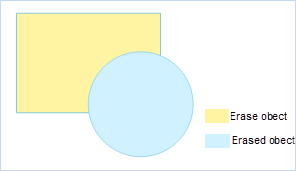
Hold the Ctrl key to switch erase effects. The erase effect while holding Ctrl is shown below:
 |
 |
| Erasing and Target Objects | Operation Result |
- The erase function applies to polygon layers and CAD layers, and becomes available only when layer editing is enabled and objects are selected.
- The target object and erasing object cannot be the same object.
- The target object can be a line or polygon object, but the erasing object must be a polygon object.
- The layer containing target objects must be editable. Supports Multi-layer Editing.
- The erase operation requires data integrity. Data with topology errors (e.g., self-intersections) is not allowed. For complex data, it's recommended to perform topology validation and correct errors before erasing.
Feature Entry
- Features Tab->Feature Editing Group->Erase.
Steps
- With the layer editable, select one or more erasing objects (polygon objects).
- In the Features tab's Feature Editing group Gallery control, click the Erase button;
- Mouse prompt: "Select target polygon object... Press Ctrl to switch to external erase". Select a target object (line or polygon object), then left-click to complete the erase operation.
- Continue selecting target objects for erasing. Right-click to exit the erase function.


