Add Text
After creating a dashboard, dashboard elements can be added in the dashboard window. The elements supported to be added in the dashboard include: map, chart, text, information board, dividing line, picture, Local Video, Online Video, and streaming video. The adding method and Parameter Settings of the elements are as follows:
Text
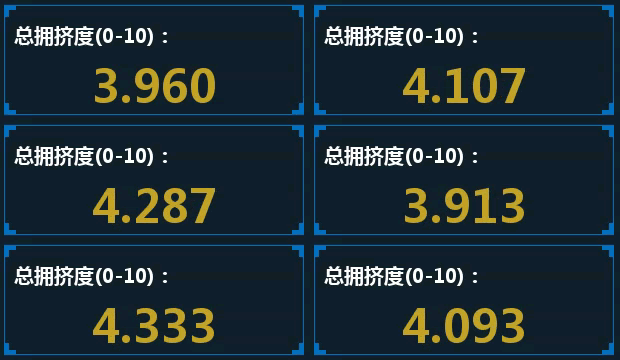
Text elements are divided into two types: Horizontal Text and Vertical Text. Text can be used as ordinary static text, and can also be used to dynamically display real-time Data Information.

- Add: On the Ribbon menu bar, click the Dashboard-> Horizontal Text or Vertical Text button to add a text element to the Uppe-left corner of the window.
- Position: The position and size of the text element in the dashboard can be adjusted. For detailed Parameter Description, please refer to Common parameters .
- Border: Text Border Color and effect can be set. For detailed Parameter Description, see Common parameters .
- Text Content:
Dynamic Text Content: It is required to set the associated Real time Stream Data:
- Real-time Stream Data: Click the Drop-down Button and select the Real-time Stream Data to which the Current Workspace has been connected.
- Statistic Field: Select the stream data field to be counted. Only numeric fields are supported.
- Statistical Method: Set fieldsStatistical Method, providing maximum value, minimum value, average value, sum, standard deviation and variance.
Static Text Content: In Text Properties Panel-& gt; Text Content, enter the text to be displayed.
- Text Style
- Font: Sets the text font family. The default font type is Microsoft YaHei.
- Font Size: set to Font Size. The default size is 30.
- Text style: Set the font display style, providing three styles: normal, bold and italic.
- Horizontal Alignment sets the horizontal alignment of the font, and provides three ways: left, center, and right.
- Vertical Alignment: Set the vertical alignment of the font. Three methods are provided: up, center, and down.
- Text Color: Click the color control to set the Text Color in the drop-down panel. The default is white.
- Background: Set the fill background color of the text box. Select the Background Transparency check box on the right to set the text Background Settings to a transparent color.
- Base Map: Set the Text Fill image. Select Local Image can be used as the text background. Three formats of *.jpg, *.png and *.gif are supported.
Related Topics


