


You can create three types of objects in a scene, (1) 2D objects in the scene, (2) 3D objects in the scene, and (3) Particle objects.
To paint a 3D Object or Particle Object, you can only paint in the CAD Model Dataest. Before sketching, make sure the Current Editable Layer is a CAD model layer.
Draw 2D object
The way you create 2D objects in your scene is consistent with the way you create objects in your map. When the layers in the scene are editable, you can draw points, lines, polylines, polygons, curves, circles, ellipses, and other Geometry. Please refer to the Create an object for the specific drawing method.
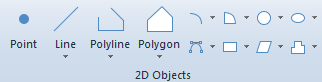 |
| A two-dimensional object |
Draw a 3D Object
At present, it supports drawing 11 kinds of 3D Objects such as landmarks, 3D points, polylines and polygons in the scene. The drawing of 3D Object adopts the direct drawing method.
In order to ensure that the drawn 3D Object looks more intuitive, it is recommended that the user first modify the height mode of the current scene. On the Style Settings tab, in the Extrude Settings group, locate Height Mode and, using the drop-down arrow on the right, change the height mode to Non-Ground, Absolute, or Relative to Ground. Or Underground Mode. In Absolute or Relative to Ground mode, you can snap the nodes of other models in the scene. In Underground Mode, it is not convenient to capture the nodes of other models.
Paint a Particle Object
Particles are the smallest objects used to simulate special effects such as fire, smoke, fountains, explosions, rain, snow and so on in reality. SueprMap currently supports drawing Particle Object in the scene, and can draw in CAD Dataset and KML files, and achieve ideal particle effects through a series of parameter settings. For methods of drawing Particle Objects, see Particle Object creation .
Operation steps
Take Draw Polygon in the scene as an example to show how to draw a 3D Object.
- In the Current Workspace, create a new Dataset and Add to New Scene.
- In Layer Manager, click the 3D Face Layer Editable icon to make it editable.
- On the Object Drawing tab, in the 3D Object group, click the group dialog button, click the Polygon button, and the drawing cursor appears in the scene.
- Move Stop by Mouse to the Scene and click the left mouse button to determine the starting position of the polygon.
- Continue to Draw other segments on the Polygon.
- Click the right mouse button to close the polygon and end the current drawing operation.
If there is Model Data in the current scene, move the mouse to the model, check the model layer to capture the model node position, and click the mouse to draw.
As shown in the following figure, is the rendered Region3D.
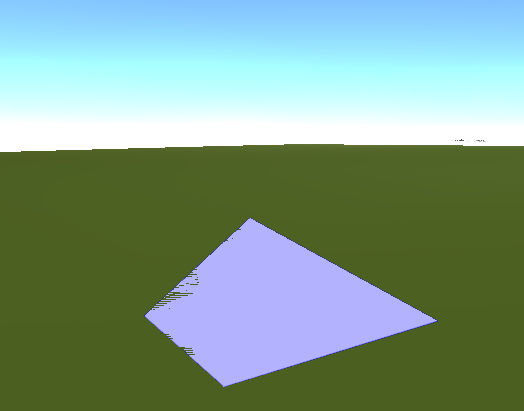 |
| 3D Polygon |