


The data in the scene generally includes: Cache Terrain Data, Cache Image Data, CADModel Data, Terrain Data, etc.
In this tutorial, you will learn how to add Terrain Data to your Spherical Scene. The data used is SampleData/ExerciseData/RasterAnalysis/BejingTerrain. UdbxDatasource.
Please refer to the Get the Sample Data package for obtaining the Sample Data package.
Load data
- Click the Home tab-> Datasource group-> File button to open the Beijing Terrain. UdbxDatasource in the directory folder.
- Drag BeijingTerrainDataset under Datasource to the newly created Spherical Scene window; Alternatively, select Add Current Scene in the Context Menu of DatasetBeijingTerrain to add the Dataset to the opened Create Spherical Scene.
- Because BeijingTerrain can be loaded into the scene as Terrain Data or Image Data, a dialog box will pop up to prompt you to check the type of loading. Check: Load Dataset "BeijingTerrain" as terrain and load Dataset "BeijingTerrain" as image.
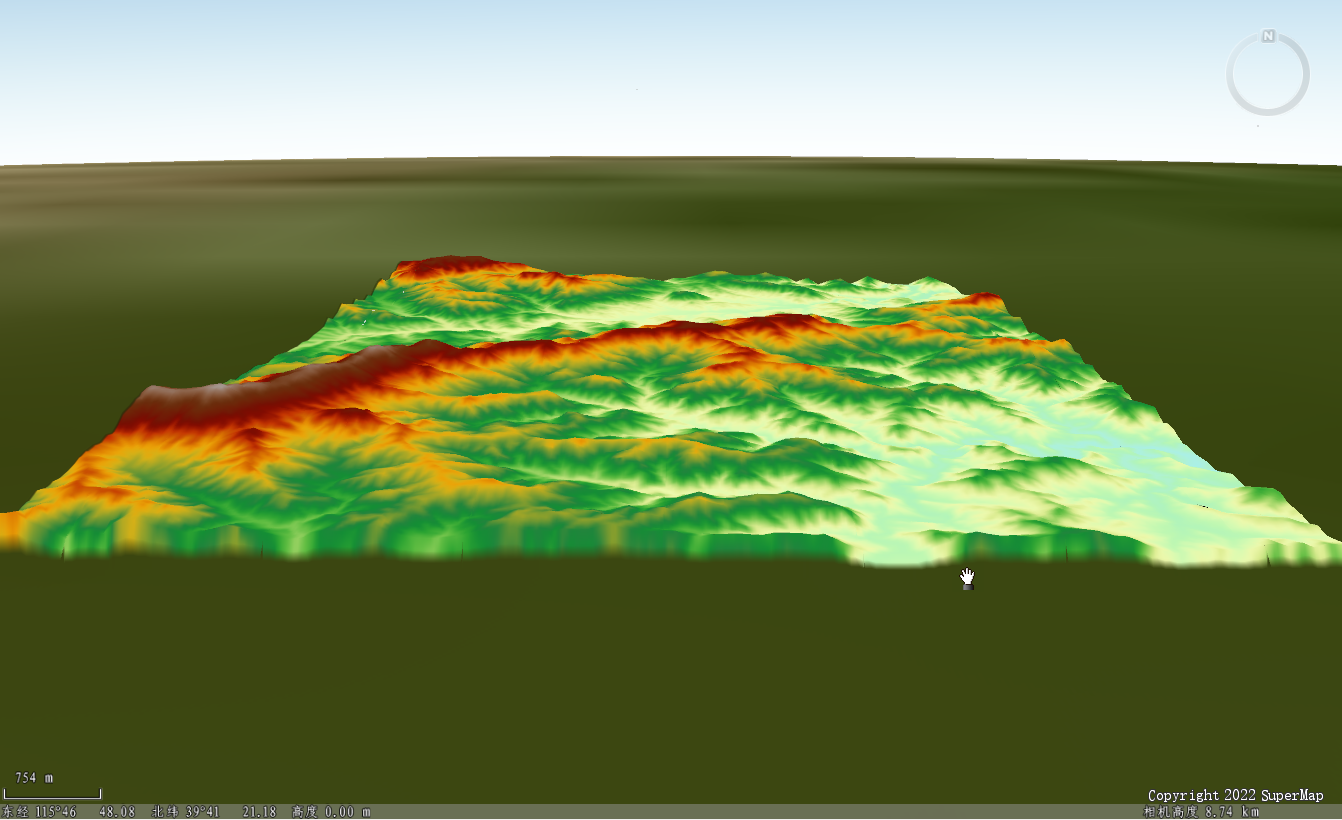
- In Layer Manager, Select the Zoom to Layer or Jump to Layer button in the BeijingTerrain @ BeijingTerrainContext Menu of Normal Layer or Terrain Layer, and rotate the view with the mouse. Data Display Effects is shown in the figure below.
Browse the scene
- In Layer Manager, double-click the layer node corresponding to the image Cache Data loaded under the Common Node with the left mouse button, and the scene will automatically zoom and fly to the view of the Geographic Range corresponding to the image Cache Data;
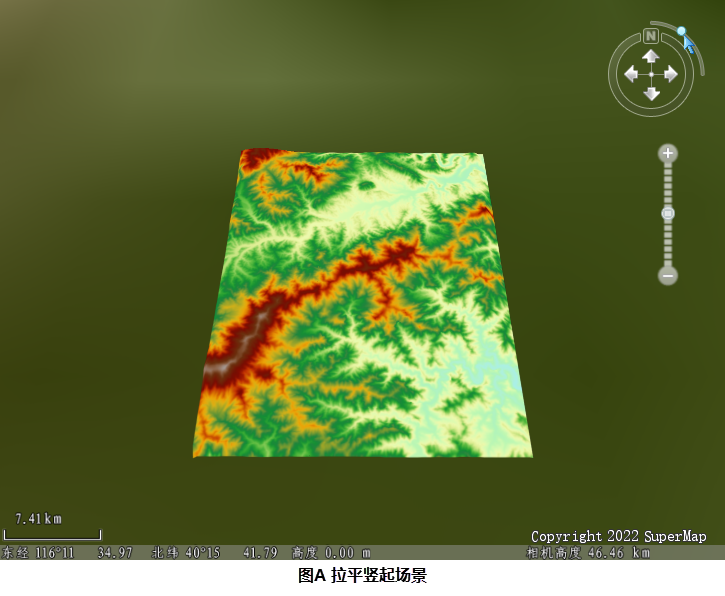
- As shown in Figure A below, click the circle button on Compass with the left mouse button, hold it down, and drag the circle button along the quarter-arc track to level and erect the scene;
In addition, press and hold the middle mouse button in the scene and drag the mouse up and down to realize the leveling and erecting operation of the scene.
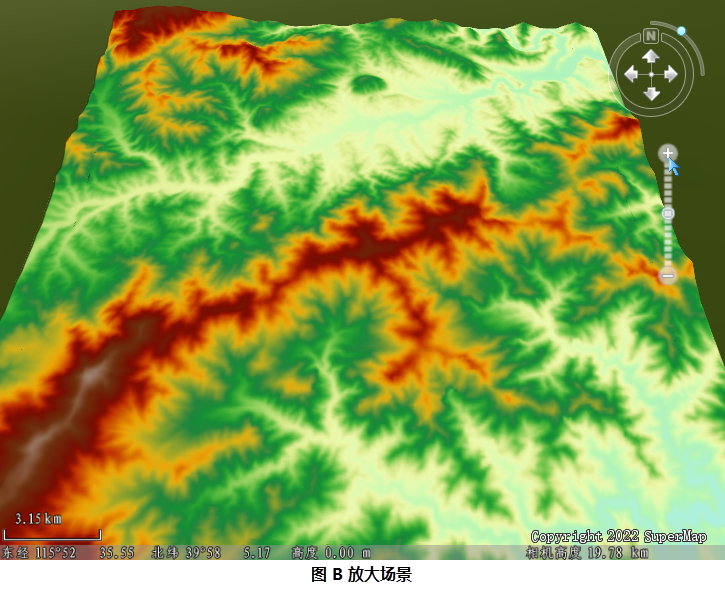
- As shown in Figure B below, click the zoom in button on Compass with the left mouse button to zoom in the scene;
In addition, rolling the middle mouse button in the scene can also realize the operation of zooming the scene.
- As shown in Figure C below, click the up, down, left and right direction keys on Compass with the left mouse button to translate the scene;
In addition, hold down the left mouse button in the scene and drag the mouse to translate the scene.

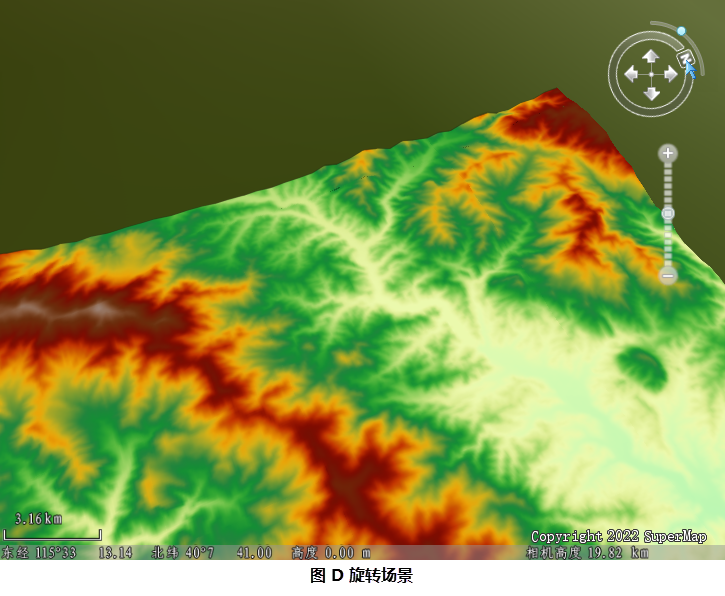
- As shown in Figure D below, click the button with the letter "N" on Compass with the left mouse button, hold it, and drag the button along the arc track to change the north direction of the scene, that is, rotate the scene and change the View Angle:;
In addition, you can also rotate the scene by holding down the middle mouse button in the scene and dragging the mouse left and right.
Related topics