This page introduces the process of packaging and publishing WebGL, including packaging and publishing, using secondary development Demo, etc.
This process supports the use of Unity 2019 related versions (Versions before Unity2019.4.35), spherical and planar scenes are supported, layer management is supported, online layers are added, some 3D analysis functions are supported, and measurement functions are supported. The following preparations need to be completed before publishing WebGl.
Deployment environment
This section describes the preparations required before publishing WebGL.
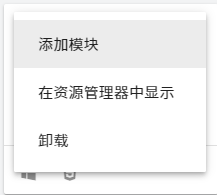
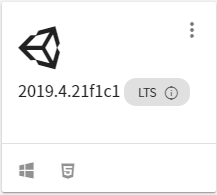
- Install WebGL module using Unity engine. After selecting Add Module, check WebGL Build Support, then click Done and wait for the module to be installed.
- Modify engine files
- Open browser multithreading
- If you use versions between 75 and 91. You need to open your browser, type chrome://flags, find WebAssembly threads support, and set it to "enable."
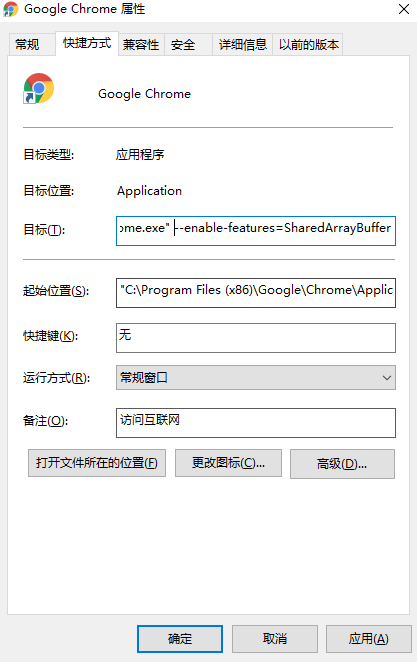
- If you are using a version after version 92, right-click the browser desktop shortcut icon, click 'Properties', and add the option "--enable-features=SharedArrayBuffer" in the target column. Click OK when done.
- Install node.js, ordownload and install node.js if it is not already installed on your computer.

Install Google Chrome on your computer and check the browser version number

If the browser version number is after version 86, you need to modify the following: Find and open the library_pthread.js file in the engine directory\Editor\Data\PlaybackEngines\WebGLSupport\BuildTools\Emscripten\src. Then change Atomics.wake to Atomics.notify, as shown.


Packaging WebGL Processes
After completing the above, create a new Unity project, note that the project name is English path, open the project and import the plug-in.
- modify the configuration file
- Open the project catalog and locate the ProjectSettings.asset file under the ProjectSettings folder.
- After that, find the three rows specified in the box and modify the following values:
- Packaging Scene Settings
- Configure Packaging Platform
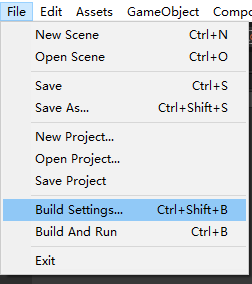
- Select "Build Settings..." Enter the packing function.
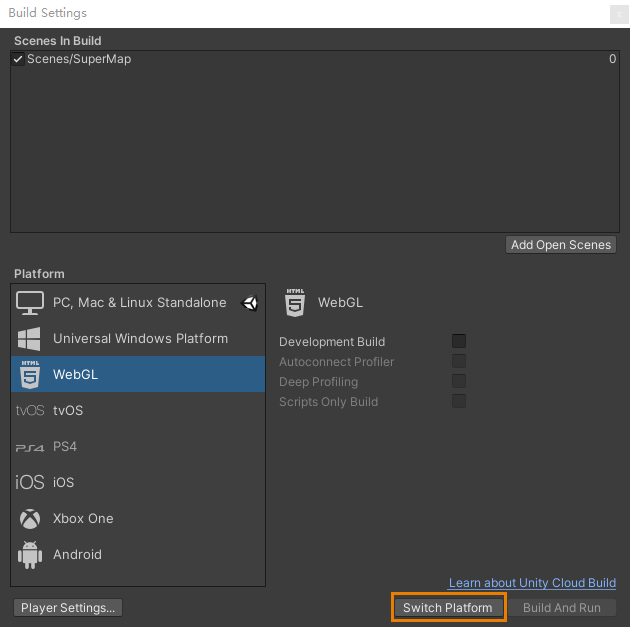
- Select WebGL Platform and click "Switch Platform".
- Click Player Settings, find Strip Engine Code option under player, uncheck it.
- Configure Packaging Environment
- pack
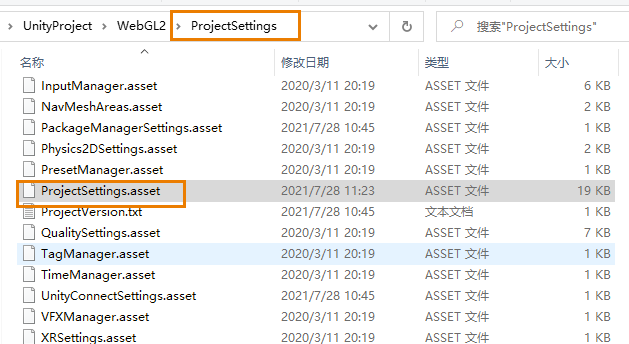
webGLMemorySize: 1760
webGLEmscriptenArgs: -s "BINARYEN_TRAP_MODE='clamp'"
webGLThreadsSupport: 1
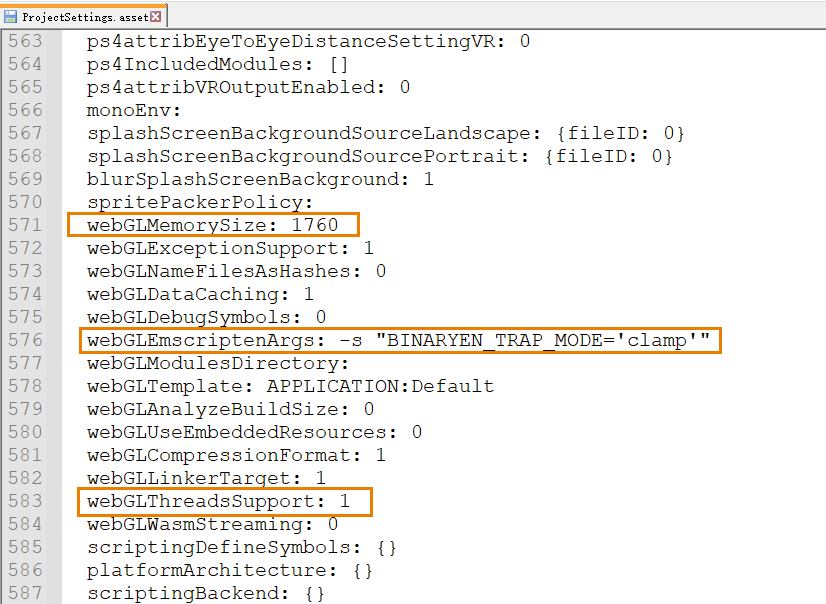
When finished, save and close the file.
Publish the scene as a SuperMapGIS prefabricated scene and uncheck Simulate Daylight. If you use other custom scenarios, you need to configure the relevant objects and interfaces.
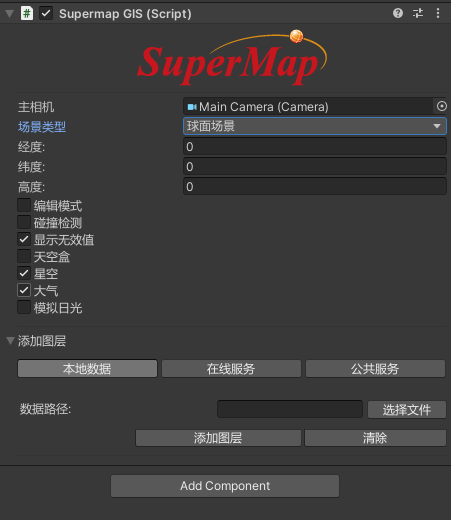

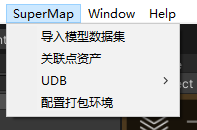
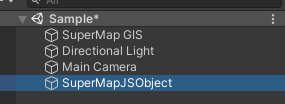
Switch back to the Unity project interface and click Configure Packaging Environment to add SuperMapJSObject to the object box of the scene and delete the SuperMap Desktop object. Save the scene afterwards.
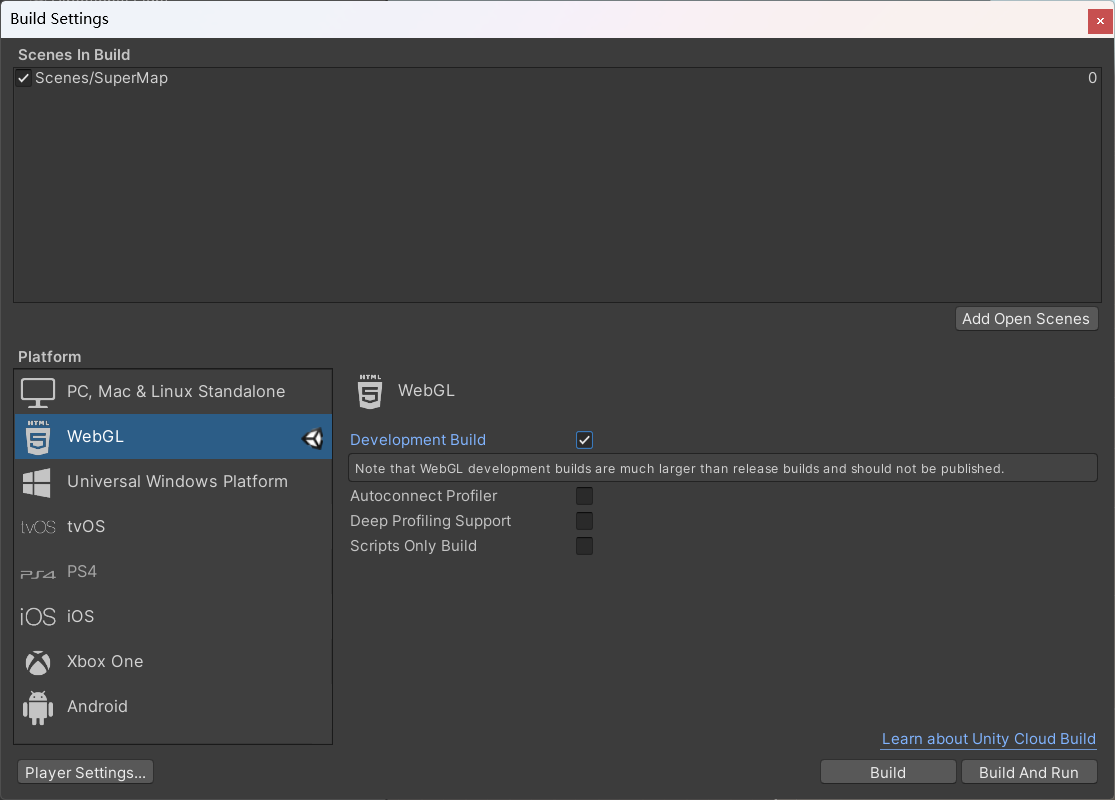
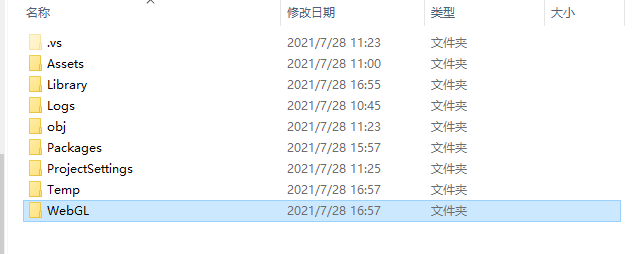
Go back to the packaging interface, add the published scene, check "Development Build", and then click "Build and Run". After that, the interface for selecting the packaging directory will pop up. You need to create a WebGL folder under the project project folder, and select the packaging directory. Then wait for the package to succeed.
Run WebGL packages
This section explores how to use WebGL after it is released and how to integrate it with Vue Demo provided.
Run WebGL packages directly
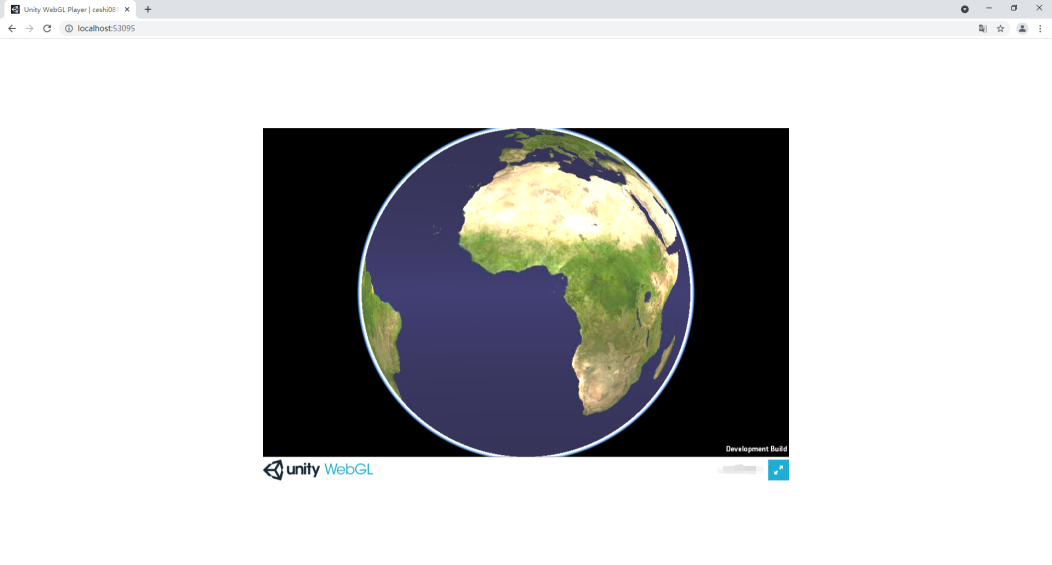
After packaging is completed, it will automatically enter the web interface. You need to copy the web page address, then open the browser through the Google Chrome shortcut on the desktop, and then paste and open the link.
The post-run scenario is as follows:
Use the open source frontend provided
In the previous step, running scene discovery can only browse the scene, so we provide a set of js interfaces and examples to realize the functions of layer management, analysis and measurement on the Web side. The specific operation is as follows:
Note: You need to download and install node.js before continuing.
- Copy folder: Copy the four files under WebGL folder to public\js_module under iarth folder.


-
Open the WebGL/Build/Unityloader.js file and find the line "alert(message)" and comment it out. Avoid error message pop-ups when opening web pages.


- After returning to the iearth folder, enter cmd in the address bar to enter the console, and then enter "npm run dev" in the console to start the Web.
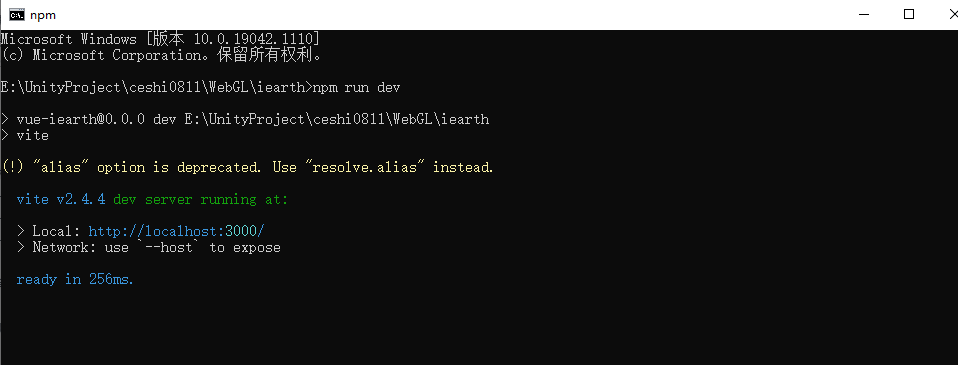
- When it's done, double-click the Google Chrome shortcut on your desktop to open the browser interface. Enter localhost:3000 in the address bar. Then open the following interface.
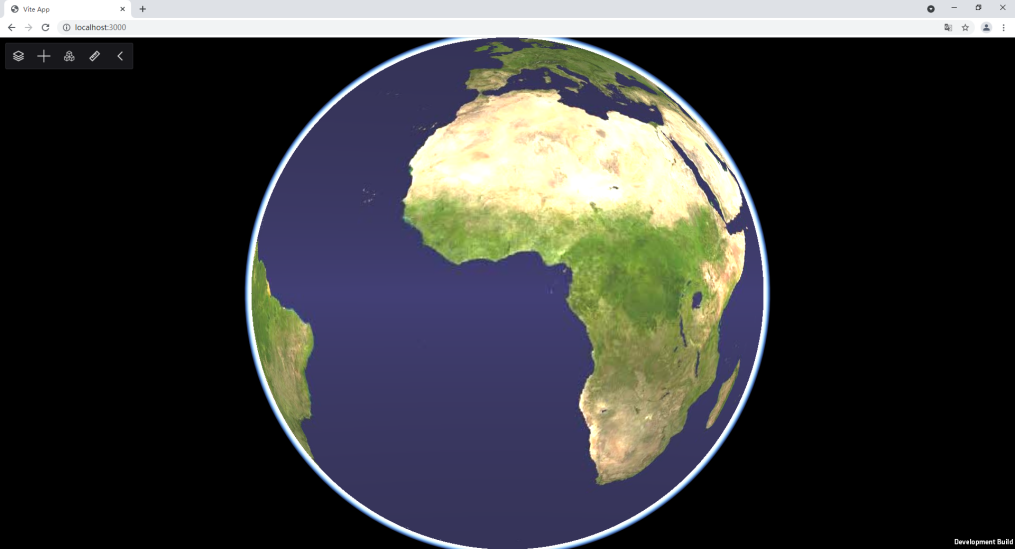
In the toolbar we provide examples of some features. More functions and API interfaces will be added gradually.


