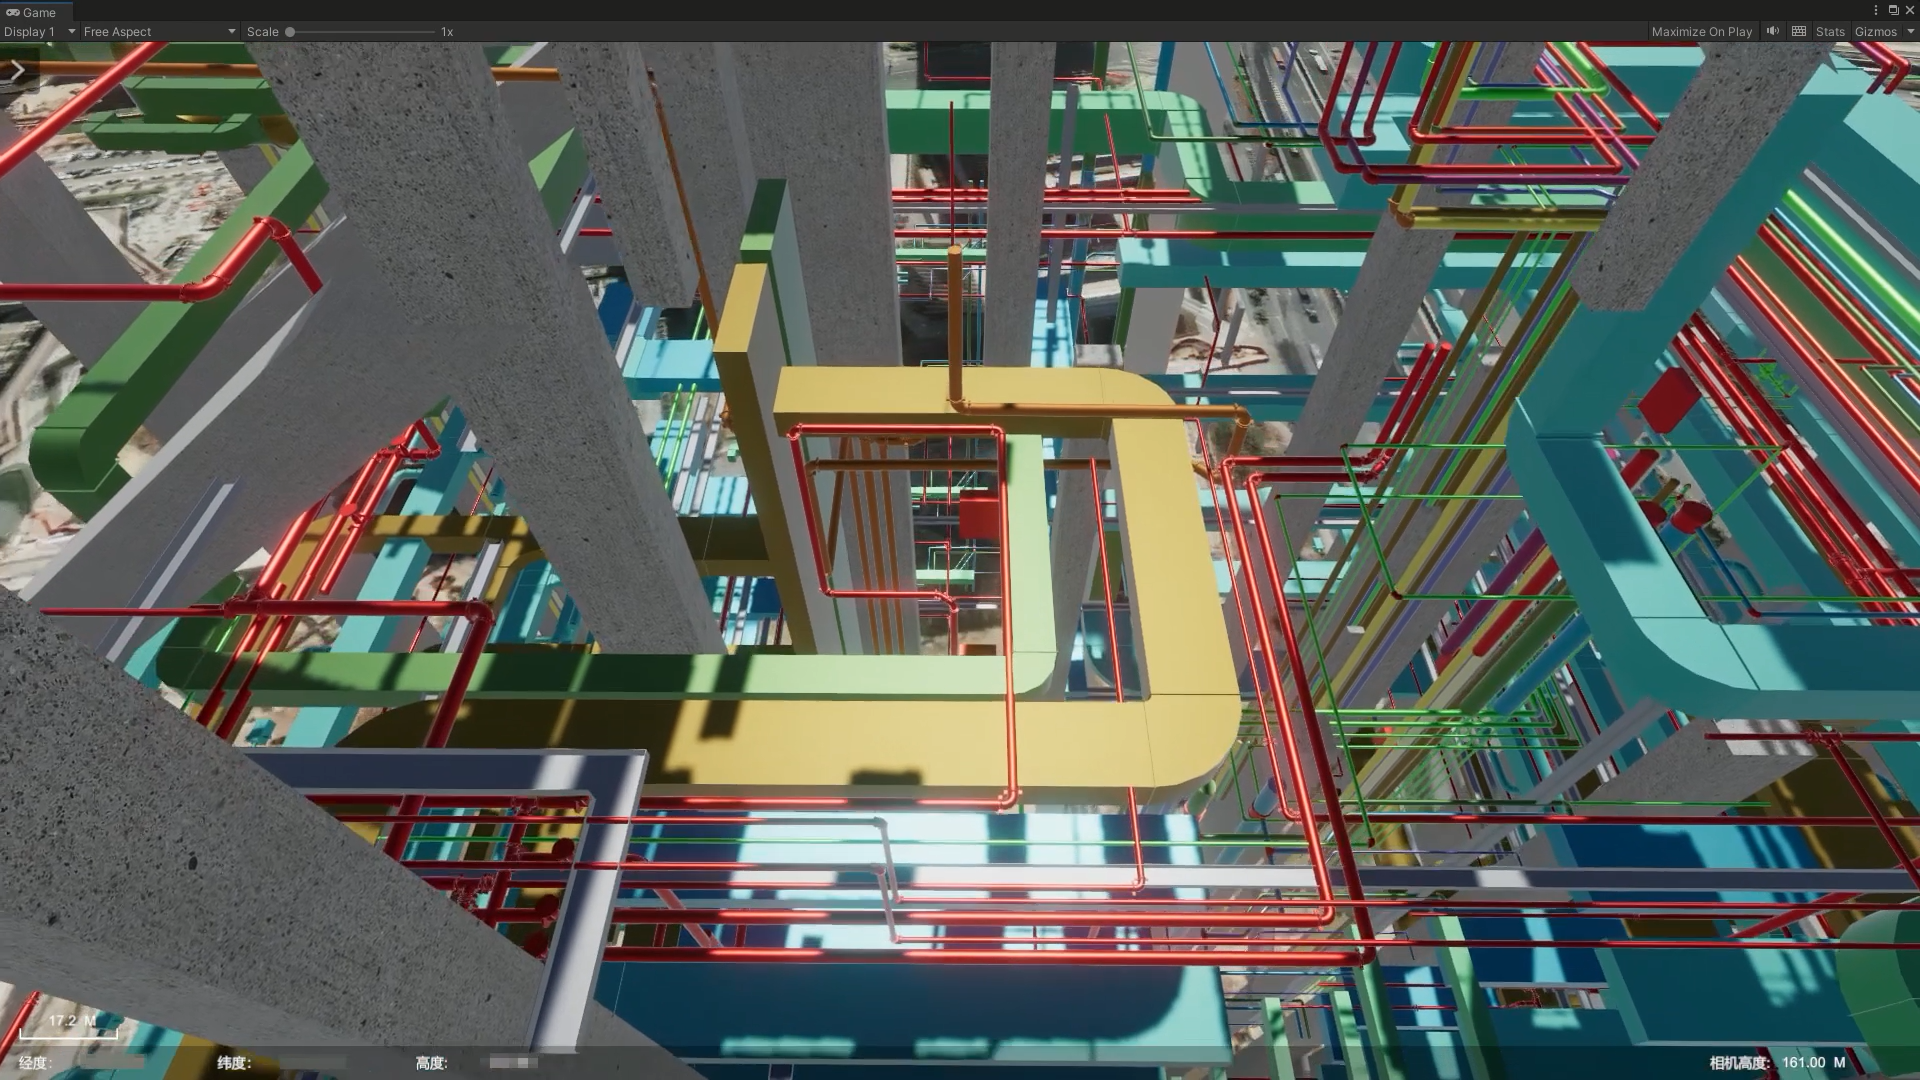
S3M Beautification of 3D Data of Tile
This method is the main beautification method of 3D model data. Suitable for fine-tuning model materials, especially for BIM, SketchUp, and other types of data. For example, in the production of architectural models, glass curtain walls, metal structural frames, marble walls, etc.
Specific beautification steps:
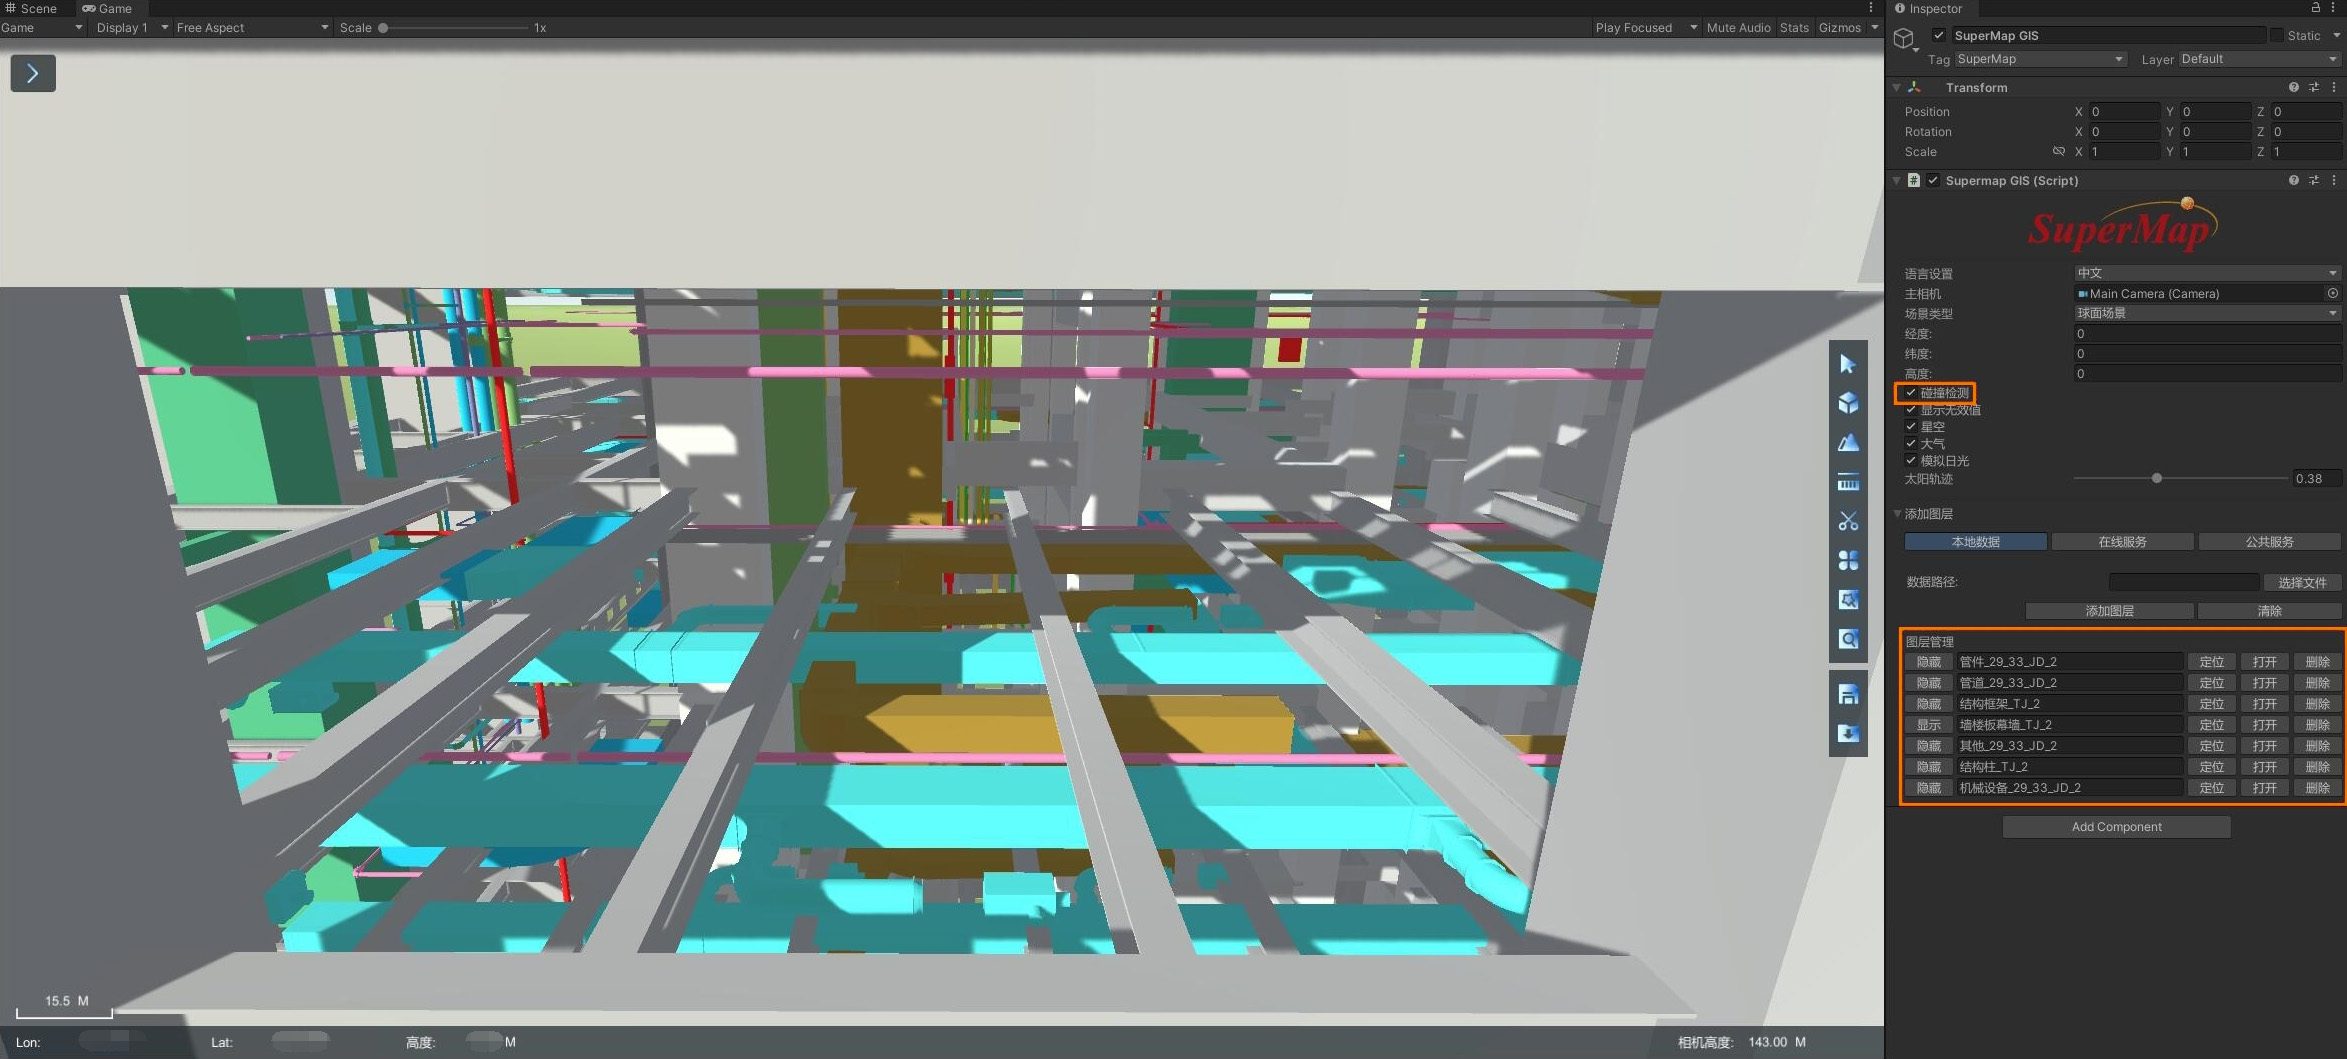
Data processing
Format conversion plug-in and usage link: support.supermap.com.cn/DownloadCenter/DownloadPage.aspx? tt=ProductAAS&id=134
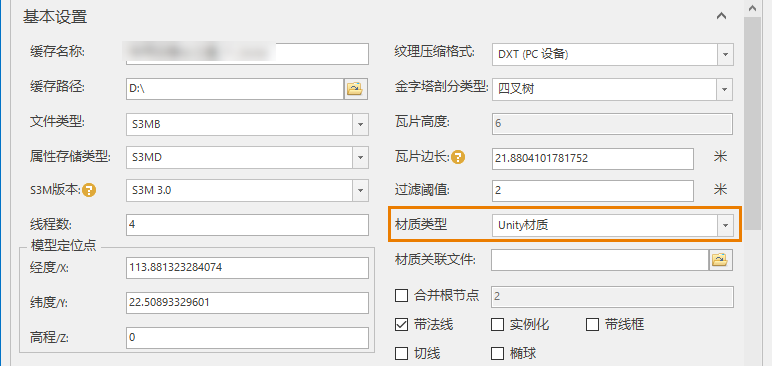
Right-click-Make Tiles. On the Make Tiles interface, select Unity Material for Material Type.
Data beautification
- In the toolbar on the right, click the Data Beautification icon above the Search button to pop up the Data Beautification/Material Replacement interface.
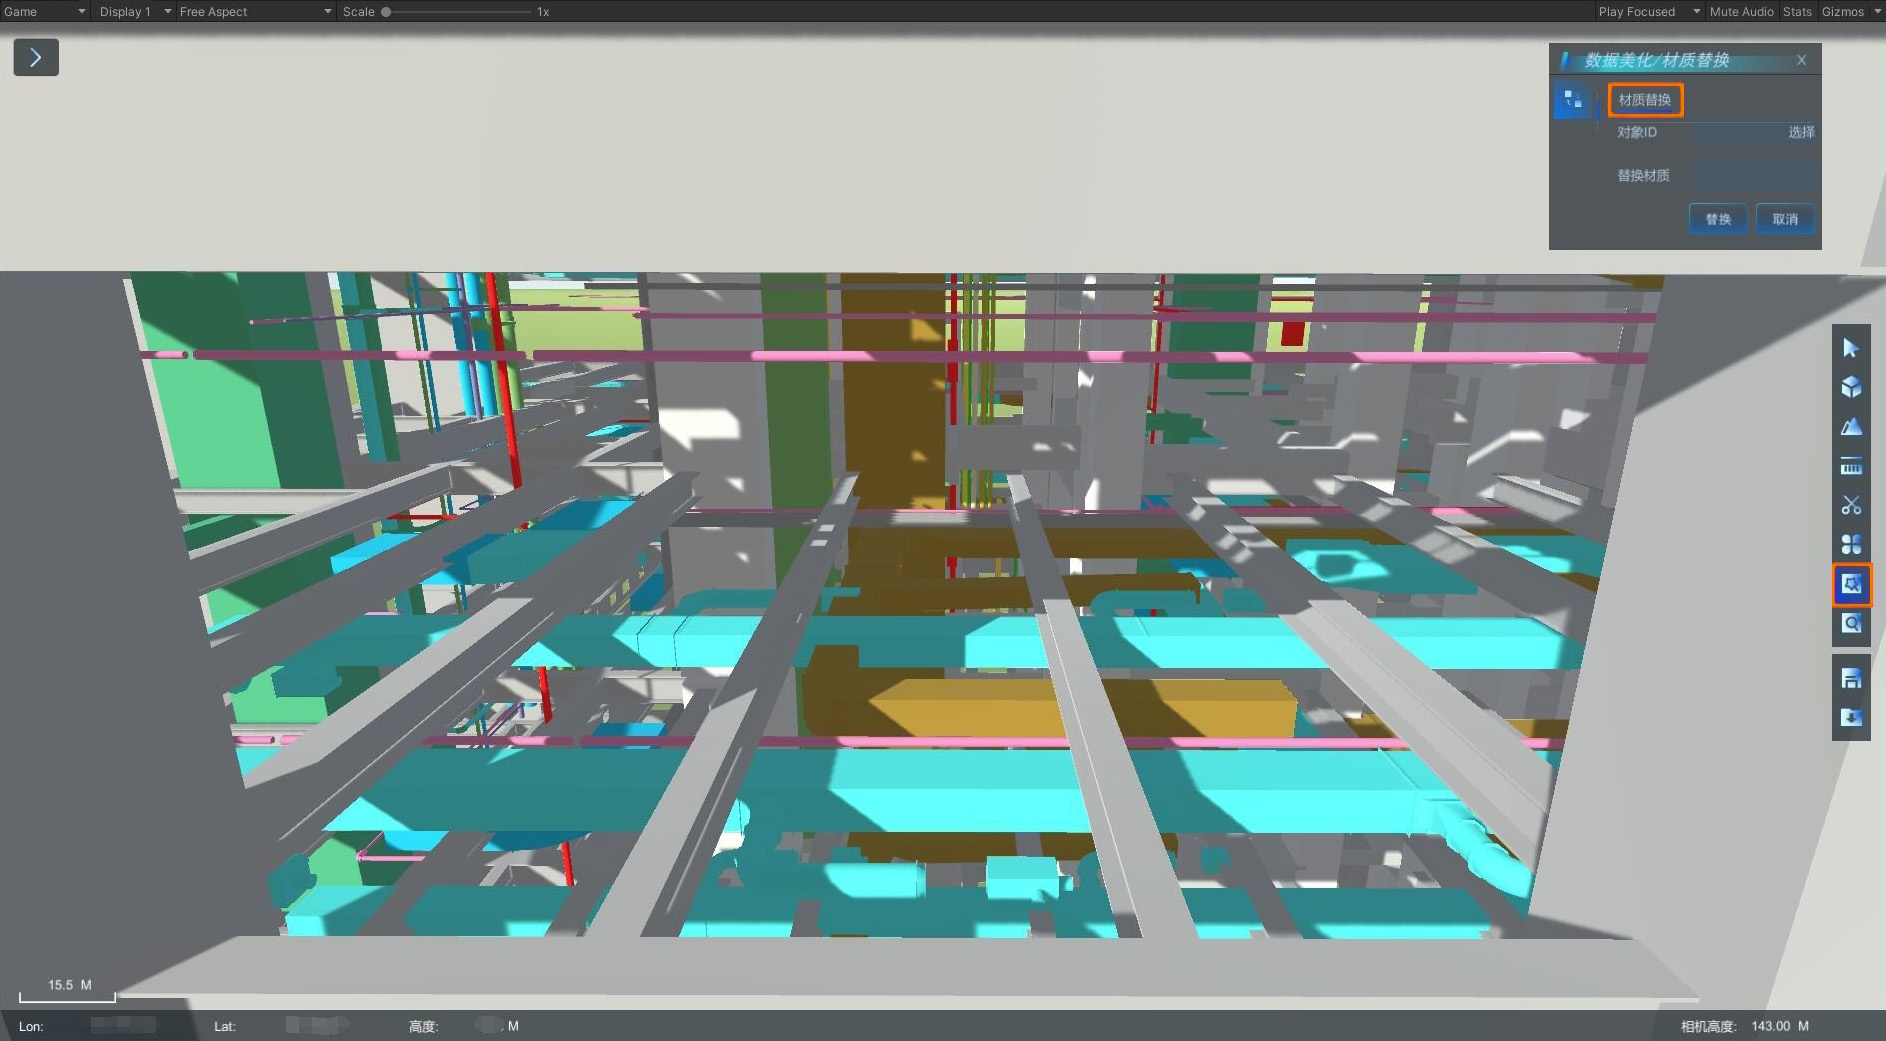
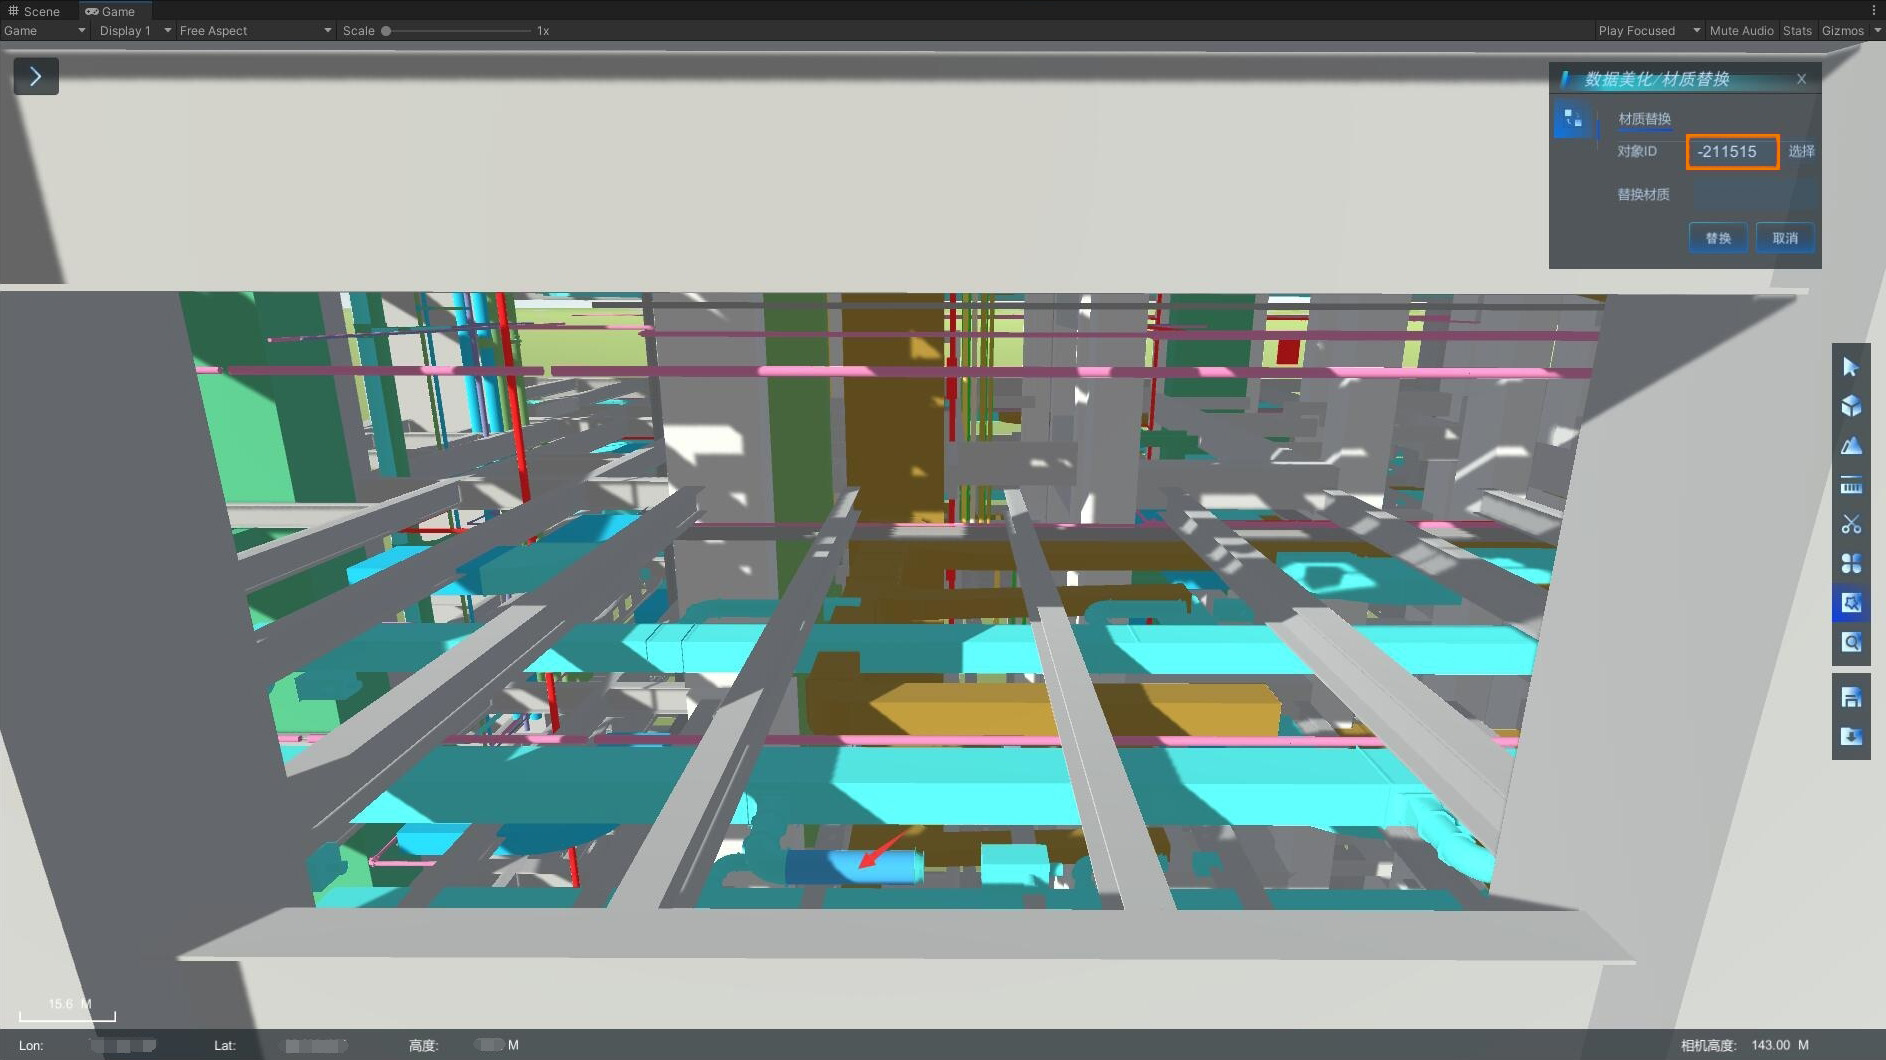
- Click the Select button behind the object ID, and then select the object to replace the material. After clicking the object, the material name of the object will be automatically written in the content box behind the object ID.
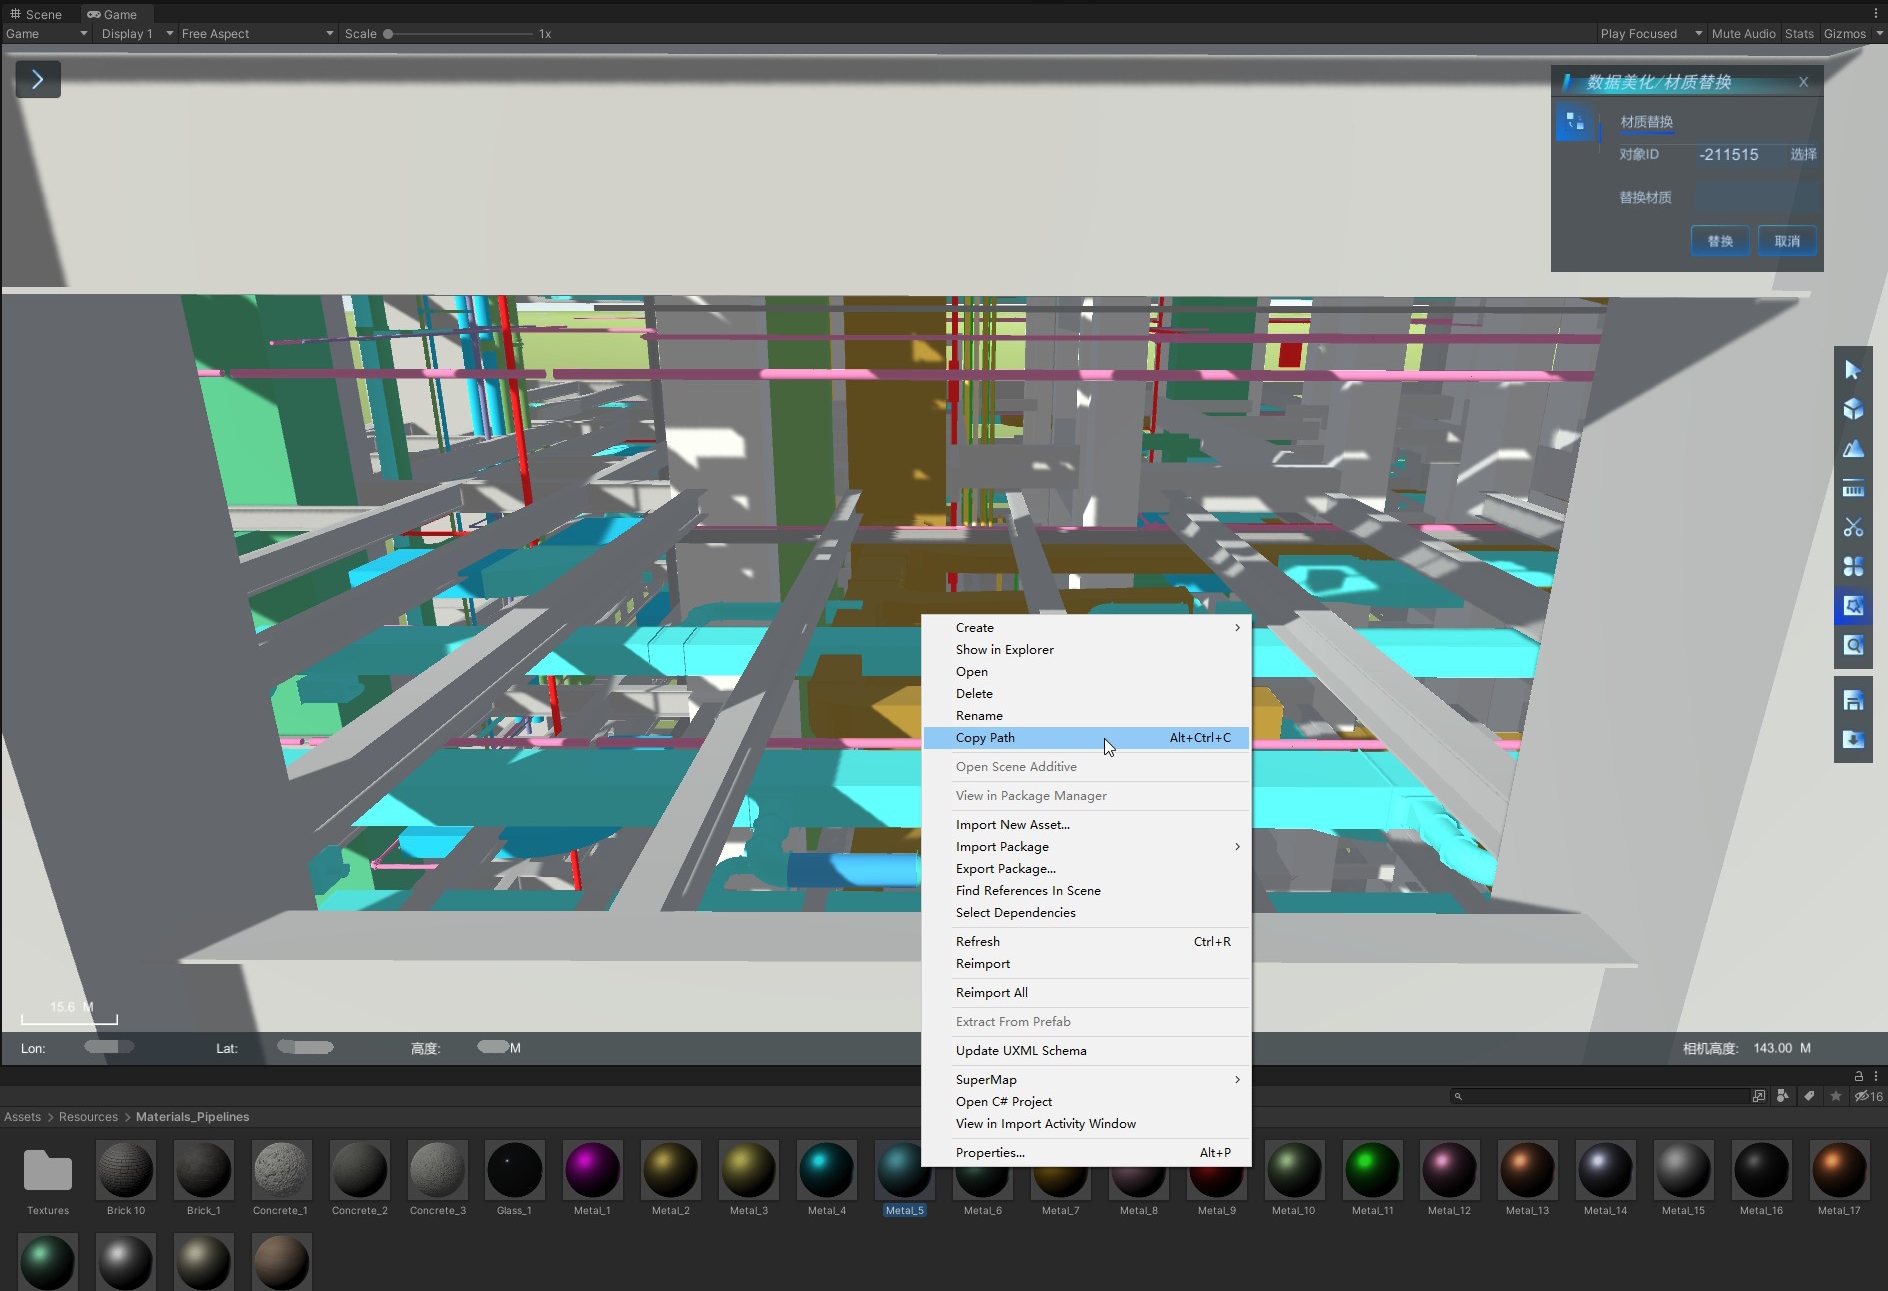
- In the Asset Browser, find the PBR material you want to replace, right-click, and click Copy Path in the pop-up interface box to copy the PBR material path.
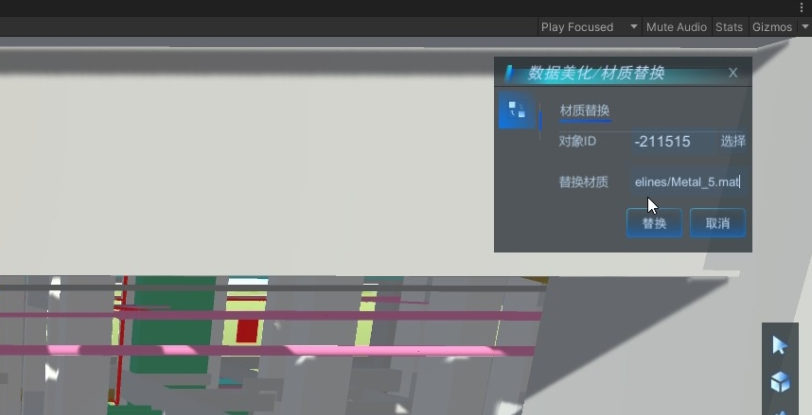
- Ctrl+V paste the copied material path into the input box after the replacement material path.
- Click the Replace button and you can see that the object's material has changed from the original effect to the new PBR material effect. In addition, all objects using this material have been replaced with materials.
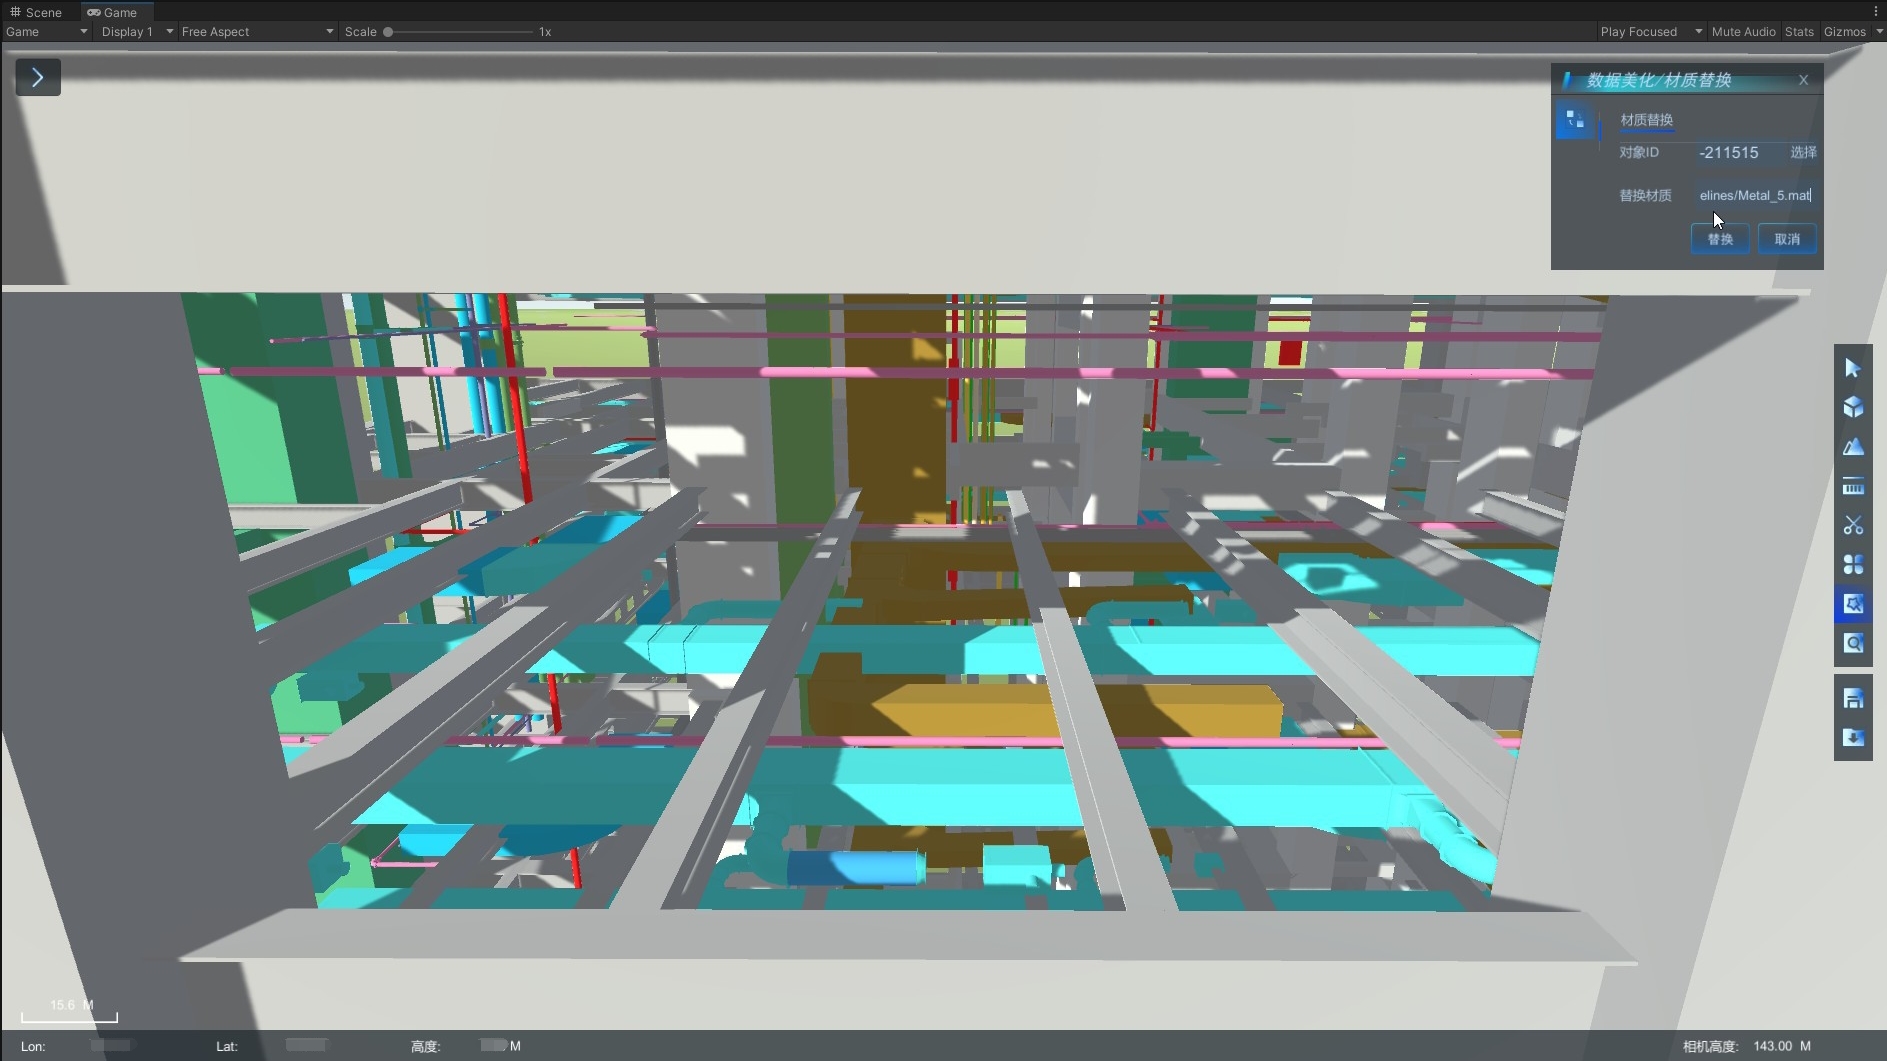
- Use the same method to replace the material for other objects in turn.
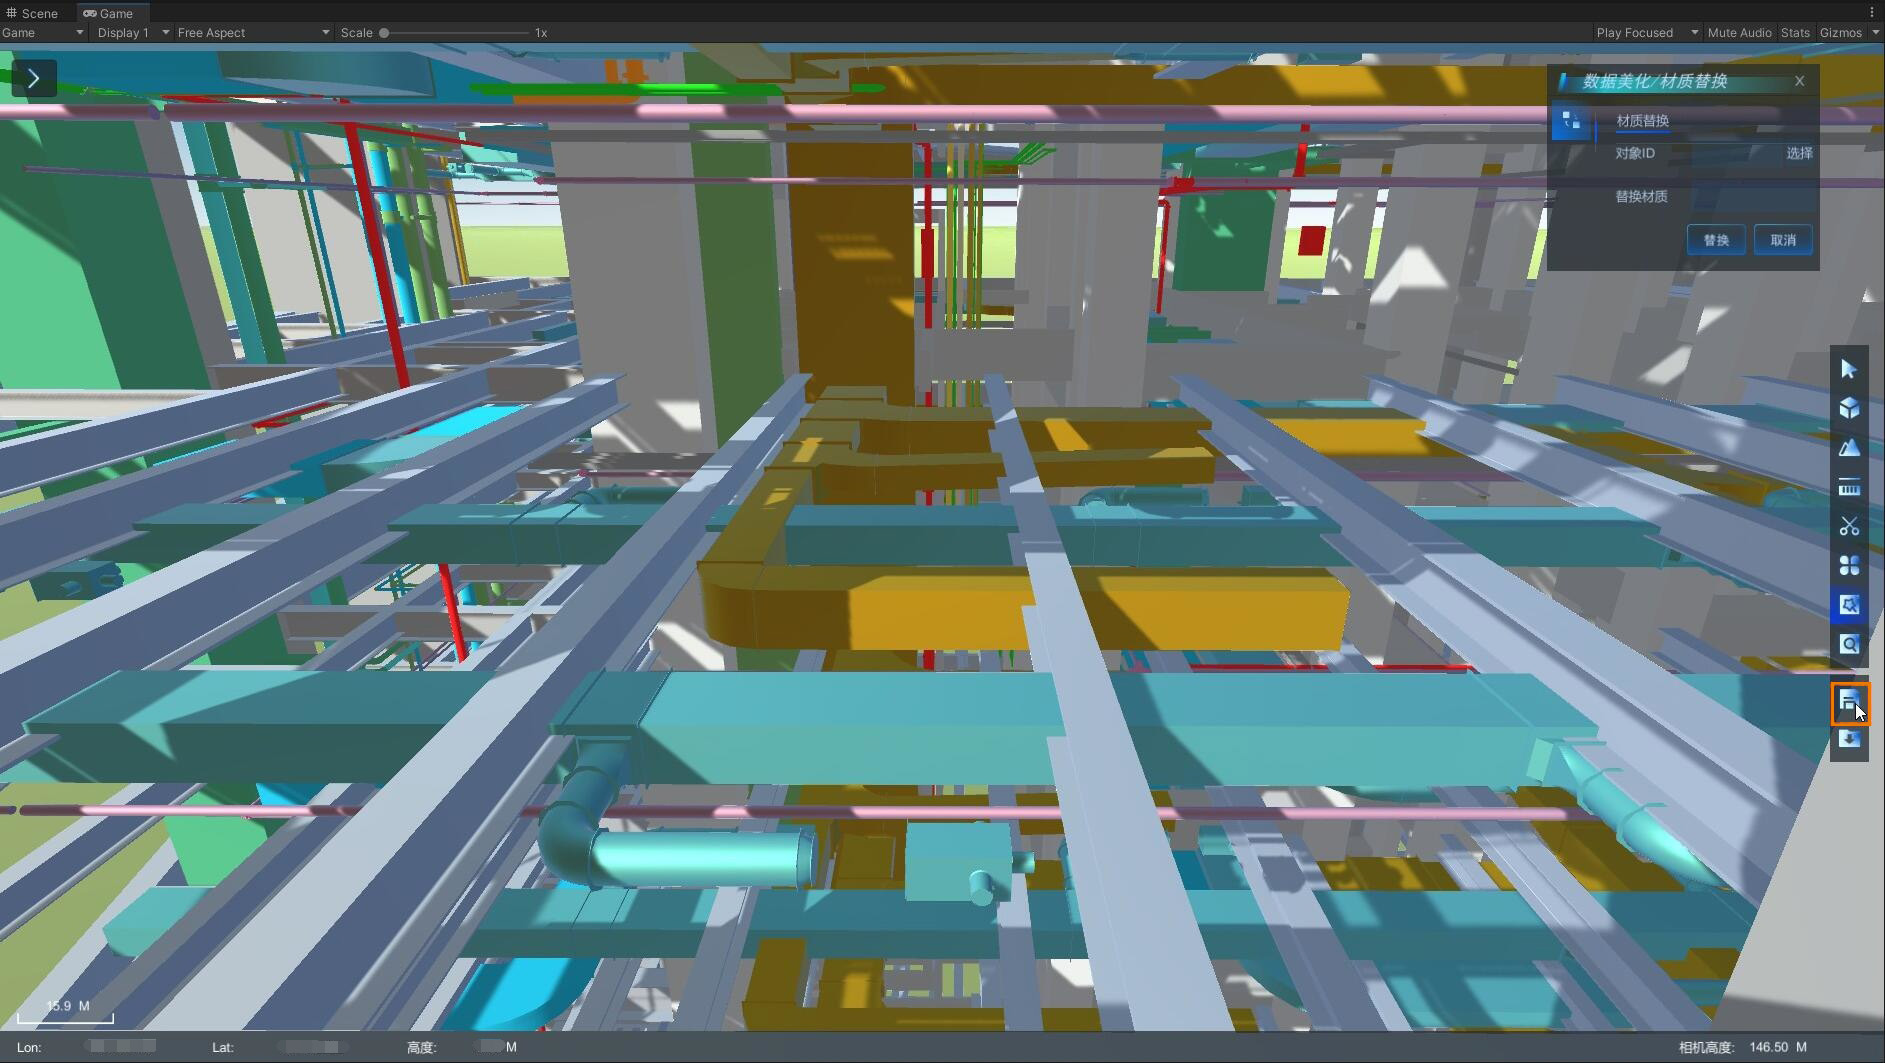
- After the material replacement is completed, click the Save button in the right toolbar to save the material replacement result to the json file. The Json file is stored under the Assets/Resources folder under the Unity project project and has the same name as the current Scene.
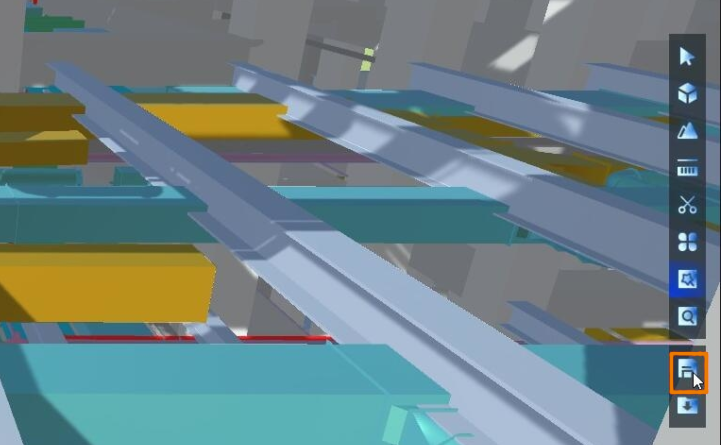
- Run it again, automatically displaying the beautified effect.
