Tutorial
Site Templates
Site templates are used to create custom sites. You need to add site templates through the site template interface first. The successfully added templates can be used when creating a customized site. In the site template interface, administrators can add third-party site templates by uploading files or filling out forms, and assign templates to corresponding groups. You can also edit and delete added sites.

Make Images
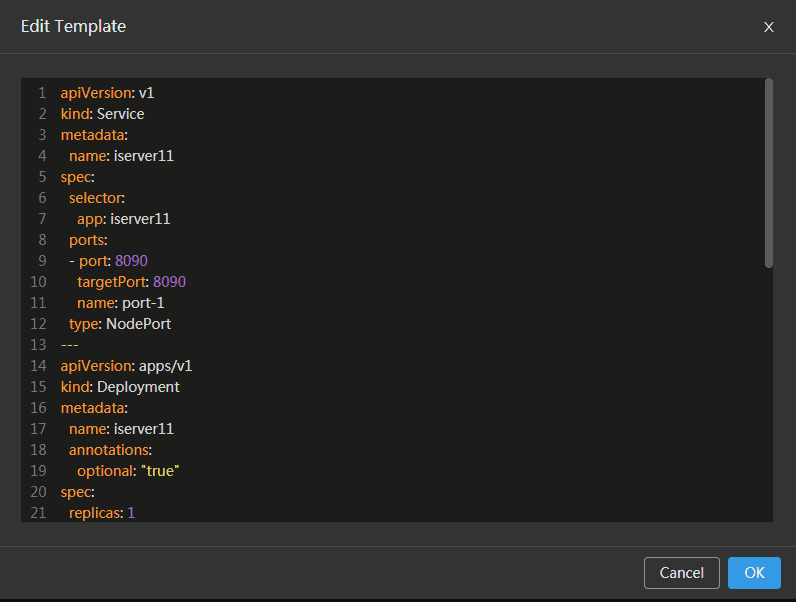
The site template needs to be created and added based on your existing application image. Therefore, you first need to Dockerize your existing application. It is recommended to use Dockerfile to make the application into a Docker image. For specific image creation methods, please refer to Docker Documentation.
Add Templates
Login iManager, click Site Customization > Site Templates on the left navigation bar.
Create from file
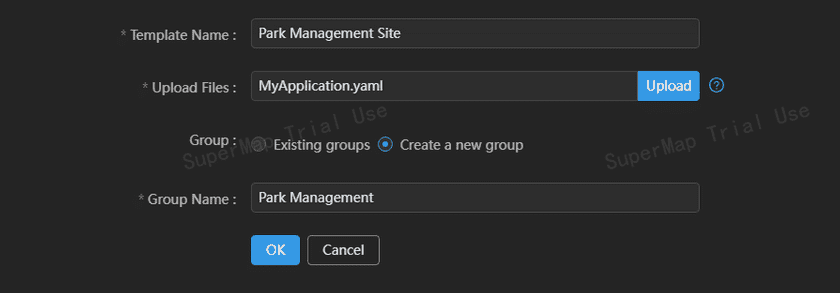
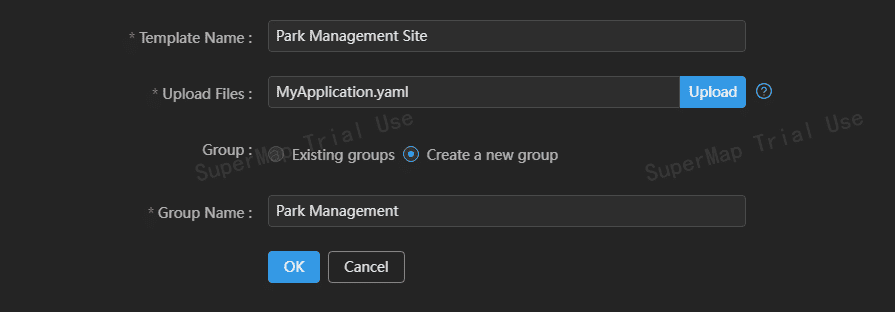
Please follow the steps below to add application from file:
-
Fill in the template information:
- Template Name(Required): The name of site template.
-
Group(Required):
- Existing groups: Existing site groups in iManager.
- Create a new group: New added a site group.
- Group Name(Required): If the option ‘Existing groups’ is selected, Database is the default group, if select Database, the application will be assigned to Database group. If the option ‘Create a new group’ is selected, the administrator need to named a new group.
Notes:
- Do not input character ’%’ when filling in the application name.
- Database is the default group, if select Database, the application will be assigned to Database group. The administrator can also create a new group.
- Clicks on OK to finish adding application.
- For newly added groups, you need to bind NFS before you can use them. Click Storage Management->NFS->Bind in the left navigation bar and select the group you created to bind.
Create from form
You need to fill relevant information to create a site template from form so as to customize industry applications.
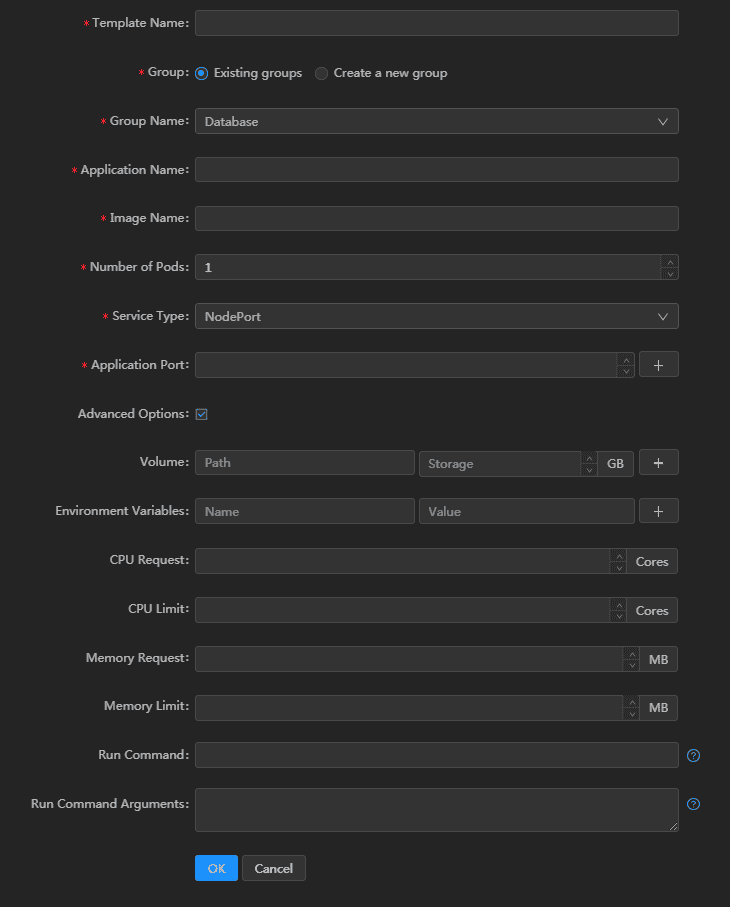
Please follow the steps below to add application from form:
-
Fill in the template information:
- Template Name(Required): The name of site template.
-
Group(Required):
- Existing groups: Existing site groups in iManager.
- Create a new group: New added a site group.
- Group Name(Required): If the option ‘Existing groups’ is selected, Database is the default group, if select Database, the application will be assigned to Database group. If the option ‘Create a new group’ is selected, the administrator need to named a new group.
- Application Name(Required): The name of site application. It must consist of lower case alphanumeric characters or ’-’, and must start and end with an alphanumeric character.
- Image Name(Required): The name of the image that the service used. The format is: Registry/Namespace/Imagename:tag.
- Number of Pods(Required): The target number of Pods you want your application to be deployed in. Pod is the minimum running unit in Kubernetes, a pod can be made up by multiple containers, the pod provides service ability. The value must be a positive integer.
-
Service Type(Required): Kubernetes service type. You can choose None, NodePort, ClusterIP or LoadBalancer.
- None: The type of no Service. If ‘None’ is choosen, you will not fill in
Application Port. - NodePort: This type exposes the Service to the outside via a port on the specified Node, by which the Service can be accessed outside the cluster.
- ClusterIP: A virtual IP automatically assigned by the Kubernetes system, by which the Service can only be accessed inside the cluster.
- LoadBalancer: Works on a specific Cloud Provider, choose this type If your environment is public cloud.
- None: The type of no Service. If ‘None’ is choosen, you will not fill in
- Application Port(Required): Sets the port to access the site. Supports adding multiple ports.
You can also check ‘Advanced Options’ to define more settings as needed:
- Volume: The path where the image corresponding to the service needs to be mounted, that is, the path inside the container, which supports setting directory and storage capacity, and supports adding multiple volumes.
- Environment variables: Kubernetes exposes services through environment variables and presents Pod information to containers, which supports setting environment variable names and corresponding parameter values, and also supports adding multiple environment variables.
- CPU Request: Set the minimum CPU requirement for the container.
- CPU Limit: Set the maximum CPU requirement for the container.
- Memory Request: Set the minimum memory requirement for the container.
- Memory Limit: Set the maximum memory requirement for the container.
- Run Command: Supports filling in multiple parameters, the format is: [“command”, “param1”, …].
- Run Command Arguments: Supports filling in multiple parameters, the format is: [“param1”, “param2”, …], please refer to Define a Command and Arguments for a Container.
After the template is added successfully, you can delete the existing site or change the site name on the site template management page. When creating a site in Site Management, you can select the added template. For details, please refer to Customized Site.
Modify Site Templates
You can modify the customized site templates through the “Edit” operation. For details on customized templates, please refer to Make Application Files.