This section describes the installation of the PostgreSQL program. SuperMap-based SDX + for PostgreSQL does not support PostgreSQL 8.2. It is recommended to install PostgreSQL 8.3 or above.
- Install the home page After
opening the installation directory of the PostgreSQL product, double-click Postgresql-9.0.2-1- windows. Exe ". The PostgreSQL installation homepage as shown in the following figure appears. Click Next to continue the installation.
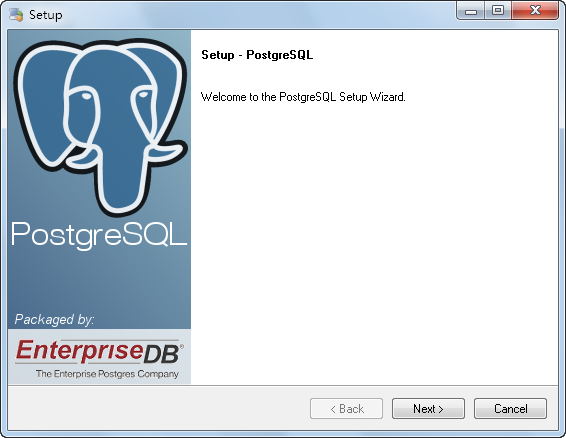
Figure: PostgreSQL installation home page - Specify the installation directory Specify the directory where PostgreSQL is installed,
as shown in the following figure. Then, click the Next button to continue the installation.
The partition where PostgreSQL is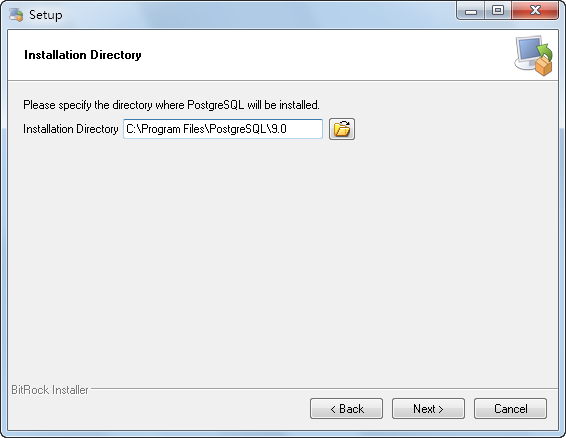
Figure: Specifying the Installation Directory installed should preferably be in NTFS format. PostgreSQL's primary task is to ensure data integrity, but FAT and FAT32 file systems do not provide such reliability, and FAT file systems lack security guarantees that Source Data can be changed without authorization. In addition, the "multi-point" feature used by PostgreSQL to complete the tablespace is not available under the FAT file system.
However, on some systems, there is only one kind of FAT partition, in which case you can install PostgreSQL normally, but do not initialize the database. After the installation is completed, you can manually execute the initdb. Exe program on the FAT partition, but its safety and reliability cannot be guaranteed, and the establishment of the table space will also fail.
- Specify the Data Save directory Specify the installation area for the database storage area
as shown in the following figure. Then, click the Next button to continue the installation.
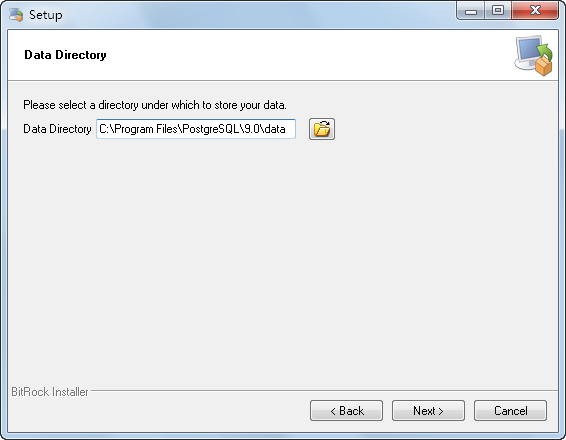
Figure: Specifying the Data Save Directory - Set the password for the database super user and service account
The database super user is a non-administrator account. This is to reduce the damage to the system caused by hackers using the flaws found in PostgreSQL. Therefore, it is necessary to set Password for the database super user, as shown in the following figure. The user name of the service user automatically established by the installer defaults to postgres. Then, click the Next button to continue the installation.
of the service account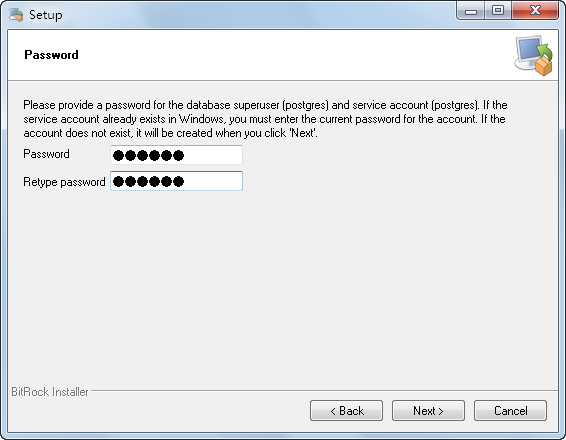
Figure: Set the password - Set the service listening port
As shown in the following figure, specify the port of the database server, which is "5432" by default. Users can set it according to their own port usage. Then, click the Next button to continue the installation.
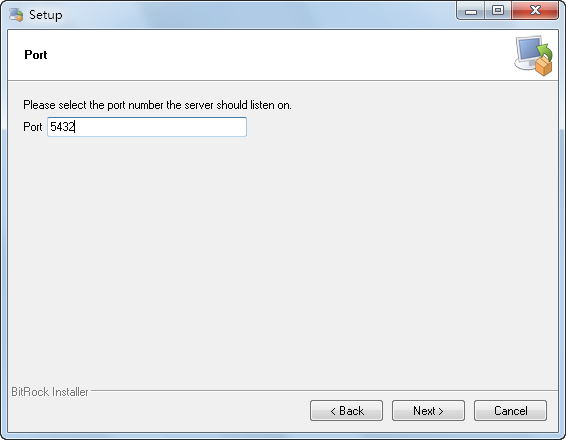
Figure: Setting the service listening port - Select Runtime Locale The run-time locale for the Select Data library storage area,
as shown in the following figure. Then, click the Next button to go to the installation progress page and wait for the PostgreSQL installation to complete.
 Caution:
 When selecting the locale, selecting "default locale" will result in incorrect installation; Also, PostgreSQL does not support GBK and GB18030 as character sets, If you select the other four Chinese character sets: Chinese Traditional (Hong Kong S. A. R.), Chinese Simplified (Simplified Singapore), Singapore), Chinese Traditional, Taiwan, and Chinese Traditional, Marco S. A. R., will result in incorrect Search Result and sorting results. It is recommended to select "C", that is, do not use regions.
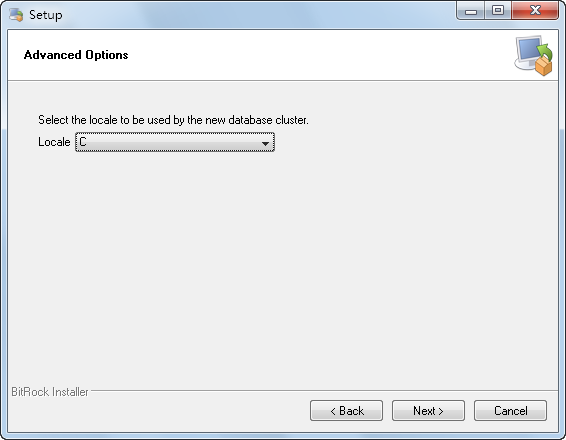
Figure: Selecting a Runtime Locale 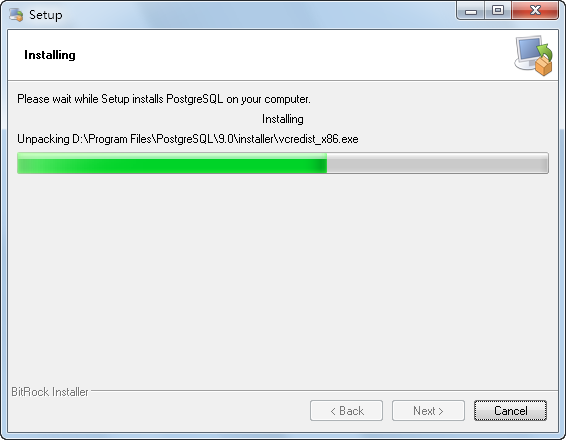
Figure: Installation Progress Page - End the installation After the
above installation steps The execution completed, a completion dialog box will pop up as shown in the following figure. Here, you can choose whether to run the Stack Builder wizard to install additional software after the installation is completed to complete the installation of PostgreSQL. This operation must be performed in a networked state.

Image: Finishing the installation


