



Planar Clipping
Function Description
Planar Clipping function allows you to draw a plane on a specified layer and display only the scene on one side of the plane. Currently, it only supports planar clipping for model datasets, S3M tile data generated from model datasets/oblique photogrammetry 3D models/symbolized pipeline data, and instanced layers; it does not support planar clipping for terrain, imagery, or other data.
Function Entry
- Scene tab->Browse group->Scene Clipping dropdown button->Planar Clipping button
Instructions
- In the Scene tab, in the Browse group, click the Scene Clipping dropdown button. In the dropdown menu that appears, select Planar Clipping. The Planar Clipping panel appears.
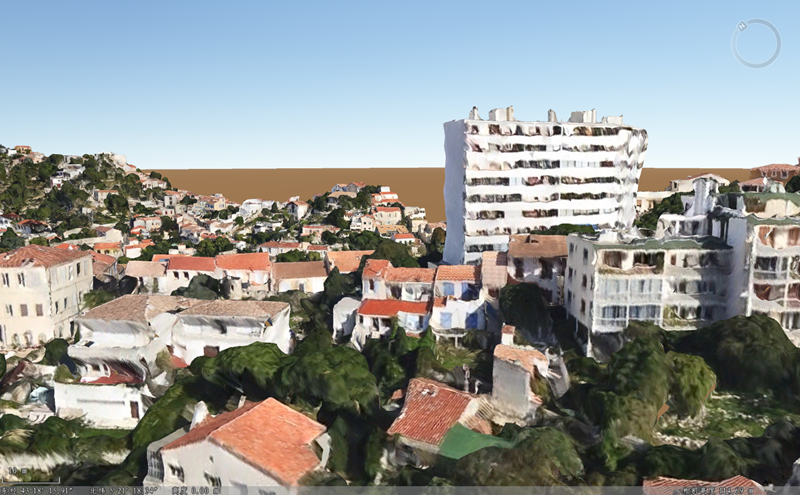
- Source data settings: In the layer list box, check the layers to be clipped by plane. The following figure shows an example of the data used for demonstration.
- Clip area selection: Click the Add
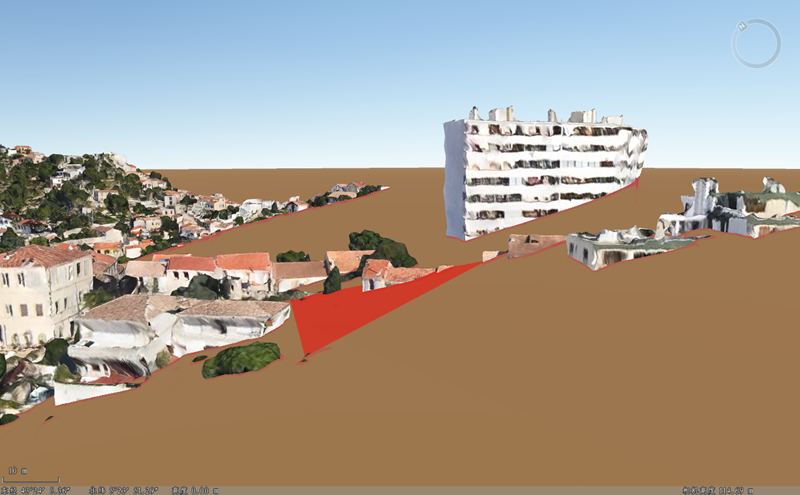
 button in the toolbar, then draw a plane in the scene. For a plane drawn counterclockwise, the data below the plane where the triangle face is located is clipped; for a plane drawn clockwise, the data above the plane where the triangle face is located is clipped. Taking the counterclockwise triangle face as an example, the planar clipping effect of the layer to be clipped is shown in the figure below.
- The Visibility button in the toolbar controls whether the clip shape is displayed. When the Visibility button is selected, the clip area shape is displayed; otherwise, it is hidden. By default, the Visibility button is selected.
- Set clip style and clip line style: Set the color and transparency of the clip plane and clip line as needed.
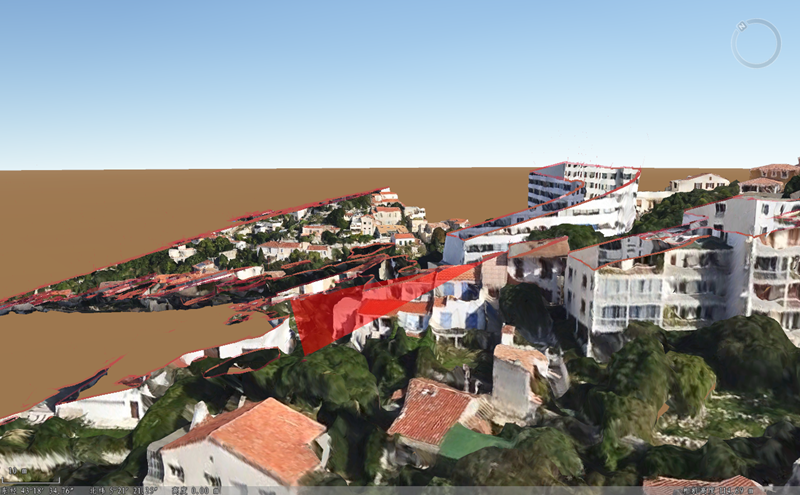
- Check the Show the Other Side checkbox to display the effect of the other side, as shown in the figure below.
 Notes:
Planar clipping does not support clipping the initial ground.