


↵
Mosaic
Function Description
The oblique photography data mosaic function performs a mosaic operation between the selected oblique photography layer and a specified mosaic surface.
Function Entry
- 3D Geographic Design Tab -> Oblique Photography Data Operations Group -> Mosaic Button
Operation Steps
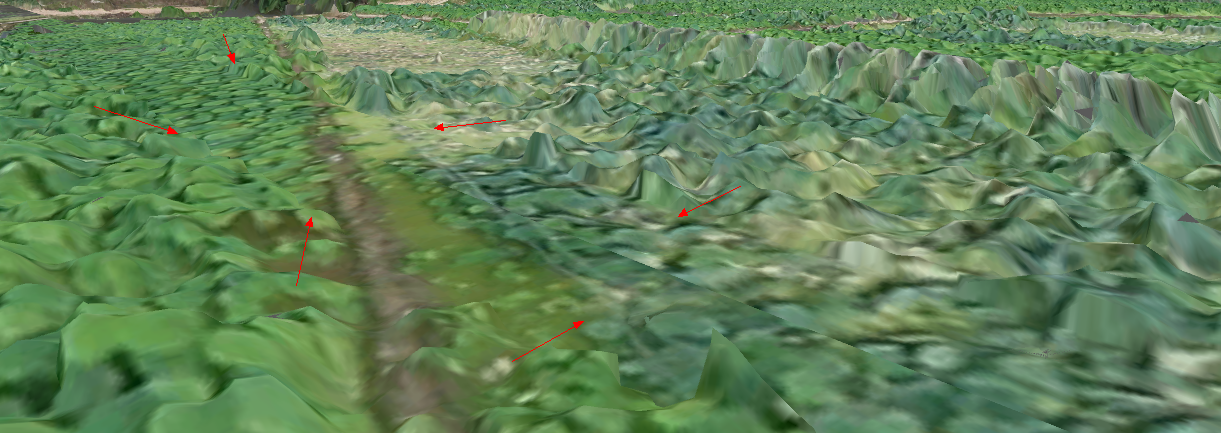
- In a new or existing scene, load oblique photography 3D model S3M tile data. Then, use the layer's right-click menu "Quick Locate to This Layer" to move the camera. Adjust the camera to a convenient viewing angle for the mosaic operation by holding down the mouse wheel in the scene window.
- In the 3D Geographic Design tab, within the Oblique Photography Data Operations group, click the Mosaic button. The "Oblique Photography Data Mosaic" panel will pop up for parameter settings.
- Layer Selection: Click the dropdown arrow of the "Oblique Photography Layer" combo box to select the layer to be mosaicked.
- Mosaic Surface Determination: Select either "Select Surface" or "Draw Surface" to determine the type of mosaic surface. When selecting "Draw Surface," the toolbar provides three methods to define the mosaic surface: "Rectangle," "Polygon," and "Import."
- Select Surface: Select a surface object in the scene as the mosaic surface. To select multiple surfaces for the operation, hold down the Shift key and then select them in the scene.
- Rectangle or Polygon: Move the mouse to the scene, click the left mouse button to start drawing a rectangle or polygon as the mosaic surface, and click the right mouse button to end the drawing.
- Import Mosaic Surface: Click the import button to pop up the import dialog box, which supports importing a surface dataset from an existing data source in the Workspace Manager as the mosaic surface.
- Export Mosaic Surface: Supports exporting the drawn mosaic surface by clicking the "Export" button.
- Parameter Settings:
- Additional Height (meters): Sets the additional bottom height of the mosaic surface. This operation does not change the original bottom height value of the mosaic surface. The default is 0, in meters.
- Slope Width (meters): Directly input a numerical value to determine the width of the slope protection, in meters.
- Effective Height Range: When checked, supports setting the effective height range for the mosaic.
- Bottom Elevation: Sets the bottom elevation value relative to the mosaic surface, in meters. This value determines the data range below the mosaic surface to be included in the mosaic calculation.
- Top Elevation: Sets the top elevation value relative to the mosaic surface, in meters. This value determines the data range above the mosaic surface to be included in the mosaic calculation.
- "Preview" Checkbox: Unchecked by default. When the "Preview" checkbox is checked, the mosaic result can be previewed in real time.
- After the settings are complete, click "OK" to perform the mosaic operation. An example result of the mosaic is as follows:
- Click "Undo" to revert the result of the oblique photography model mosaic operation.