publish 3d service
Instructions for use
publish 3d service uploads local spatial model tiles, 3D terrain tiles, and 3D image tiles (with corresponding config files *.scp, *.sct, *.sci3d) to the iServer, enabling data sharing.
Note that currently, tile data of S3M 3.01 is not supported for data sharing through this operation.
Function Entry
- 3d data tab -> oblique photography data group -> data management dropdown menu -> publish 3d service
- Toolbox -> 3d data -> oblique photography data processing -> 3d tiles publishing
Operation Steps
- In the 3D Data tab, within the Oblique Photography Data group, in the Data Management dropdown menu, click the Publish 3D Service button to pop up the "Publish 3D Service" dialog box.
- Set the Tile Configuration file: Click the select button on the right of the tile config file to choose the config file (*.scp/*.sct/*.sci3d) for the specified tile data.
- Set the iServer Server Address: Enter the specified iServer server address in the specified format, which is http://{server}:{port}/, for example: http://localhost:8090.
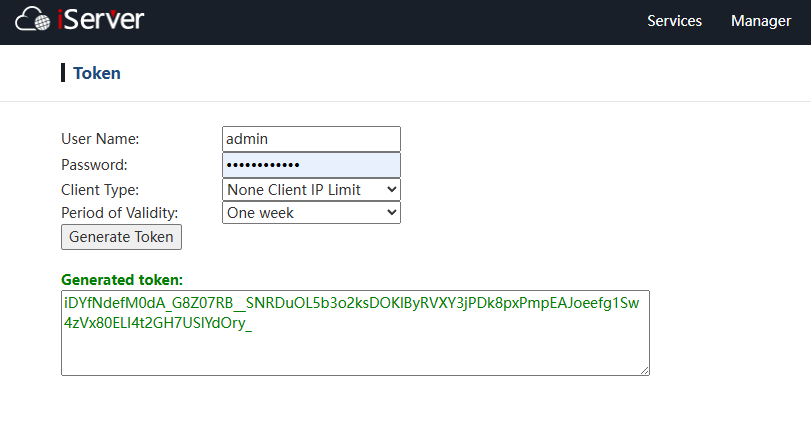
- Set User Token: Enter the authorization that allows publishing services on the SuperMap iServer server. This can be obtained from the token generation page in iServer.

- After setting the above parameters, click the "Run" button to execute the publish 3D service operation. After the operation is completed, the access address of the published service will be displayed in the output window.


