Instructions for use
A closed model is constructed from a polygonal pitched roof. The pitched roof object is a polygon (selected or entire layer), and supports 2D and 3D face layers (under the Geographic Coordinate System).
Operation steps
- Right-click Datasource in Workspace Manager to open the Datasource containing the 2D/3D Region Dataset. Region DatasetAdd to Scene and navigate to the layer.
- On the 3D Geographic Design tab, in the Rule-based Modeling group, click the Build Sloped Roof "button to bring up the Build Sloped Roof" dialog box. As shown in the following figure:
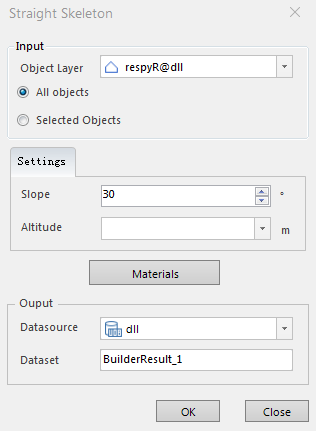 |
| Figure: Build Sloped Roof "Dialog Box |
- Selection of source data
After the Build Sloped Roof function is - turned on, if there are multiple 2D/3DRegion Dataset layers in the currently opened scene, you need to select the Datasource and layer where the surface object to be operated is located from the drop-down list on the right of Source Data.
- When there are multiple faces in the layer, we can check the Only for selected objects "operation after we have selected the faces that need Build Sloped Roof in the scene. When there is only one face in the layer, it is the same whether this function is checked or not. Select "Only for selected objects" by default.
- Select this option to perform Build Sloped Roof on all faces in the selected layer.
Select a single face - with the left mouse button or press and hold the "Shift" key on the keyboard. Multiple faces can be selected with the left mouse button.
- Parameter Settings: Sets the slope of the pitched roof object in degrees and the Bottom Altitude in meters.
- Material Settings: Click the Material Settings "button to pop up the Edit Material dialog box, as shown in the following figure:
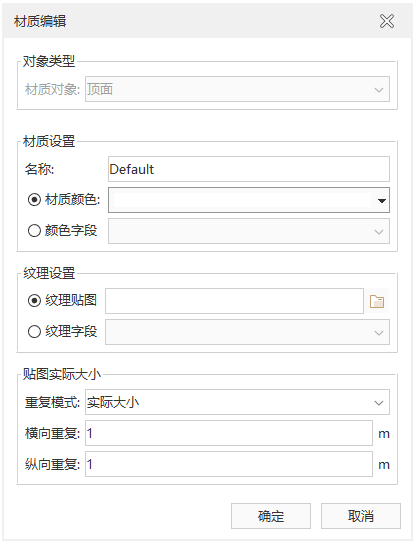 |
| Figure: Edit Material "Dialog Box |
- Material Settings: Includes setting the material name and material color. Material Color Settings You can click the white background box at Material Color to select the color in the pop-up color panel; you can also select the Choose Color field.
- Texture settings: Support direct setting of texture images or setting of Texture Field. You can only choose one of the two.
- The actual size of the texture setting: supports setting the repeat mode, horizontal and vertical UV of the map.
- Click OK to complete the Material Settings and return to the Build Sloped Roof "dialog box.
- Storage of Result Data
- When multiple Datasources are opened in Workspace, you need to select a Datasource to store Result Data. If only one Datasource is opened, Result Data is saved under the Datasource automatically obtained by the text box by default.
- Dataset Name: Enter a string as the name of the Result Dataset.
- Click the OK button to complete the construction of the pitched roof. Generates a Model Dataest named Dataset Name under the specified Result Datasource.
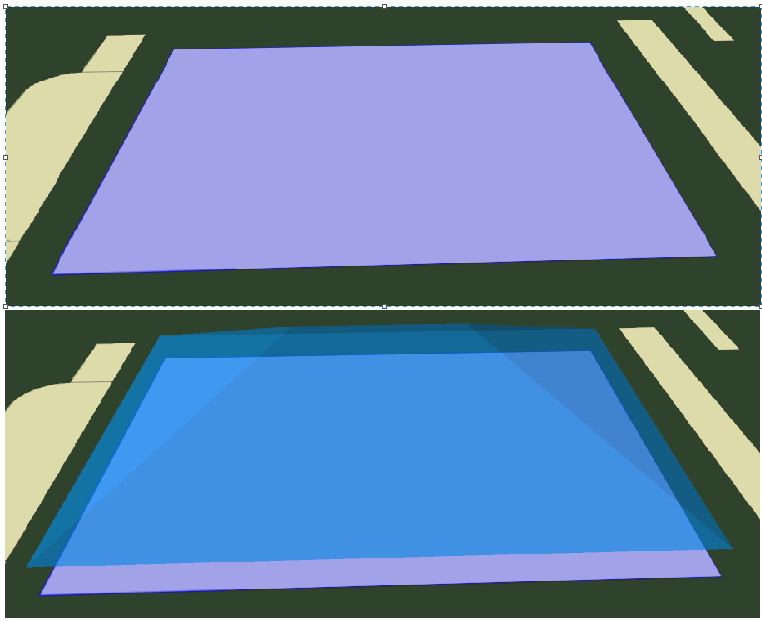 |
| Figure: Effect drawing of sloping roof |
 Precautions
- The Build Sloped Roof is available when 2D and 3D face layers are loaded in the layer.


