



Function Description
A donut polygon is a complex geometry type. In an editable state, when two or more polygon objects with a containment relationship are processed in the overlapping area (either deleted or retained; if the number of polygon objects is even, the overlapping part is deleted; if odd, it is retained), a donut polygon is formed. For example, when there is a lake within a region, a donut polygon is obtained.
- The donut polygon is used on polygon layers or CAD layers.
- Selecting two or more polygon objects for the donut polygon operation may result in the following situations:
- If the selected polygon objects do not intersect, a complex object is generated.
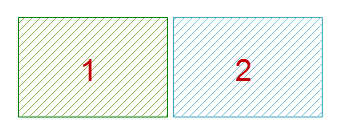
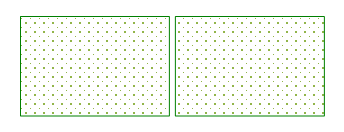
- If the selected polygon objects intersect at a point or line, these polygon objects are merged into a complex object.
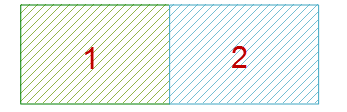
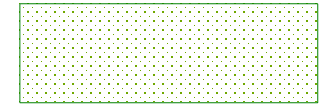
- If the selected polygon objects intersect on a surface but do not overlap, when the number of polygon objects is odd, the intersecting part is retained, resulting in a complex object; when the number of polygon objects is even, the intersecting part is deleted, resulting in a complex object.

Retain odd polygons, delete even polygons
- If the selected polygon objects completely overlap, when the number of overlapping objects is odd, a polygon object is obtained; when the number of polygon objects is even, all polygon objects are deleted.
Three overlapping circles undergo the donut polygon operation, resulting in one circle object; two overlapping circles undergo the donut polygon operation, resulting in null.
- If the selected polygon objects do not intersect, a complex object is generated.
Function Entry
- Edit Data Tab -> Object Editing Group -> Face Editing -> Hole Treatment -> Donut Polygon
Operation Instructions
- In the layer editable state, select one or more polygon objects.
- In the Edit Data tab, under the Face Editing drop-down menu, click the Donut Polygon button in the Hole Treatment group. The Donut Polygon dialog box appears.
In the Donut Polygon dialog box, you can set the operation method for each field individually, or select multiple fields at once for uniform settings. The following describes this dialog box.
- Edit Layer: The editable layer drop-down list lists all editable layers in the current map. You can click the drop-down arrow on its right to select the layer to operate on.
- Field List Area: This area lists information for all non-system fields and editable system fields in the current editable layer, including field name, type, and the operation method for the new object's fields after the join operation is completed. By default, the field properties of the first object are used.
- Operation Method Setting Area: Four operation methods are provided:
- Null: The value of this field for the new object is empty after the operation.
- Sum: The value of this field for the new object is the sum of the corresponding field values of all source operation objects after the operation.
- Weighted Mean: The value of this field for the new object is the weighted mean of the corresponding field values of all source objects after the operation. A weighting field must be specified. If no weighting field is selected, a simple average is calculated: add the selected field values of all source objects and divide by the number of source objects.
- Save Geometry: The value of this field for the new object is the same as the value of this field of a currently selected object after the operation. You can click the drop-down arrow on the right to select the object properties value to use for the new object.
- Keep Hole: Check this checkbox to save the hole area in the donut polygon result as a separate polygon object, making it easier for users to perform other operations and settings. As shown in the figure below, if the checkbox is unchecked, no object exists in the hole area, which is displayed as blank (left image); after checking the Keep Hole checkbox, the hole area in the result is saved as a polygon object (right image), allowing users to set its style, properties, etc.
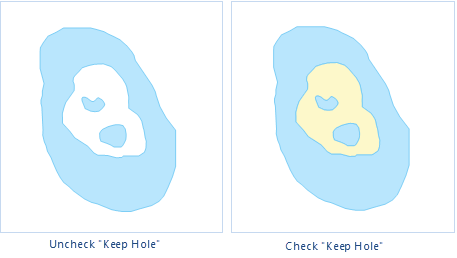
Figure: Donut Polygon result comparison
- Click the OK button to complete the donut polygon operation.