Publish Local Tile
Feature Description
The Publish Local Tile feature enables direct publishing of local vector tiles and raster tiles as map services for web-based visualization and resource sharing. Before publishing tile services, ensure the iServer service is running locally or remotely.
Feature Entry
- Online Tab -> Publish iServer Service Group -> Local Tiles.
Steps
- Start iServer service by running startup.bat/startup.sh in SuperMap iServer's bin directory.
- For first-time iServer setup, complete registration by accessing http://localhost:8090/iserver/ in browser. Follow instructions to create admin account, check system environment, configure license, and set up sample services.
- In Online Tab's Publish iServer Service group, click Local Tiles to open Publish Local Tile dialog.
- Enter iServer address for publishing service. Default shows last used address. First-time users should set server address, username and password via New Connection in Login SuperMap iServer dialog. Successful login addresses are auto-saved in history for future use.
Server address supports custom formats including iServer installation directory paths (/webapps/iserver/[folder name]), and three formats:
- localhost:8090
- localhost:8090/iserver
- localhost:8090/userdefine
- http://localhost:8090
- http://localhost:8090/iserver
- http://localhost:8090/userdefine
- https://localhost:8443
- https://localhost:8443/iserver
- https://localhost:8443/userdefine
 Note:
Note:Failed login may occur if iServer isn't running or credentials are incorrect. Verify connection information before retrying.
- Select config file (.sci) path under Tile Address. Default enables Upload Local Tile - unuploaded files may cause service unavailability if directory changes.
- Choose server type: REST Service, OGC Service, or Other Services. For details, see Introduction to Web Data Sources.
- Click Publish to open Confirm Selection dialog. Select required data information for upload to prevent exposing sensitive data.
- For vector tiles: Choose whether to upload tiles and style files.
- For raster tiles: Choose whether to upload tile data.
- Click OK to complete publishing. View published data by clicking server address in Output Window.

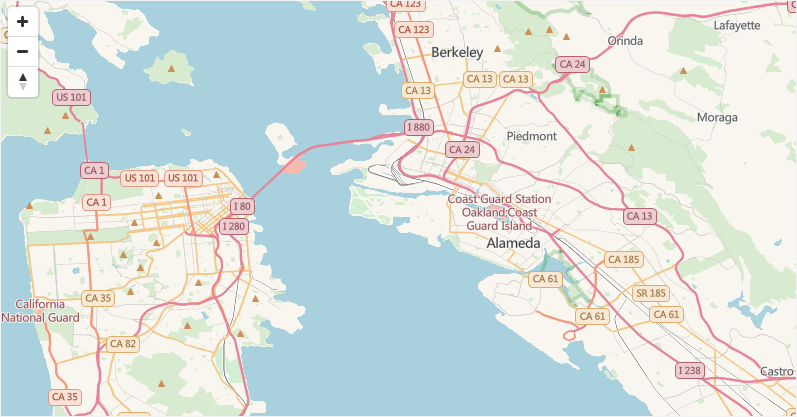
Figure: Vector Tile Preview
Related Topics


