


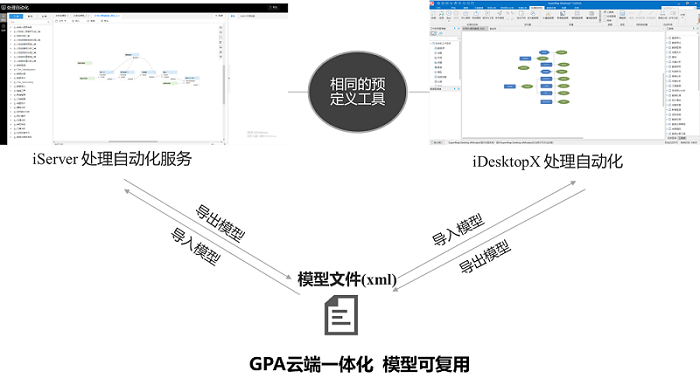
The processing automation model supports import and export functions, exporting the model to *.xml file, which holds the tools and the connection relationships between the tools. Model files can be shared, and the desktop side and web side have the same GPA predefined tools, so the built models can be reused not only in iDesktop X, but also in iServer across platforms, realizing the cloud integration of GPA.
Importing Models
Right-click in the Process Automation window and select "Import Model"; or in the Process Automation tab, click the "Import Model" button. In the pop-up dialog box, select the desired model and click the "Open" button to add the selected model to a new processing automation window. After importing the model, set the parameters of the tools in the model to execute.
Export Model
Right-click in the Process Automation window and select "Export Model"; or click the "Export Model" button in the "Process Automation" tab. In the pop-up dialog box, set the model file name and save path, and click "Save" button to export the workflow in the current window to the model file.
Save as Tool
Save the model as a tool in the toolbox list, which can be combined with multiple tools to build new models or, by linking file directories, use the model files in different clients.
Operation steps:
Right-click in the Process Automation window and select "Save as Tool"; or click the "Save as Tool" button in the "Process Automation" tab. In the pop-up dialog box, set the model tool group and tool name, and click OK to view the saved model tools in the toolbox. The saved model tool files are stored in templates/GeoProcessing/Custom/Custom Model Tools in the desktop root directory by default.
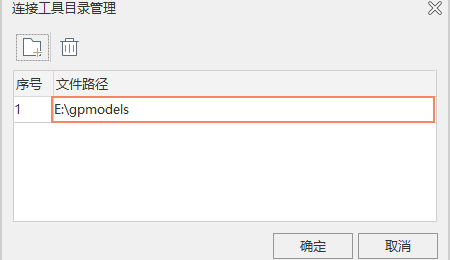
To use the saved model tool files on a different desktop, right-click in the toolbox, select "Connect Tool Directory", and click the Add button in the pop-up dialog box.
 ,select the model tool files copied to the local area through the file browser, you can add the folder to the toolbox to share the model tool files without having to build the model repeatedly.
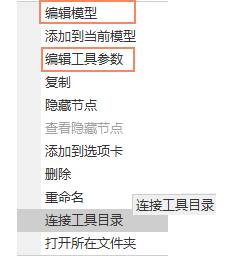
Release Model
Publish custom models to the server side for access and use, and the same model can be used by multiple client applications, even running analysis simultaneously.
Operation steps:
In the Process Automation window, right-click and select Publish Model; or in the Process Automation tab, click the Publish Model button and fill in the model name and Model Grouping. Make sure you are logged into your iServer account, select the appropriate iServer service address, and click Publish to publish the processing automation model as a tool to iServer.

After a successful publish, the output window will show the address of the published model and the REST API address of the model that performed the publish. Clicking on the Publish Model address link will redirect you to the iServer Processing Automation (WebUI) page and automatically locate the Custom Model tool in the Tools list, drag and drop the desired model to the canvas and start reusing it. Alternatively, you can access it from within your own client application by calling the appropriate REST API.
