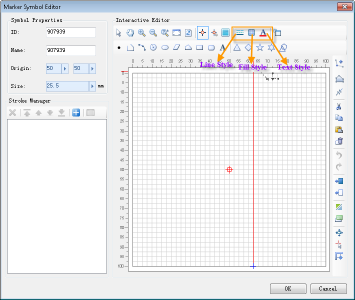
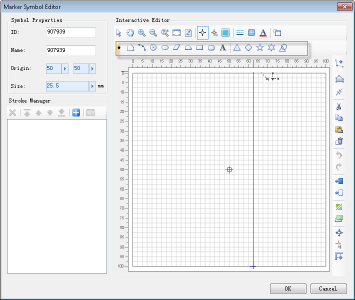
| Point |
Draw Point: - Click the dot button;
- In the symbol editing area, click the mouse at the target position to complete the drawing of a point object. If the point object is drawn again, repeat the above steps.
|
| Line |
Draw fold Line: - Click the Line button;
- In the symbol editing area, click the mouse continuously at the target position to draw the control points of the polyline, so as to obtain the polyline object connected by these control points. Click the right mouse button to complete the polyline drawing.
In addition, the determination of the polyline control point can be obtained by directly clicking the mouse at an appropriate position; The Parametric Drawing function can also be used for accurate drawing. The parameters for drawing the polyline are polar coordinate parameters, that is, the current line segment is drawn by inputting the length and angle of the current Draw Line, and the Tab key is used to switch between the two parameters.
If the polyline object is drawn again, repeat the above steps. |
| Arc |
Draw a three-point arc: - Click the Arc button;
- In the symbol editing area, click the mouse continuously at the target position to determine the three control points on the arc, so as to complete the drawing of an Arc. If the point object is drawn again, repeat the above steps.
|
| Circle |
Draw a circle Region: - Click the Circle button;
- In the symbol editing area, click the mouse at the target position to determine the center position of the circle;
- Move the mouse and click the mouse at a proper position to complete the drawing of the circular surface. The distance between the mouse click position and the center position of the circle is the radius of the circle. Alternatively, enter a value in the displayed value box to determine the radius of the circle. If you draw the round face object again, repeat the above steps.
|
| Ellipse |
Draw an ellipse Region: - Click the Ellipse button;
- In the symbol editing area, click the mouse continuously at the target position to complete the drawing of an ellipsoidal object by determining two control points. The two control points are the two end points of the diagonal of the minimum Bounds of the ellipsoid. If the point object is drawn again, repeat the above steps.
|
| Parallelogram |
Draw a Paralle logram Region: - Click the Parallelogram button;
- In the symbol editing area, click the mouse continuously at the target position to determine an edge of the Parallelogram by determining two control points;
- Move the mouse and click the mouse in the appropriate position to determine the second side of the Parallelogram, that is, the adjacent side of the first side, so as to complete the drawing of a Parallelogram. If the Parallelogram is drawn again, repeat the above steps.
|
| Face |
Draw PolygonGeometry: - Click the Face button;
- In the symbol editing area, continuously click the mouse at the target position to draw the control points of the Polygon, so as to obtain the polygon connected by these control points, and click the right mouse button to complete the polygon drawing.
In addition, the determination of polygon control points can be obtained by directly clicking the mouse at an appropriate position; You can also use the Parametric Drawing function to draw accurately. The parameters are polar coordinate parameters, that is, you can draw an edge of the Polygon by inputting the length and angle of the currently drawn polygon edge, and switch between the two parameters through the Tab key.
If the Polygon object is drawn again, repeat the above steps. |
| Rectangle |
Draw Rectangle: - Click the Rectangle button;
- In the symbol editing area, click the mouse continuously at the target position to determine the two ends of the diagonal line of the rectangle to complete the drawing of a Rectangle. If you want to Draw the Rectangle object again, repeat the above steps.
|
| Rounded Rectangle |
Draw Round Rectangle: - Click the Rounded Rectangle button.
- In the symbol editing area, click the mouse continuously at the target position to determine the two endpoints of the minimum Bounds diagonal of Rounded Rectangle;
- Move the mouse and click the mouse in the appropriate position to determine the rounded part of the Rounded Rectangle, thus completing the drawing of the Rounded Rectangle. If the Rounded Rectangle is drawn again, repeat the above steps.
|
| Text |
Draw Text: - Click the Text button;
- In the symbol editing area, click the mouse at the desired position to bring up the Set Text dialog.
- In the Set Text dialog box, enter the text content in Text, and set the font, size and Font Color of the text. After setting, click the OK button to complete the drawing of a Text. If you draw Text again, repeat the above steps.
|


 Hint:
Hint: