


OSGB DataExtrude Closed Body
Instructions for use
The Extrude Closed Body "function is to construct the Extrude Closed Body after specifying the extrusion level value for the object selected in the OSGB Data.
Operation steps
- Create a new Spherical Scene. Right-click the Scene in Workspace Manager and select Create Spherical Scene ".
- Add OSGB/OSGB Cache data. Right-click the Normal Layer "in Layer Manager and select Add 3D Cache Layer.. … Specify the OSGBData Save path to load OSGB data.
- On the 3D Geographic Design tab, in the Oblique Photography Action group, click the Extrude Closed Body "button to display the Extrude Closed Body" dialog box, as shown in the following image:
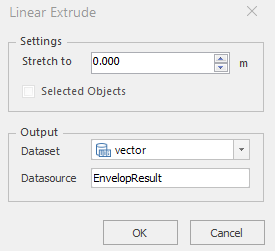
Figure: Extrude Closed Body "Dialog Box - Source Config File: Click the button on the right to set the Oblique Photography Config File in the pop-up Select dialog box; you can also directly enter the folder path in the text box.
- Stretch to: when the value is positive, such as the value of 5, it means that the model is stretched down to 5 meters above the ground to form a closed body; when the value is negative, such as the value of -5, it means that the model is stretched down to 5 meters below the ground to form a closed body. You can customize whether to check "Only for selected objects".
- Datasource: Select the Datasource where the Result Dataset is stored.
- Dataset: The default name of Dataset is EnvelopResult. You can customize the Dataset Name.
- Click "OK" to perform the Extrude Closed Body operation:
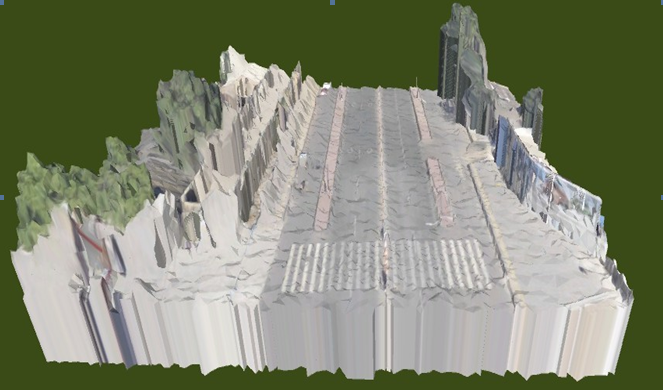
Figure: Extrude Closed Body effect drawing
 Precautions
- An open Datasource must exist before operating the Extrude Closed Body.
- The Extrude Closed Body supports 3D faces and Model Dataest.
- If OSGB Data is a Projected Coordinate System, the constructed Extrude Closed Body is also a Projected Coordinate System. The Extrude Closed Body needs to be converted to GCS before loading the display.